> ## Documentation Index
> Fetch the complete documentation index at: https://docs.mileapp.dev/llms.txt
> Use this file to discover all available pages before exploring further.
# How to Create and Use Data Source
The data feature could help you simplify the process of filling in task information based on existing data at MileApp. This data could consist of information such as name, number, date, coordinate, and multiple options.
You can access this feature on the [Data](https://web.mile.app/data/data-list) page. The data is consist of 2 sub-pages: Data, and Type.
## Type
Type is a menu that allows you to specify the data structure that will be utilized in the Data menu.
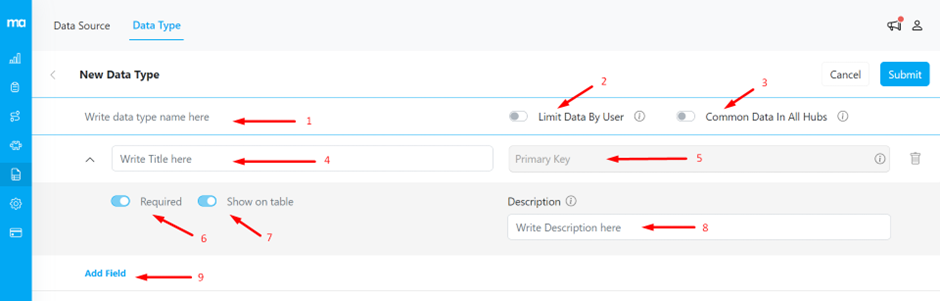
Here, you can set the data type to suit your needs:
1. The name of the data type
2. Data sources can be restricted to be accessed only by selected users
3. If enabled, the data source can be used by a single organization. If disabled, the data source is unique per hub.
4. Type of title field
5. The type of data
6. The field type can be adjusted to mandatory or optional using a toggle.
7. The field can be set to appear directly in the table if enabled
8. Additional information about the field (a tooltip will display in the data menu on the field description)
9. You can add a field by clicking the text
Types created can be used immediately in the data menu.
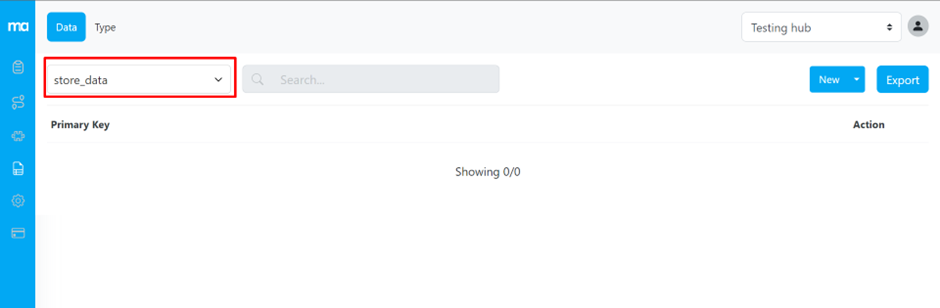
## Data
Data is created based on the structure of the data type that you have created.
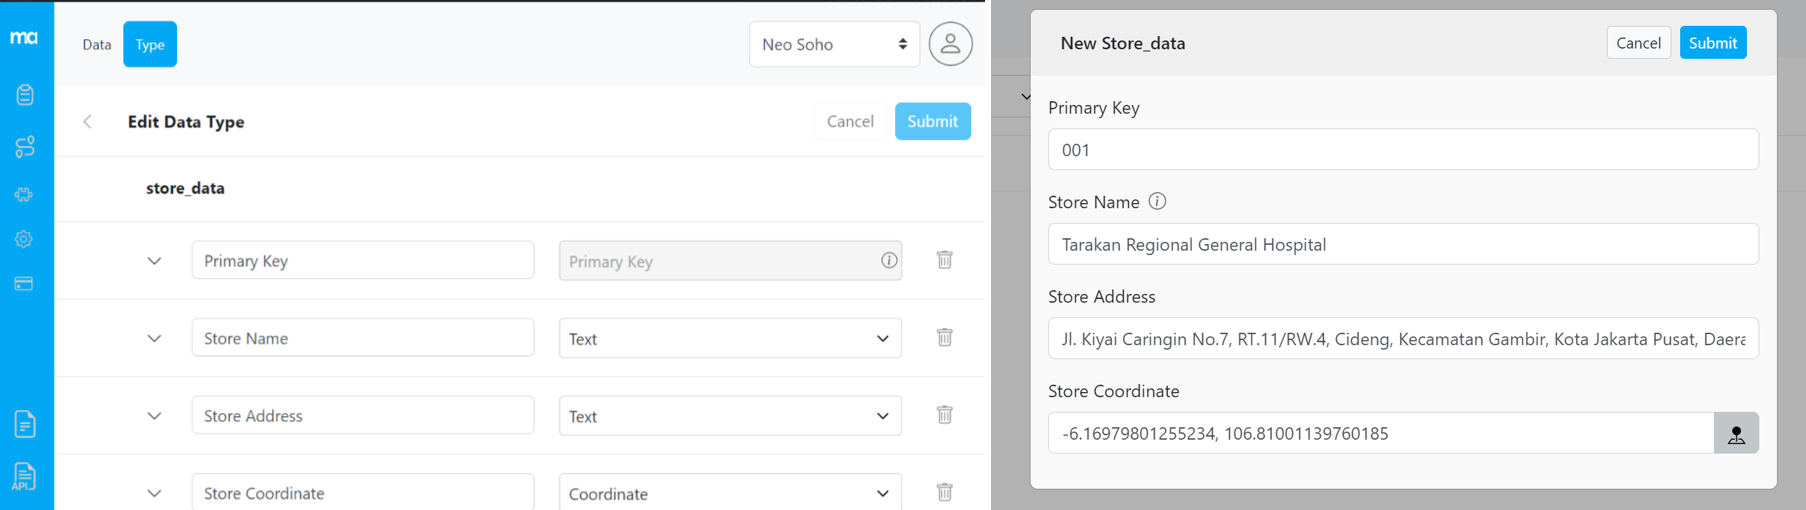
### Create Data Based on the Newly Formed Type
This is an example of Data based on the structure of the type that consists of a Primary key, 2 text fields, and 1 coordinate field. The data will be customizable based on your needs, you could add more than 1 custom field to make it easier for you to fill in Task information.
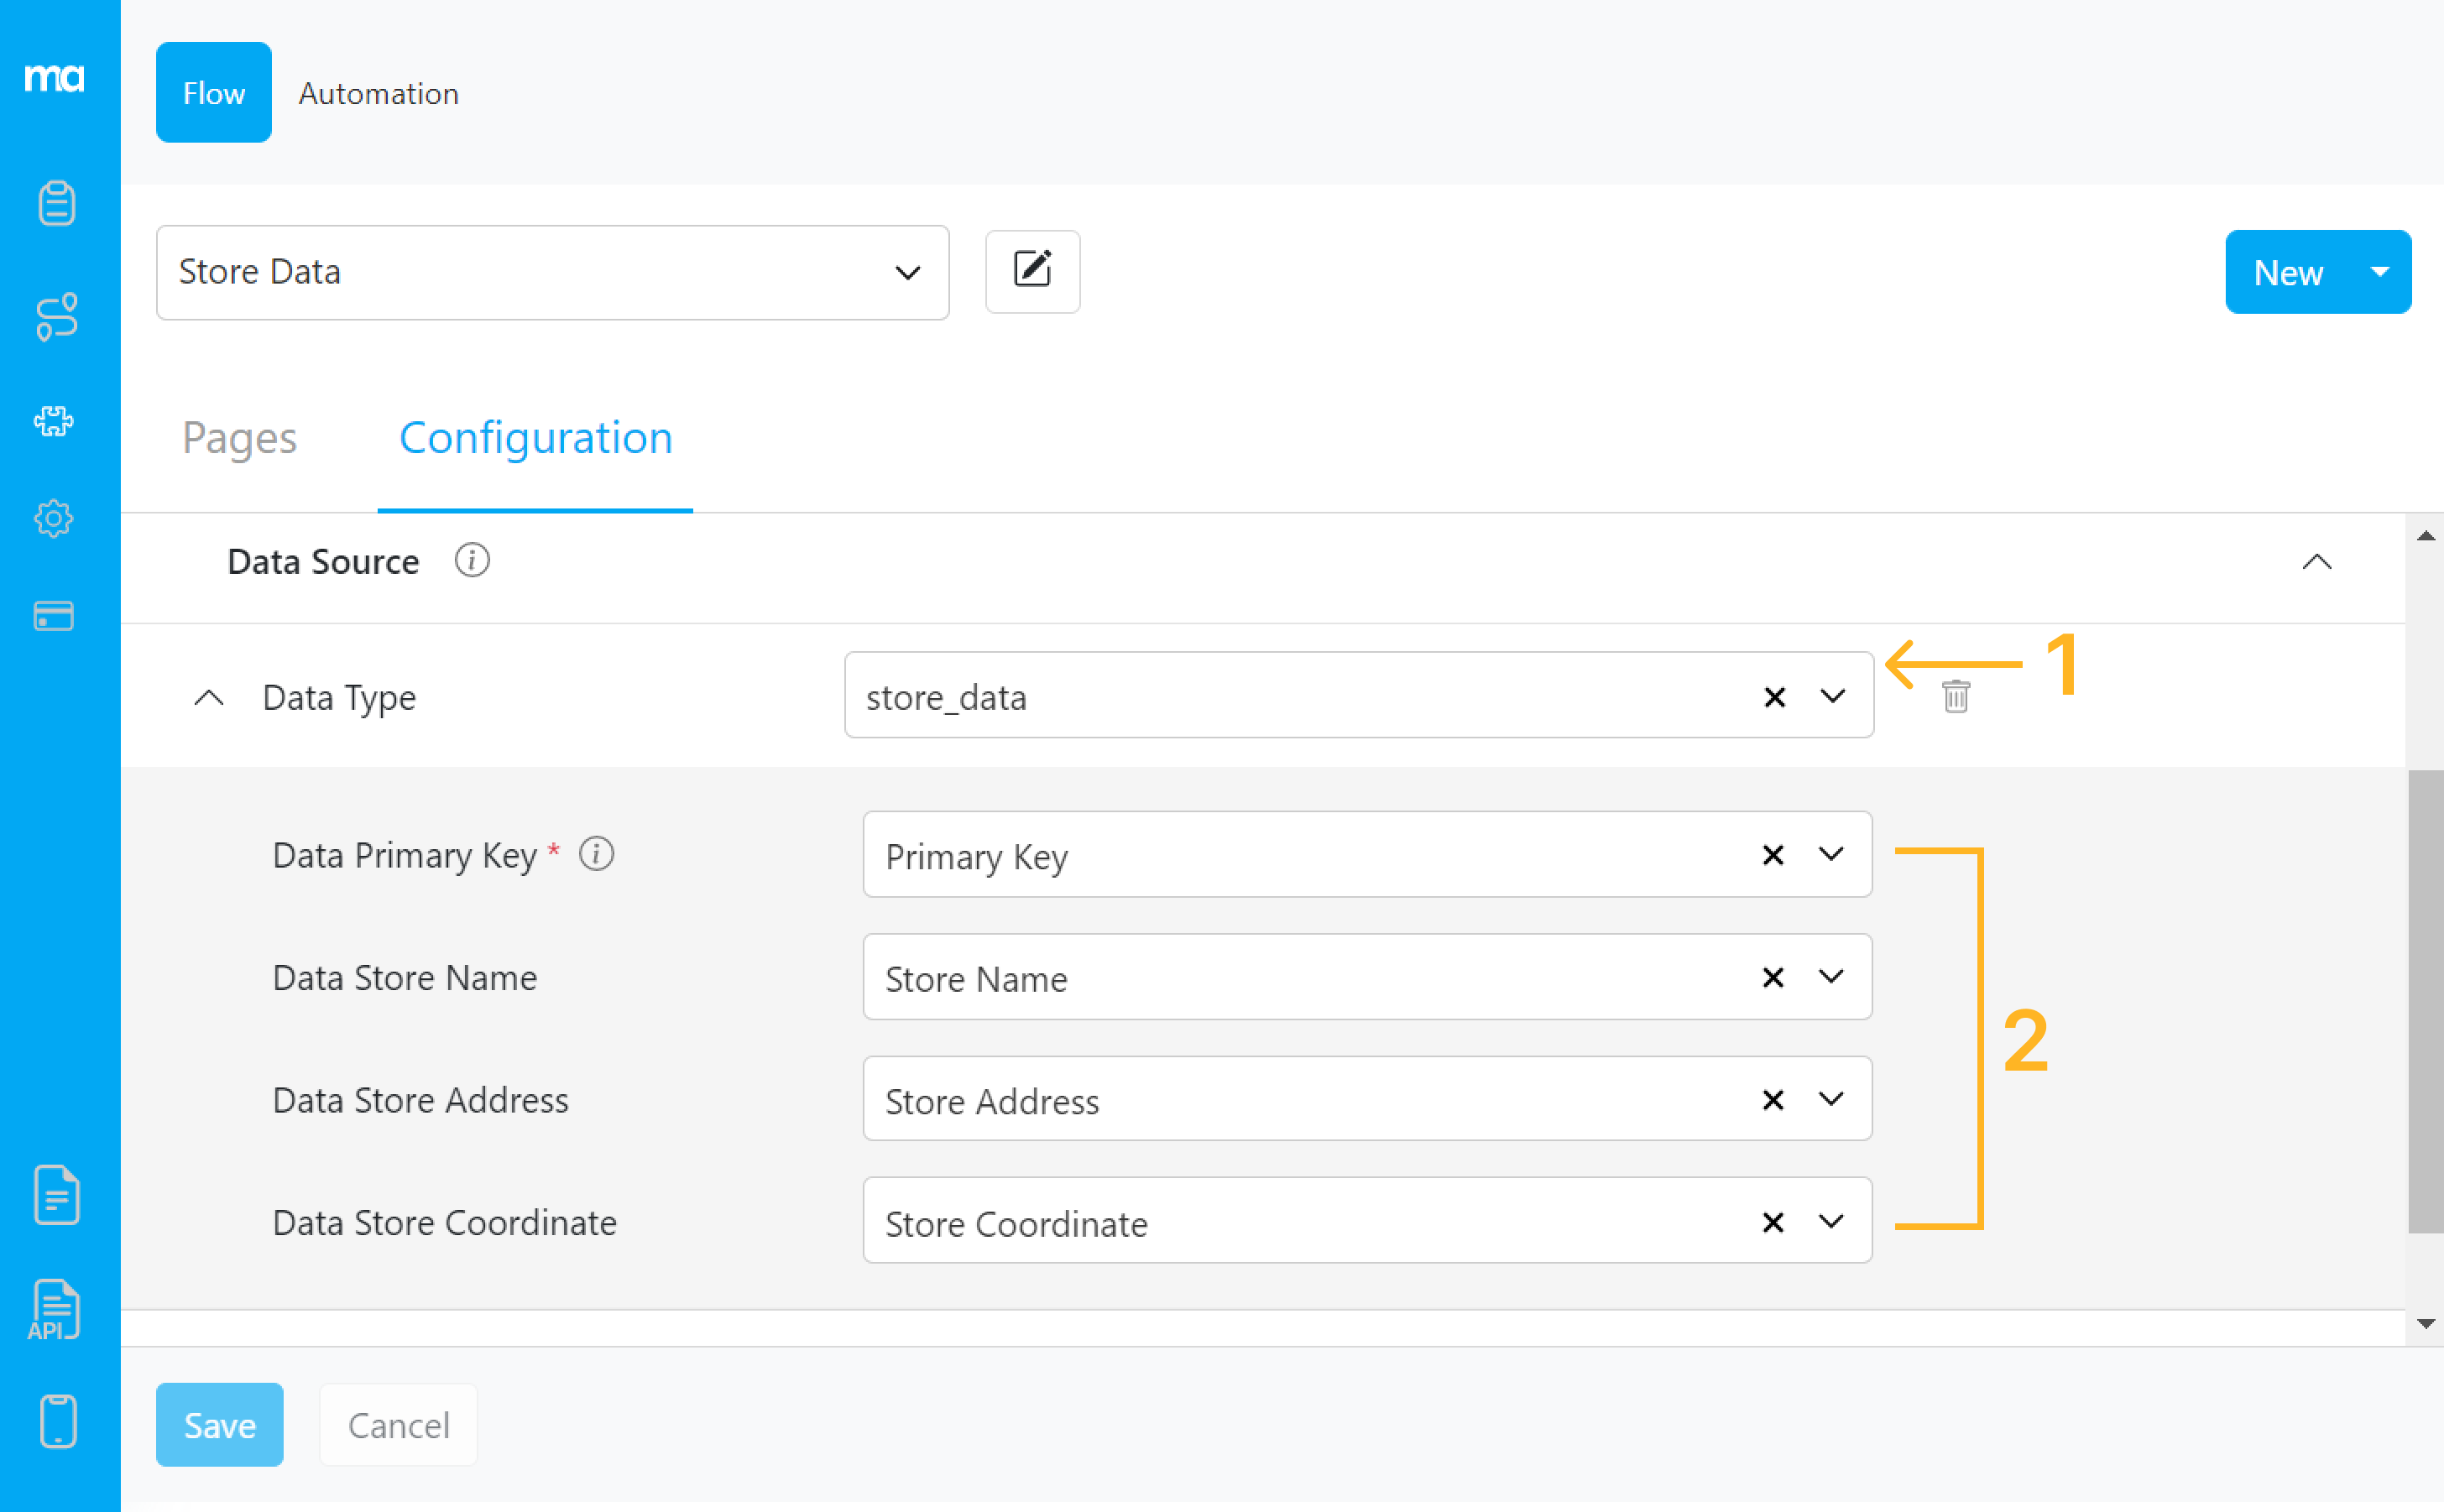
## Configure Flow to Use Data
You should set up a Flow to use this data in your task. After you create a flow or use an existing one, you could configure to use the Data by setting up the Data Source at the Flow Configuration:
1. Choose the data type that you want to use on this flow
2. Map the data based on the flow that you have created. Note that the Primary Key is required as it would be the trigger that will autofill the information on the Task. You could use Text Component for the Primary Key.
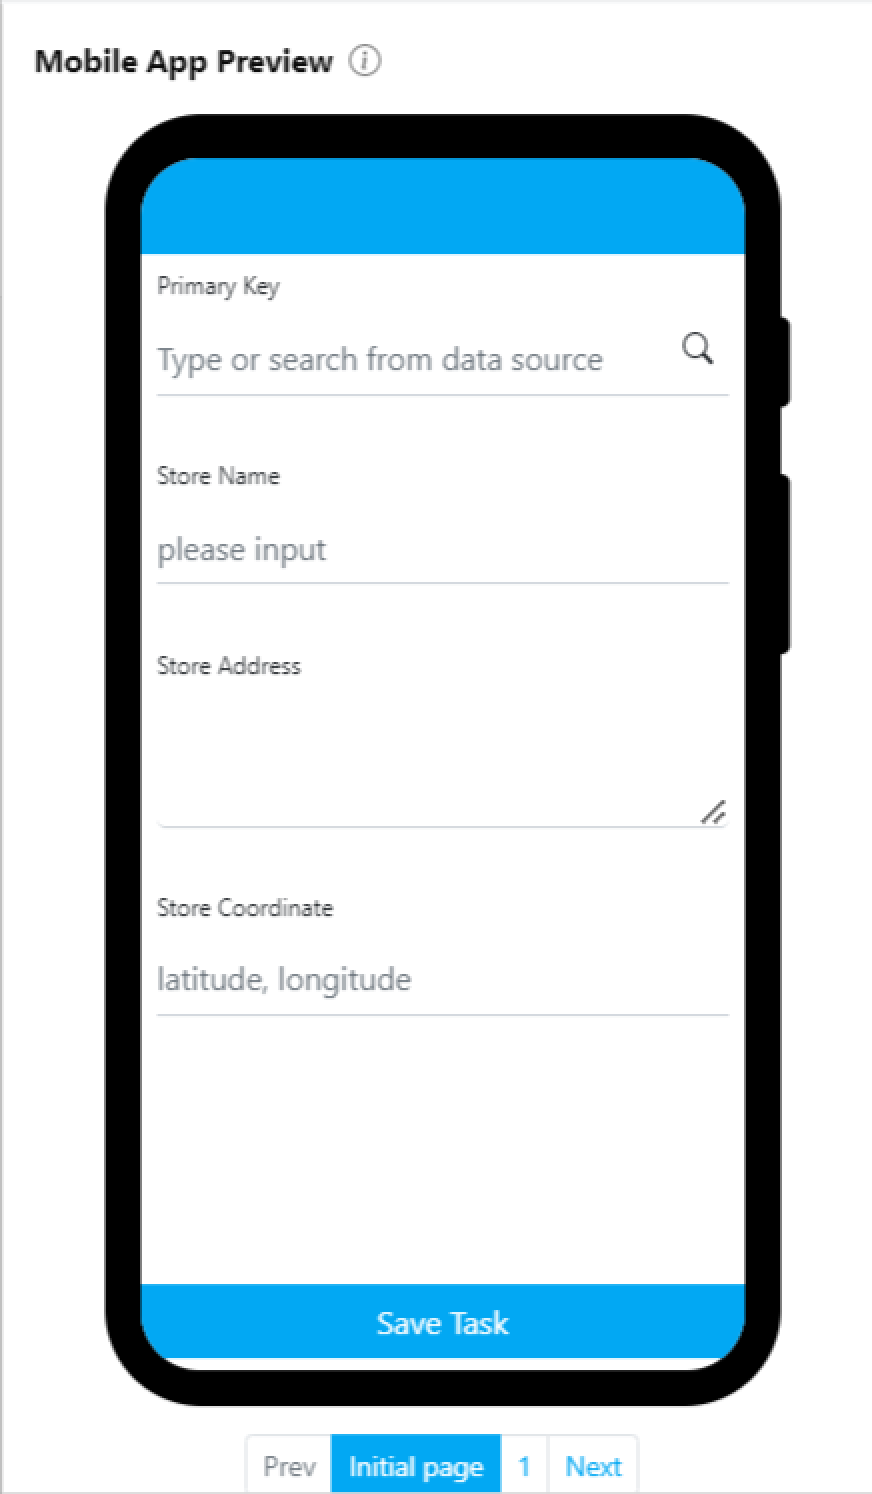
Once you set it up properly the Mobile App preview will have the Search icon on the input field, as shown below:
## Use Data to Autofill Task Information
You could use the Data to fill in the task information on 3 different methods:
* Single task input:
* Bulk task input:
* Task input on the mobile app
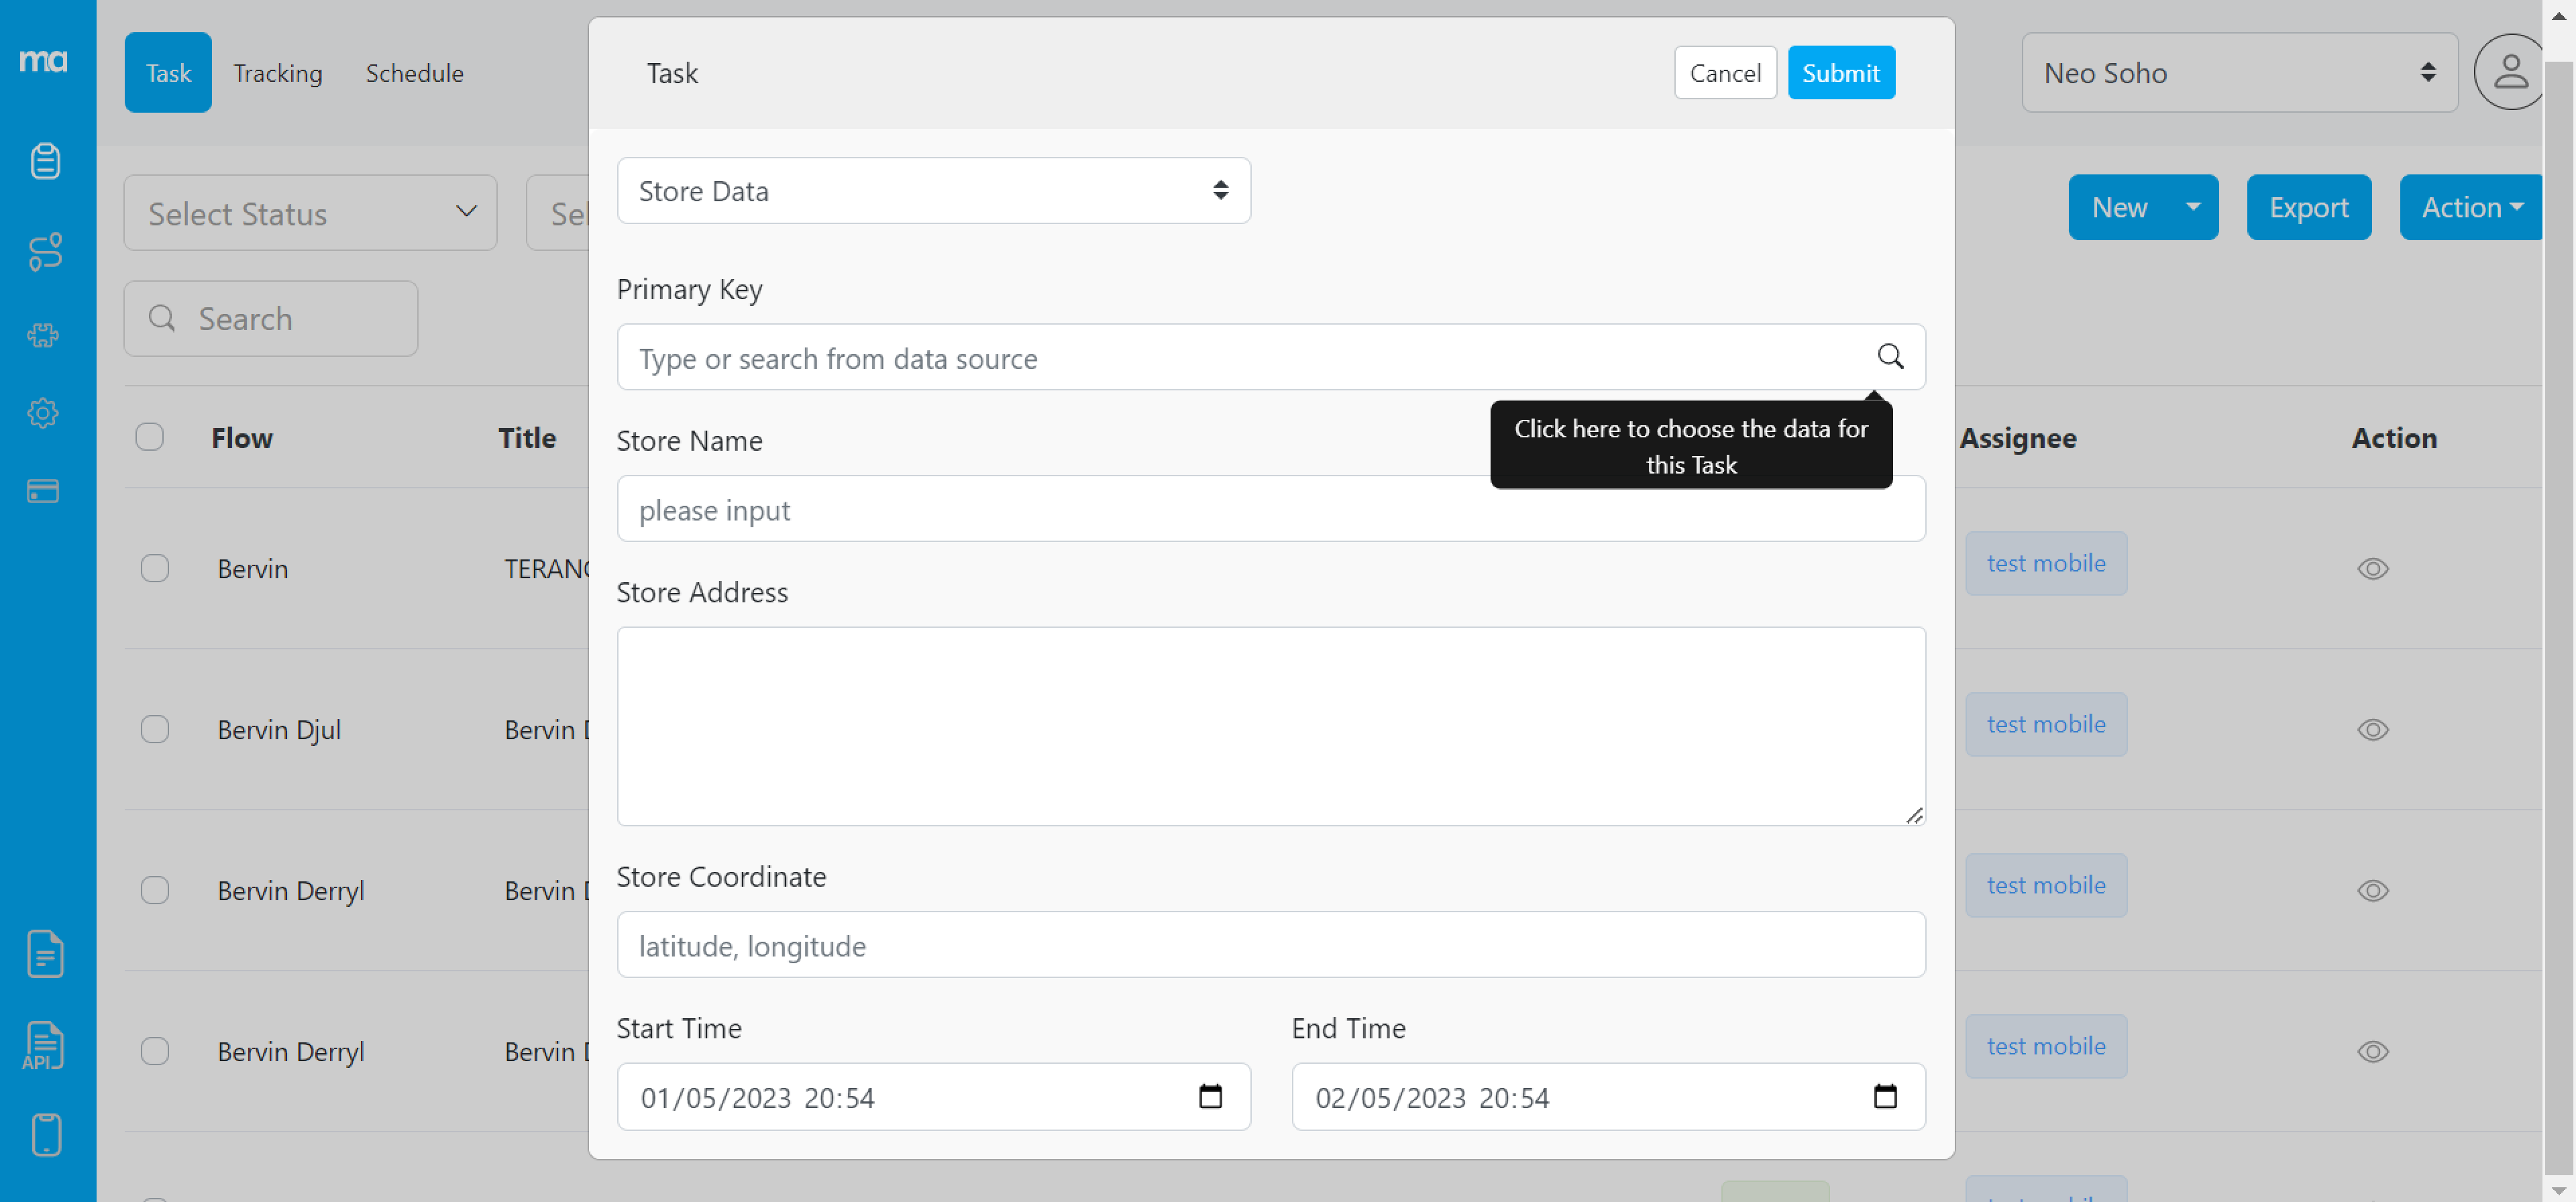
### Single Task Input
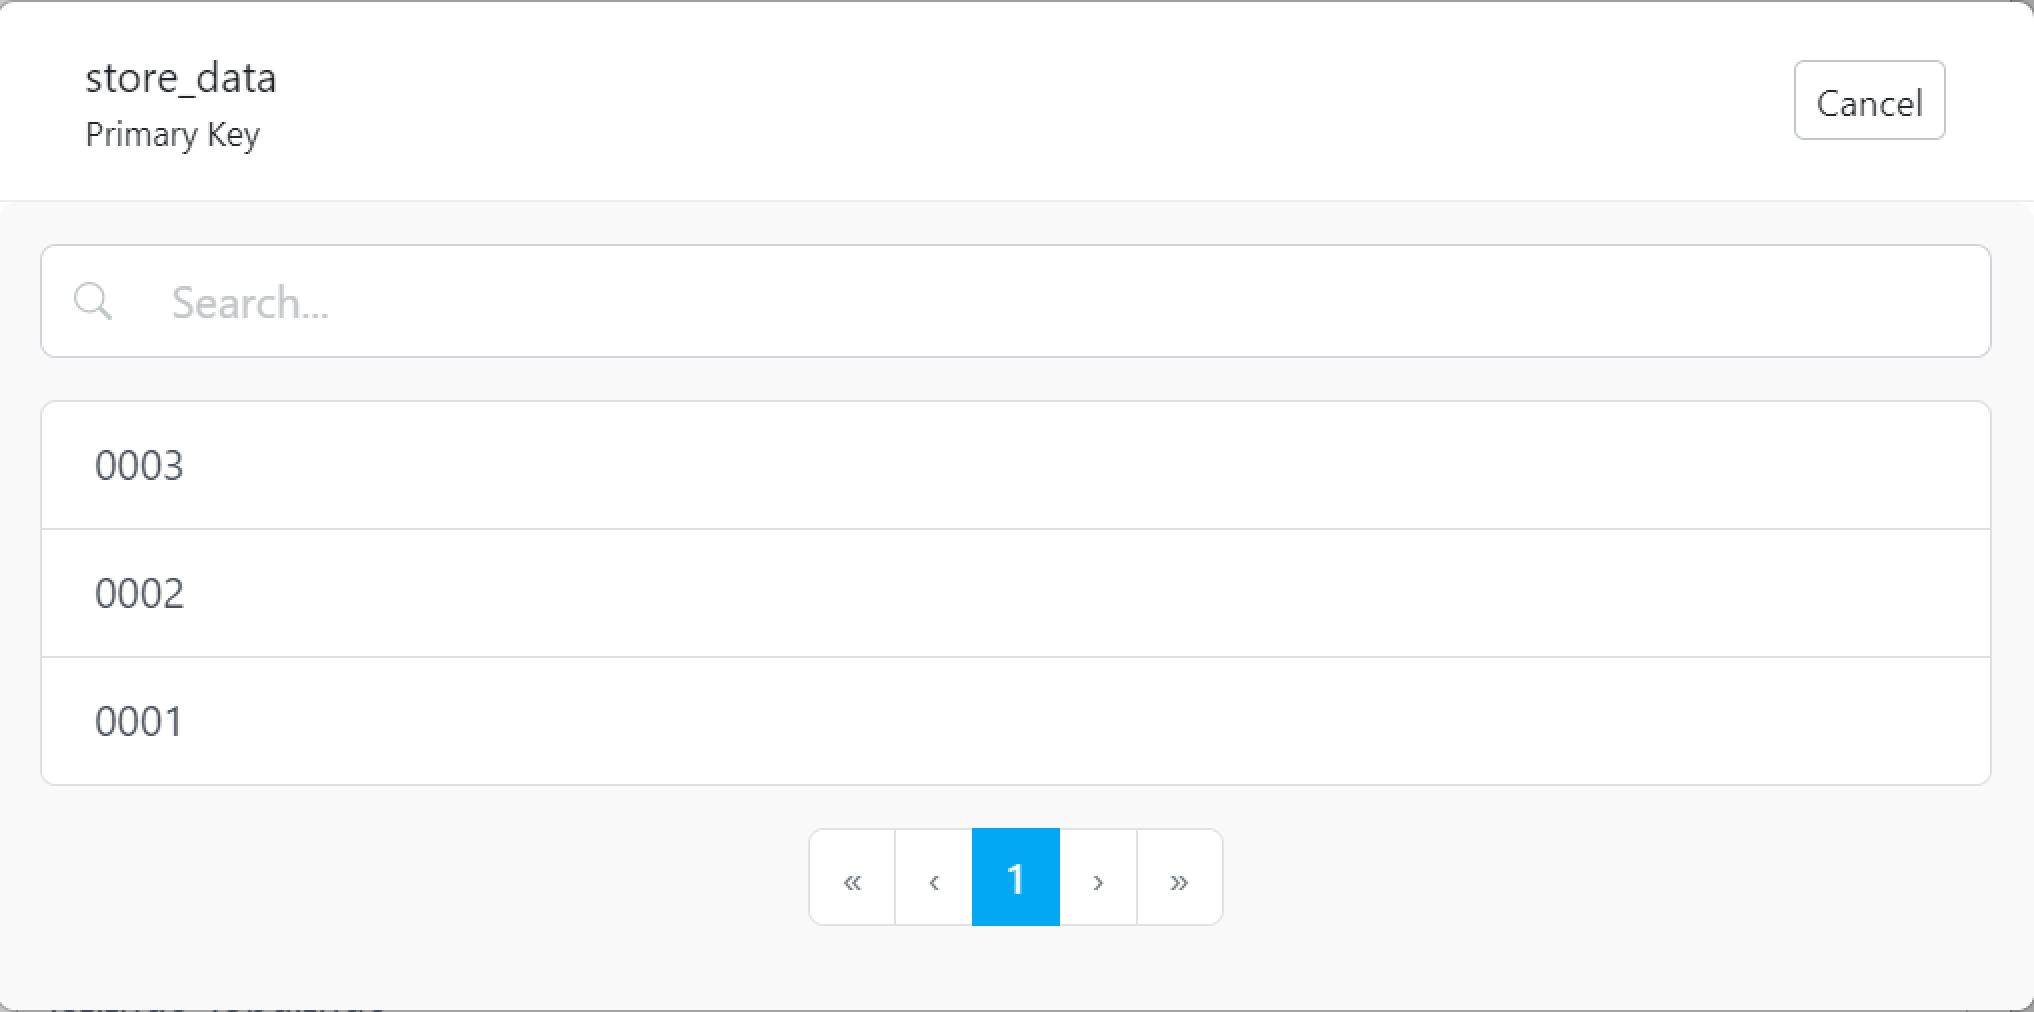
When you create a single task you could choose to use data by clicking the Search icon on the input field, as shown in the example. After you clicked the search icon, you will see this pop-up:
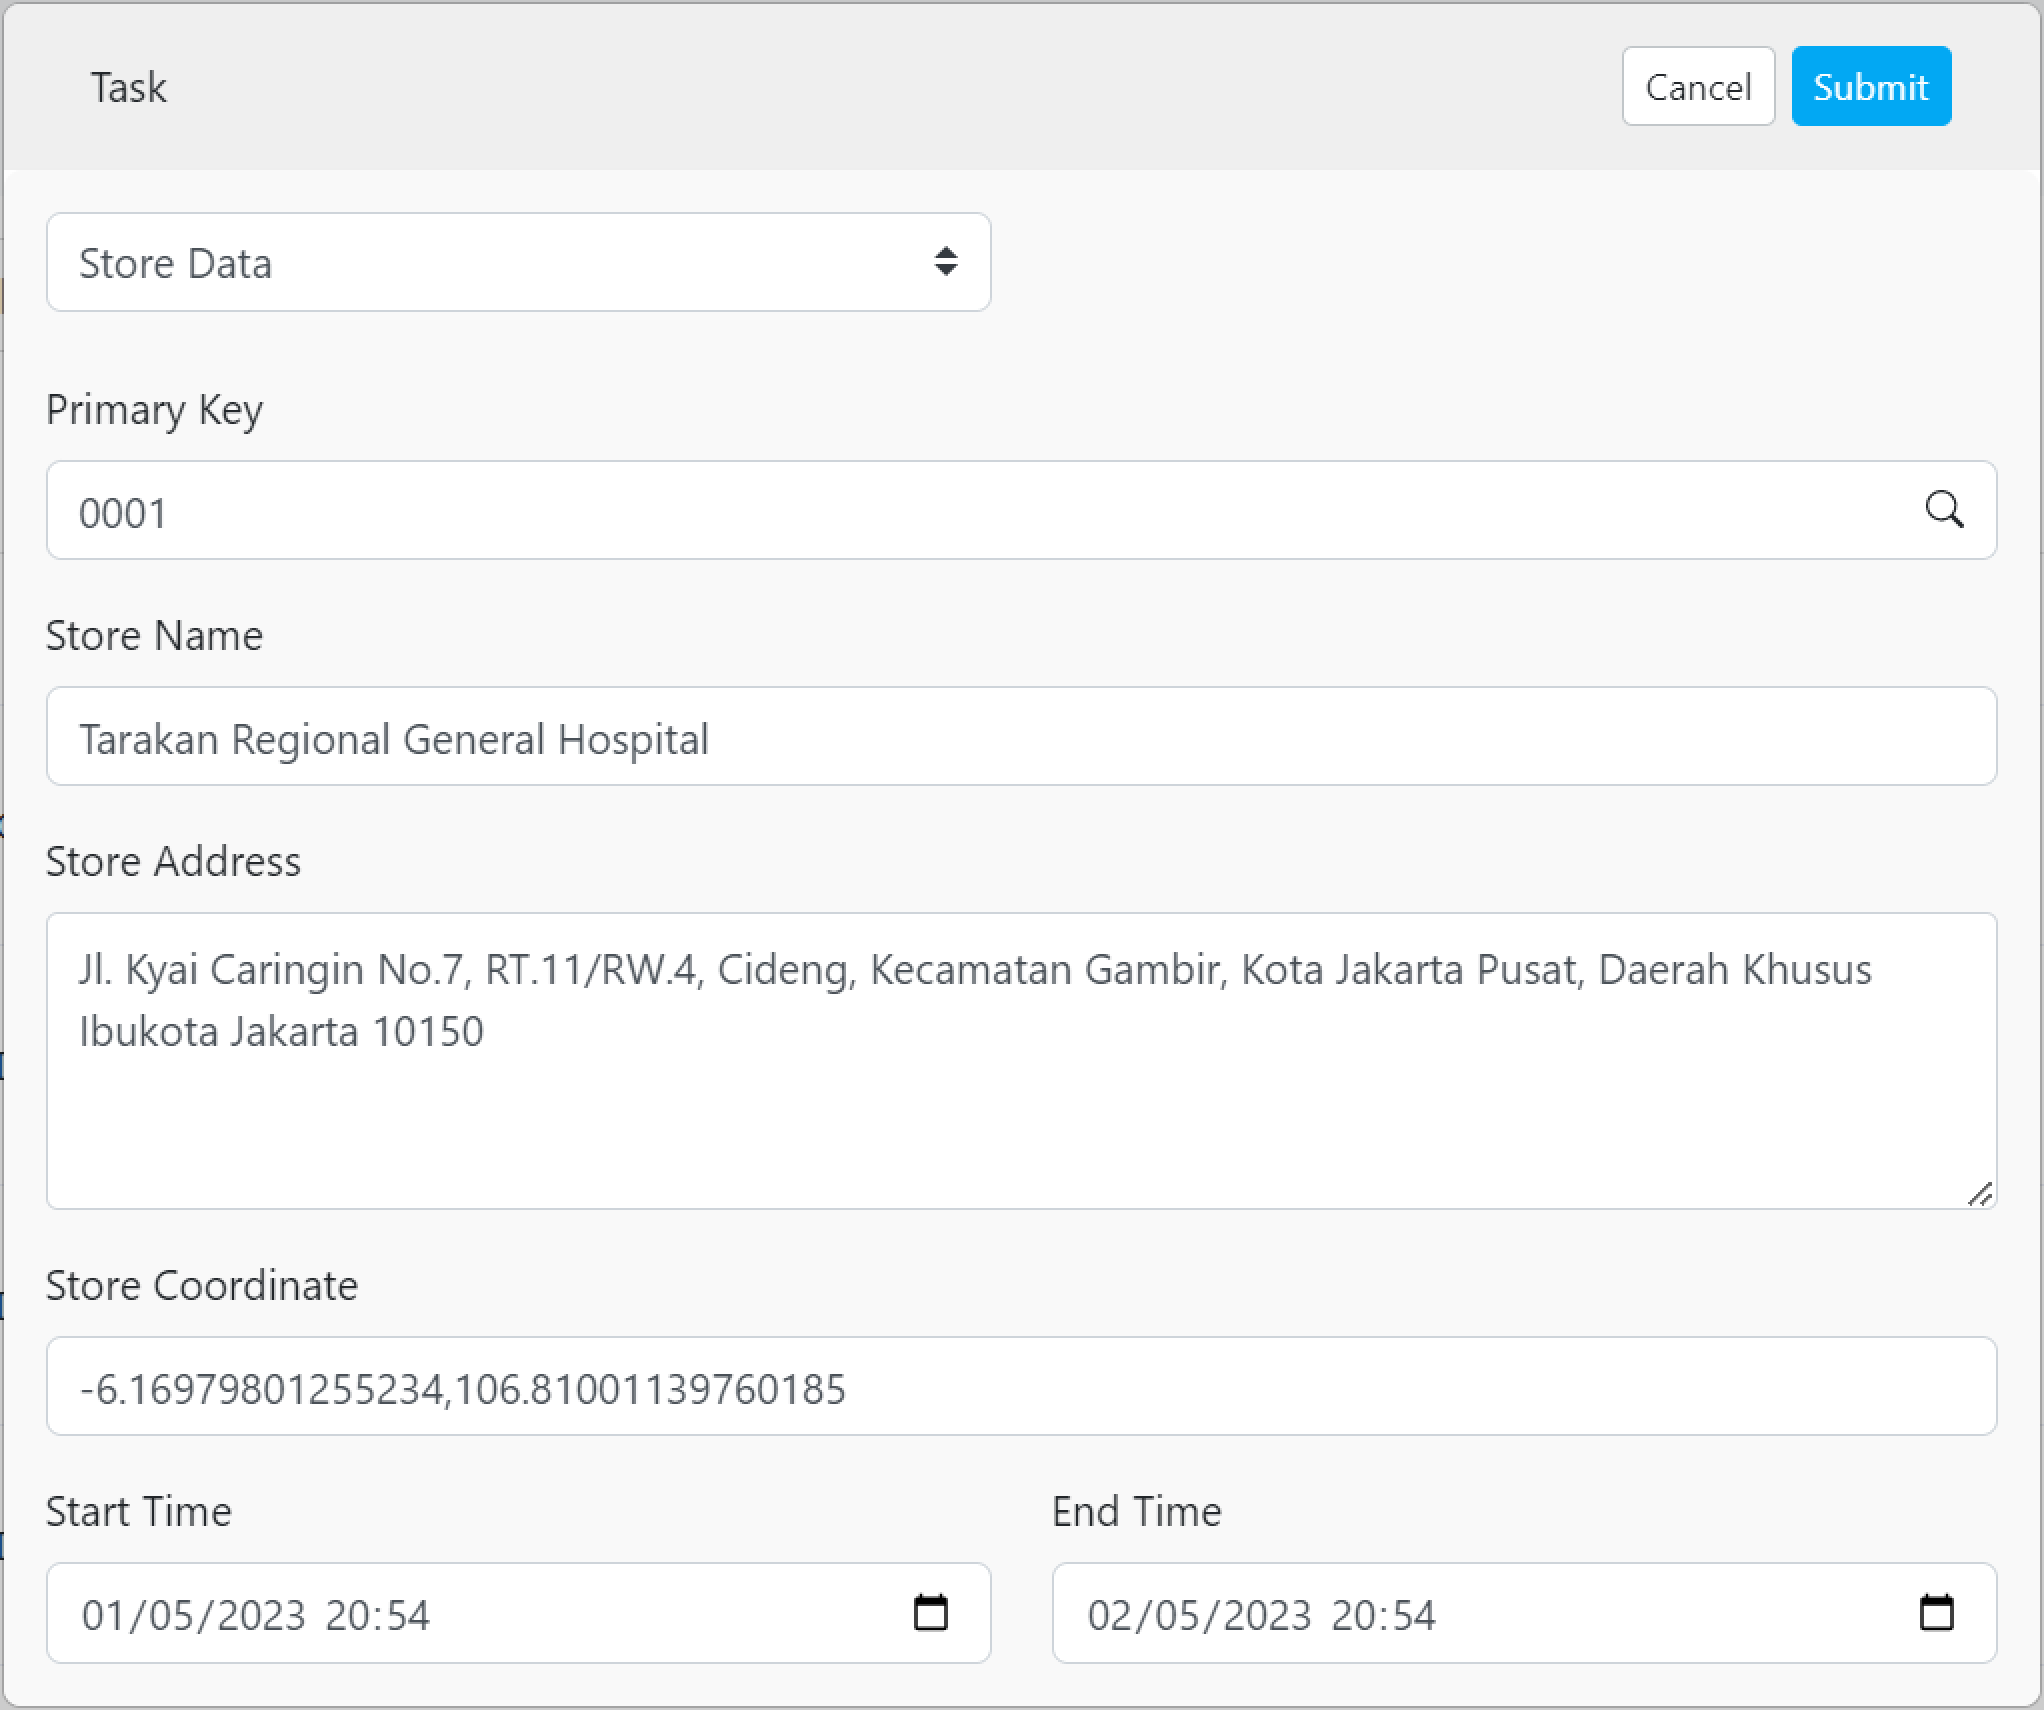
After that you could choose the Data, for example, 0001, the task information will be filled based on the information that has been set up on the Data page:
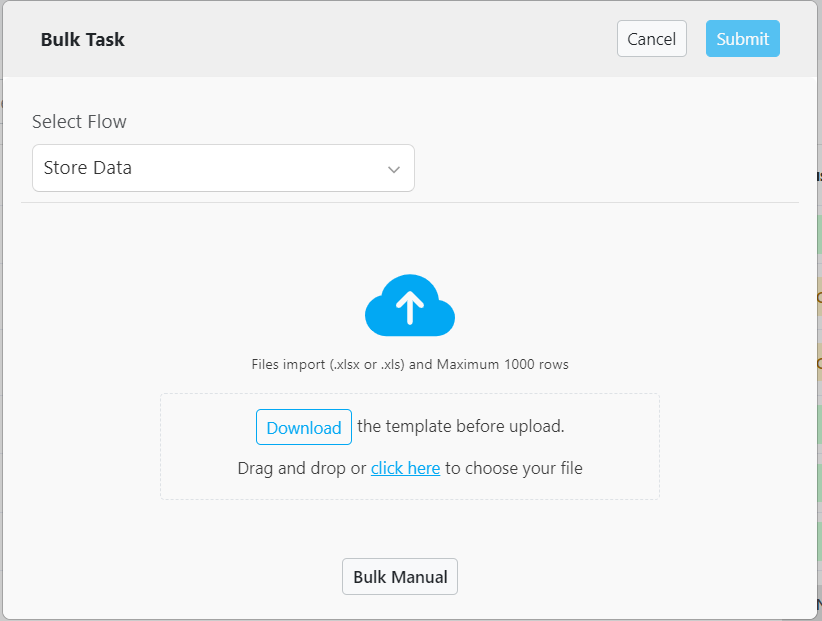
### Bulk Task Input
When you input tasks in bulk, you could use the data with 2 methods: typing directly on the field input or by importing the data.
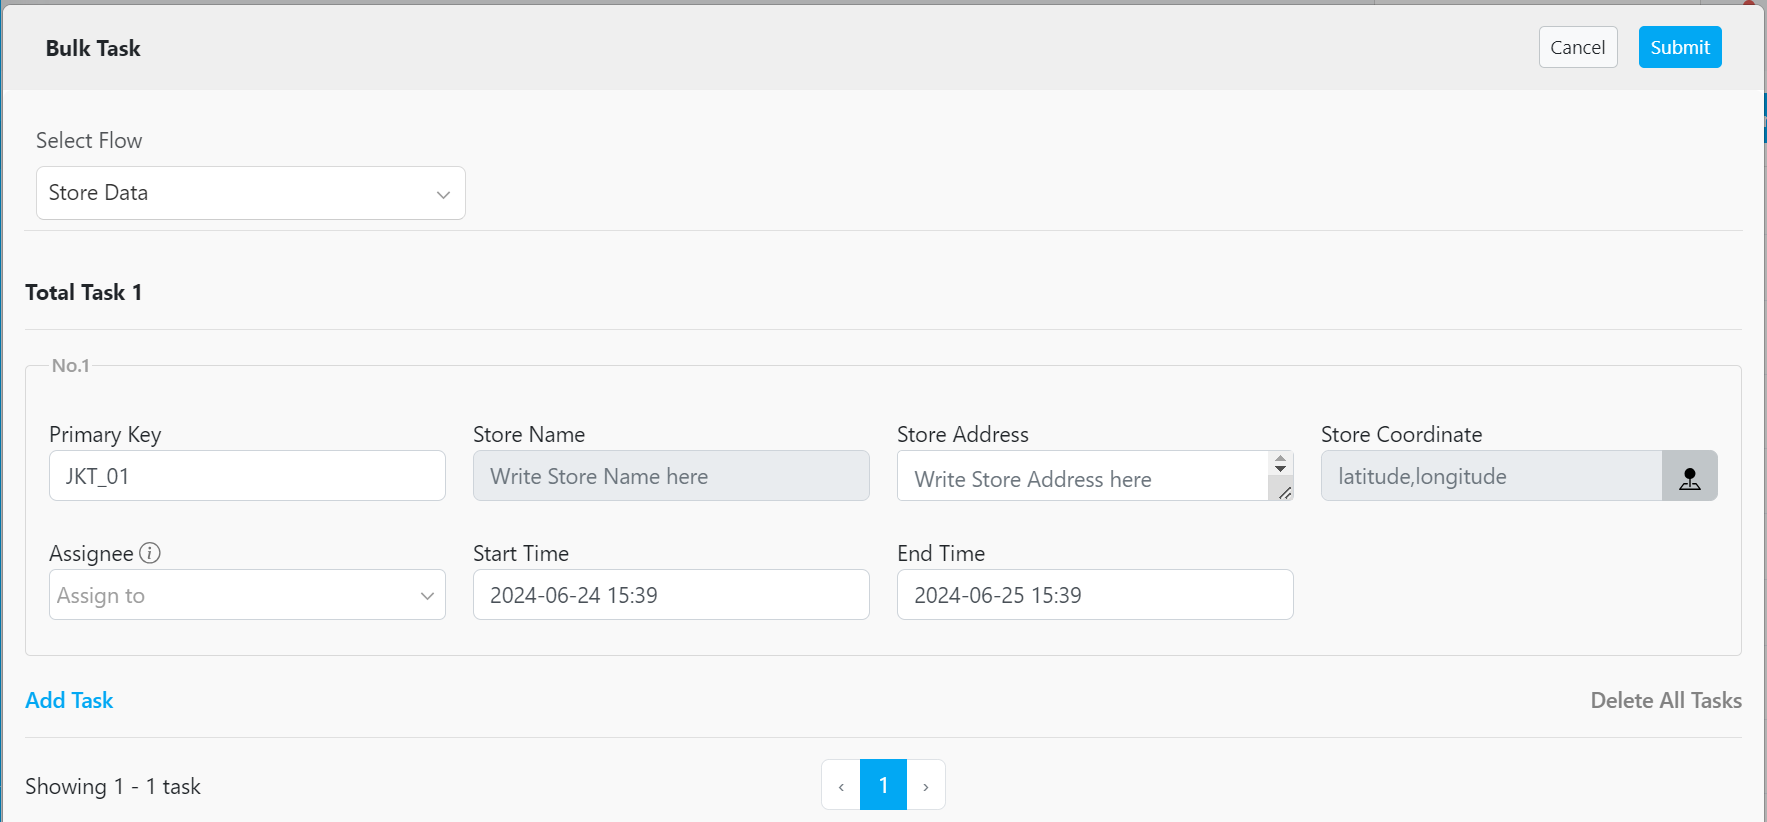
**The first method** is typing directly on the Primary Key input:
If you type the correct Primary Key based on the Data that you have created, the input fields will be automatically filled based on the information in that Data as shown below:
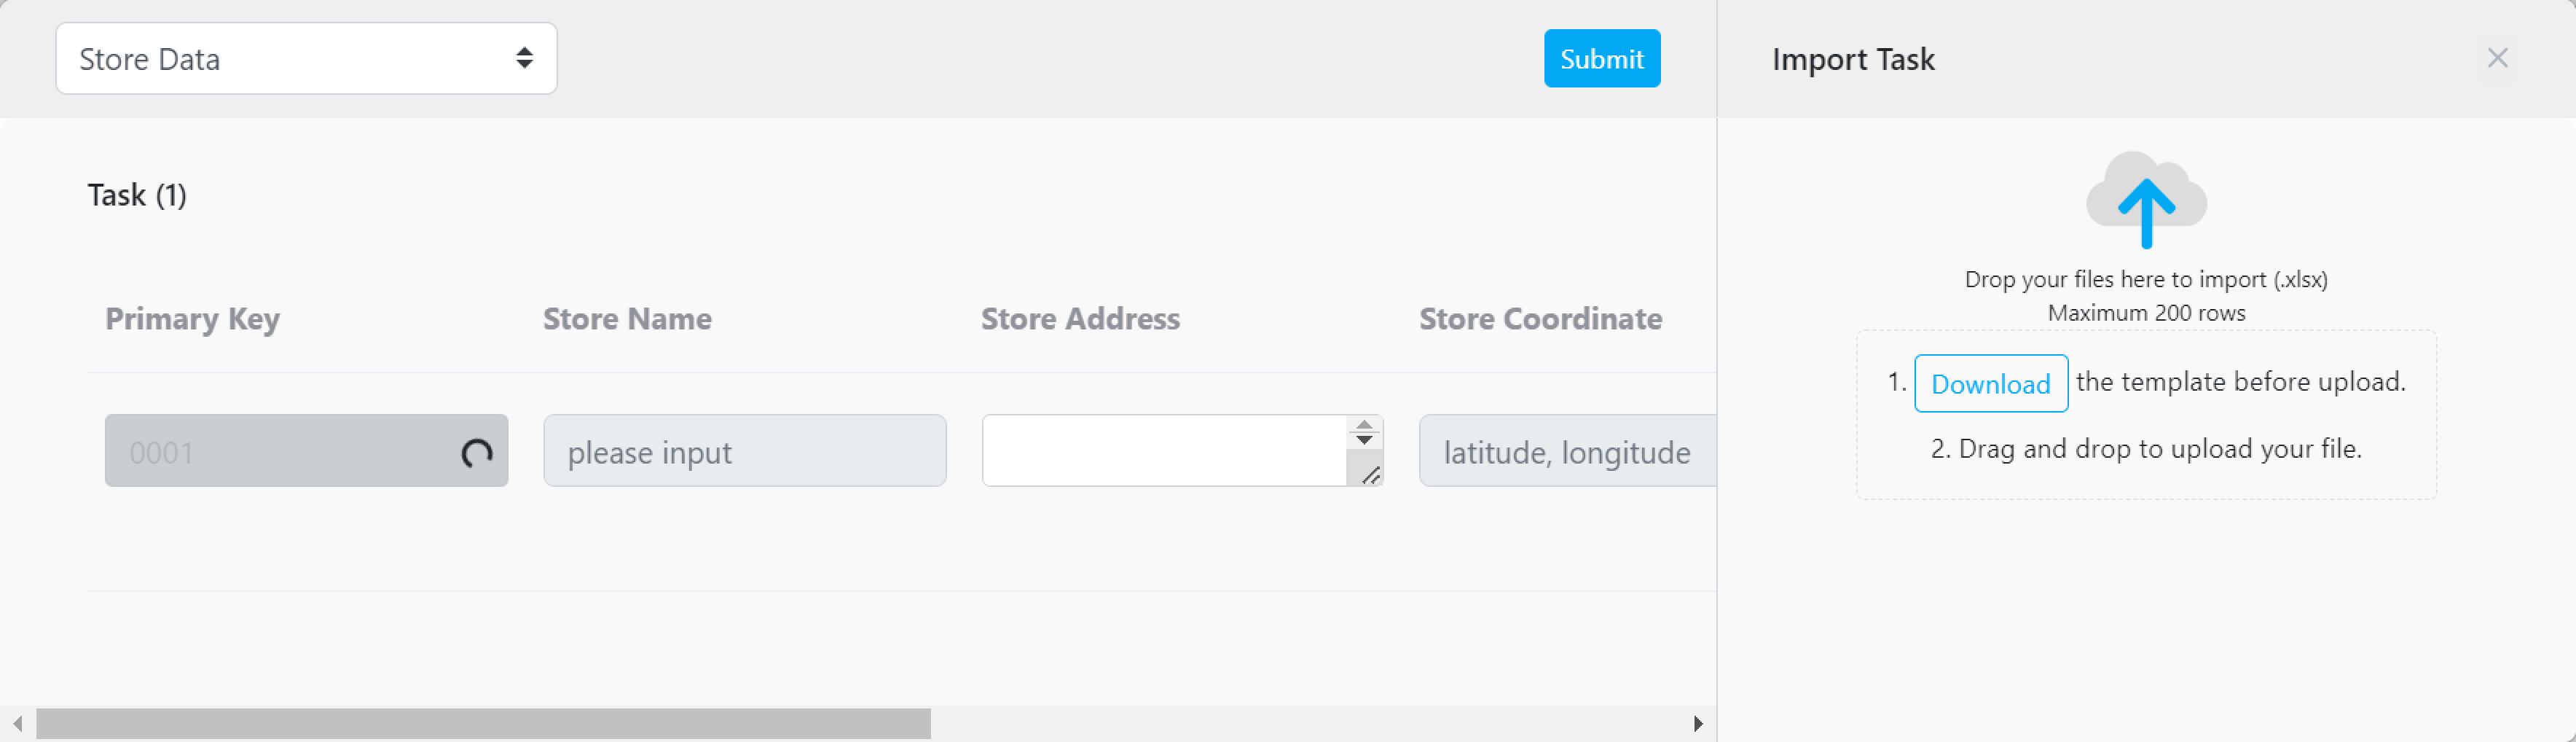
**The second method** is to import the data, but you only have to input the primary key to autofill the information at the Bulk task input.
Import the .xlsx file:
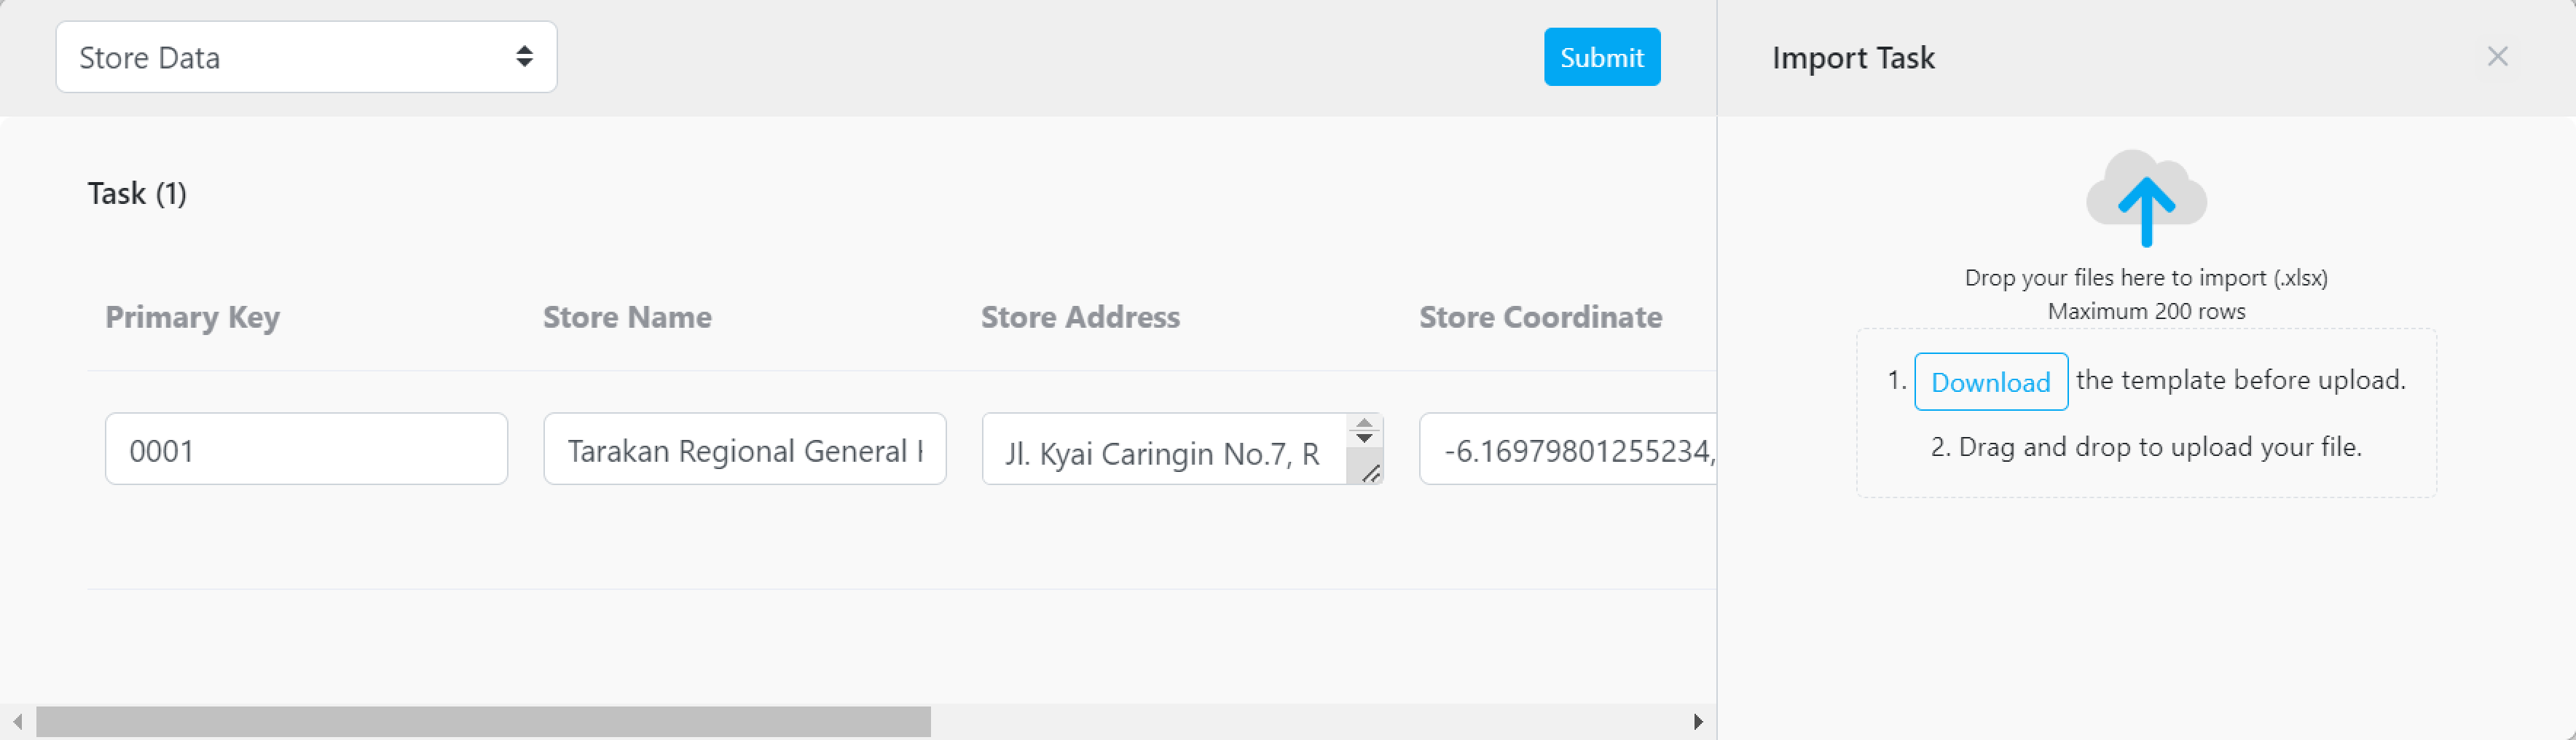
After you import the .xlsx file, the bulk input fields will be autofilled based on the Data information:
### Task Input on the Mobile App
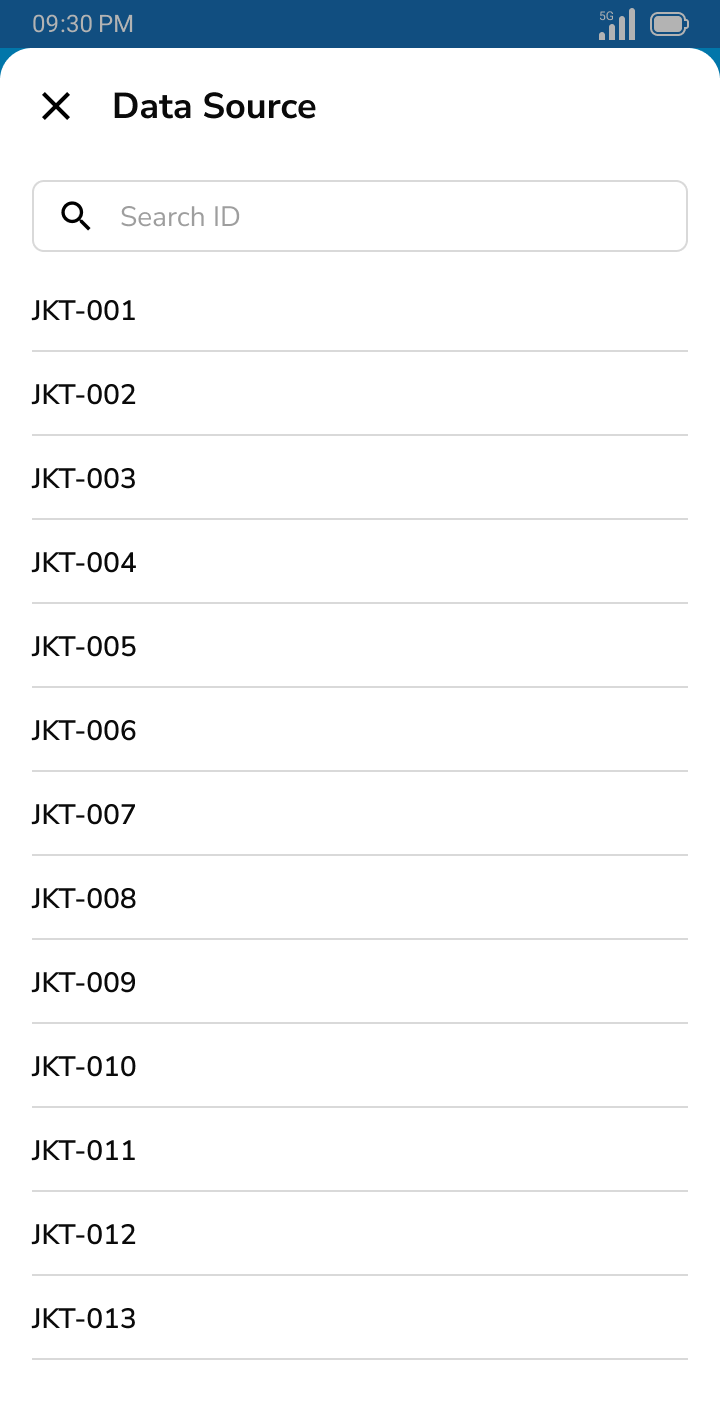
Similar to the single task input at the MileApp web, on MileApp Field you could autofill the data by clicking the search icon on the task input field that has been set on the Data Source Flow Configuration.
After you click the search icon, you will see the pop-up menu below, you could choose which data that you want to use to autofill the task.
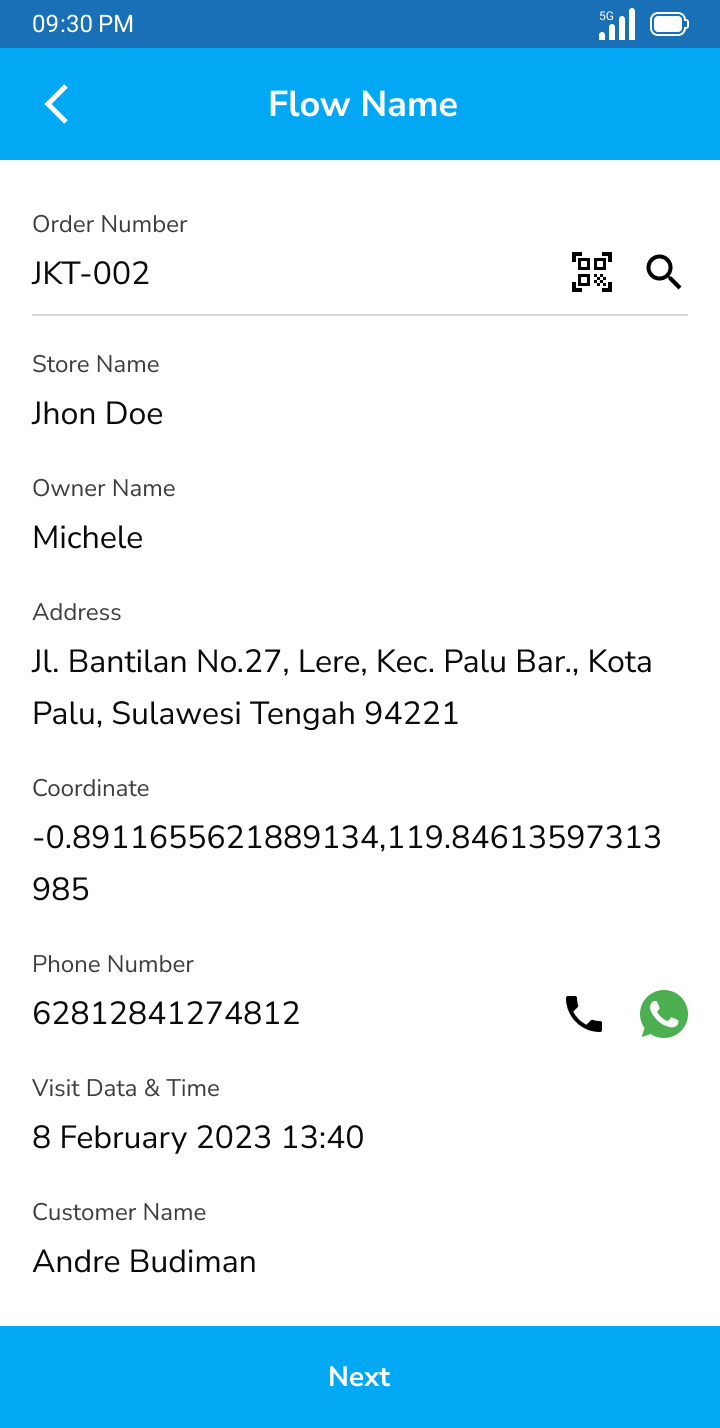
After you choose the data, the task information will be autofilled with the data information: