> ## Documentation Index
> Fetch the complete documentation index at: https://docs.mileapp.dev/llms.txt
> Use this file to discover all available pages before exploring further.

# URL

The **URL** input type enables field workers to enter a website address as part of a task.

## What is the URL Input?

URL captures a web address with URL format validation, ensuring the entered value is a well-formed link (e.g., starts with `http://` or `https://`).

**Use Cases:**

* **Reference link**: Store a link to a product page, ticket, or related external system
* **Document link**: Capture a URL pointing to an uploaded file or shared document
* **Tracking URL**: Record a third-party tracking or shipment URL for the task

## URL Properties

<div align="center">
  <img src="https://mintcdn.com/mileapp-c1584fbc/OPAMjeo91qoaLUGM/images/flow/component-input-url-settings.png?fit=max&auto=format&n=OPAMjeo91qoaLUGM&q=85&s=1be6da09b7df2db4ebbcdc88270153e1" alt="image" width="600" data-path="images/flow/component-input-url-settings.png" />

  <p><i>Component URL input settings</i></p>
</div>

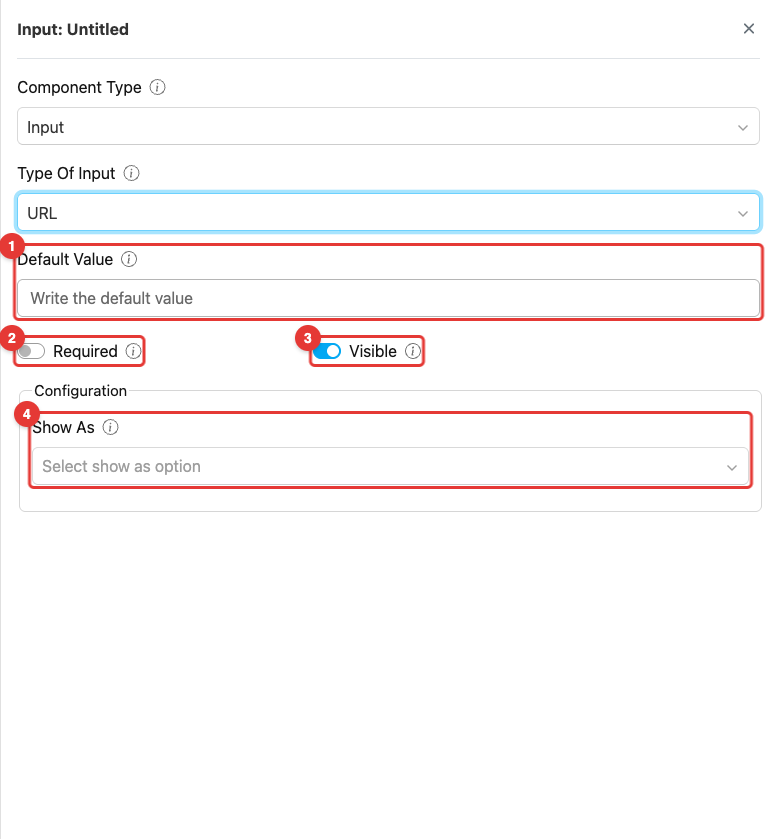
1. **Default Value:** This setting allows you to set a pre-filled URL for this component. If a value is specified, any task created with this flow will use it as the initial value.
2. **Toggle Required:** This option makes the URL input mandatory. If not filled, users cannot proceed to other activities.
3. **Toggle Visible:** This setting affects the visibility of the component during task creation on the web and mobile, as well as task viewing on the mobile app. If the component is not visible, it will not be shown in the UI. However, both visible and hidden component data will be exported, regardless of their visibility status.
4. **Show As:** This configuration, controls how the input value is displayed within the task. The value of this component will appear on the task table in the **Task** menu as the **Title**, **Content**, or **Label**, depending on the option selected.

## How to Configure URL

### Step 1: Add the Component

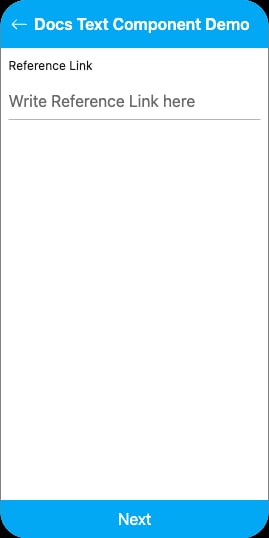
In the Flow Builder, click **Add Component** on the target page. Set **Component Type** to **Input** and **Type Of Input** to **URL**.

### Step 2: Set Basic Properties

Enter the component **Title** (e.g., "Product Link"). Toggle **Required** and **Visible** as needed. Optionally enter a **Default Value** as a valid URL (e.g., `https://example.com`).

### Step 3: Configure Show As (optional)

In the **Configuration** section, set **Show As** to **Title**, **Content**, or **Label** to control how the URL value appears on the task list in the Task menu.

## How URL Works in Tasks

<div align="center">
  <img src="https://mintcdn.com/mileapp-c1584fbc/OPAMjeo91qoaLUGM/images/flow/component-input-url-mobile.png?fit=max&auto=format&n=OPAMjeo91qoaLUGM&q=85&s=cc831d7a454db9c87a43230b4229c986" alt="image" width="300" data-path="images/flow/component-input-url-mobile.png" />

  <p><i>URL input on mobile preview</i></p>
</div>

When a field worker opens a task on the mobile app:

1. The URL field shows a **text input** with URL keyboard hints
2. The entered value is validated against the URL format — invalid entries cannot be submitted
3. The field may already be populated:
   * **From task creation**: If the task was created with a URL value, it is pre-filled
   * **From Default Value**: The flow-level default appears if no value was provided at creation
4. The worker can edit the URL before completing the page

## Related

* [Text Component](/pages/flow/flow-builder/component-input-type/text) — Free-form text input without URL validation
* [Input Component Overview](/pages/flow/flow-builder/component-input-type/component-input)
