> ## Documentation Index
> Fetch the complete documentation index at: https://docs.mileapp.dev/llms.txt
> Use this file to discover all available pages before exploring further.
# How to Manage Custom Module
## Introduction
Custom modules are a feature that allows you to integrate additional modules into MileApp. These modules will be displayed as additional menu items in the sidebar, and when you click on them, they will open a new tab in the browser with the specified URL. You only need to provide a module name and URL to create a custom module. The custom modules also work on the mobile app, providing you with the flexibility to access these modules on the go.
## Add Custom Module
To add a custom module, follow these steps:
1. Log in to your MileApp account.
2. Select the "Settings" menu.
3. In the settings menu, type the URL [https://web.mile.app/setting/custom-module](https://web.mile.app/setting/custom-module)
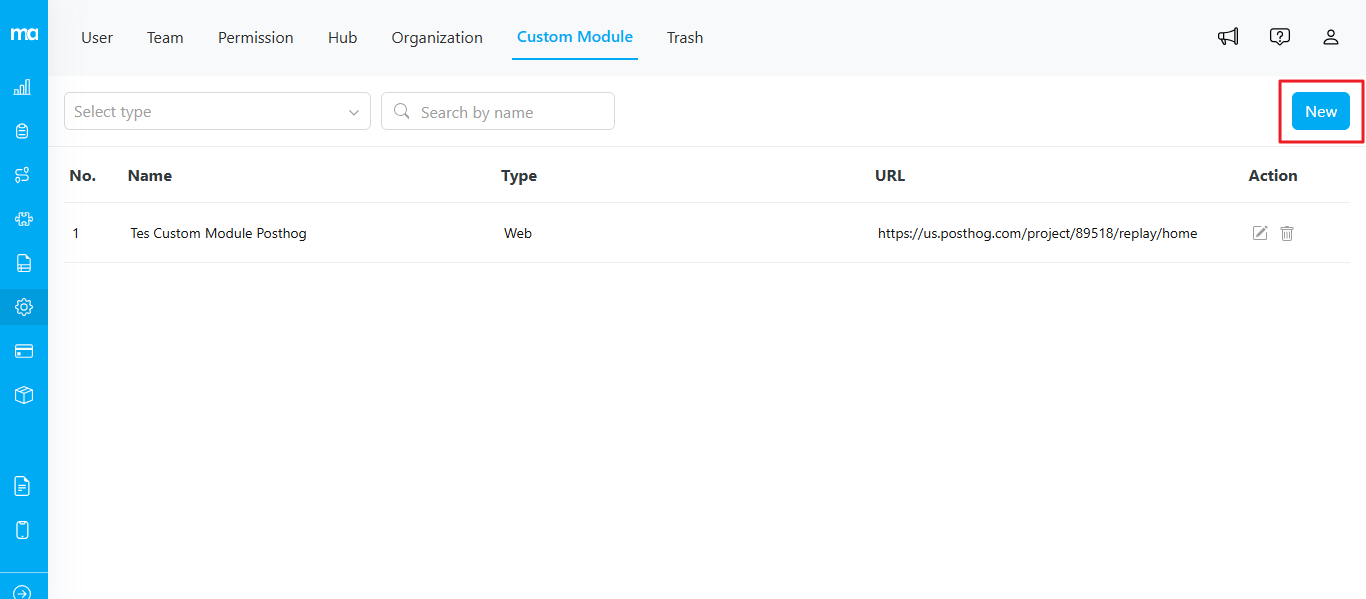
4. On the "Custom Modules" page, you will see a list of existing custom modules (if any). To add a new custom module, click the "New" button.
Fill in the following information:
1. **Name**: Enter the name that will be displayed in the sidebar as the module's title. **Note**: Ensure you are not using a module name that already exists in MileApp.
2. **Type**: You can choose if this menu option should open in a new web tab or show up as new menu in mobile app.
3. **URL**: Enter the URL of the additional module that will be accessed when this module is clicked.
4. After filling in the information, click the "Submit" button to save the custom module.
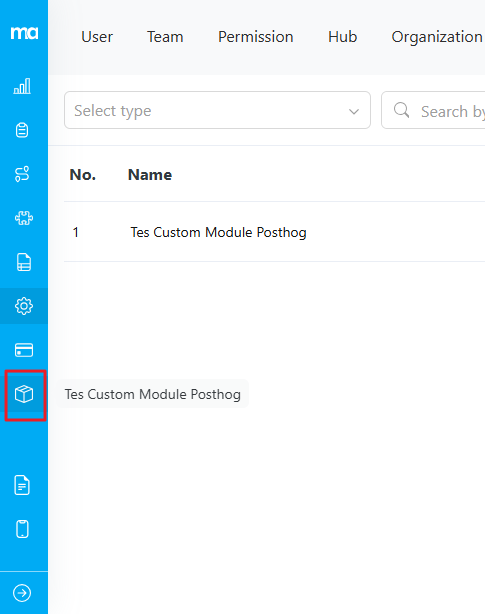
After adding a custom module, you will see it displayed in your sidebar or navigation menu.
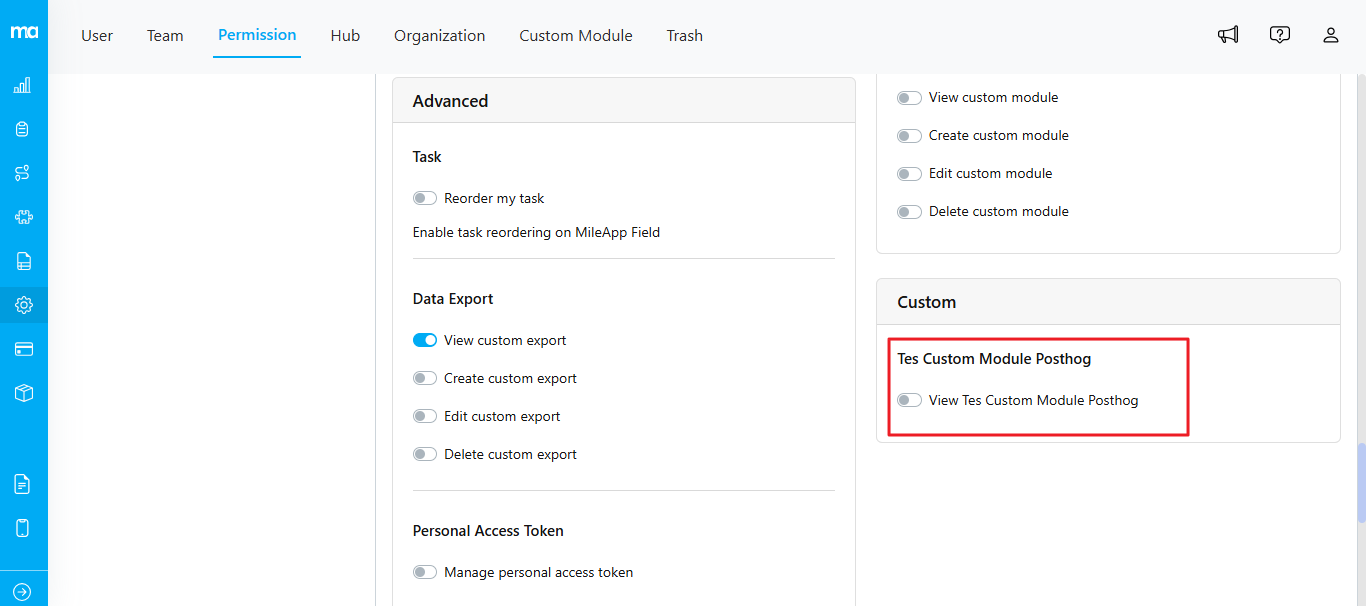
**Please be aware that when you successfully create a custom module, the system will automatically generate custom permissions associated with the module. For instance, if you named your custom module as "Tes Custom Module Posthog" the system will generate a corresponding permission called "View Tes Custom Module Posthog."**
## Edit Custom Module
You can edit all fields except the name. If you wish to edit the name, you can consider deleting the existing one and creating a new custom module.