Required permission:
- View Automation
- Create Automation
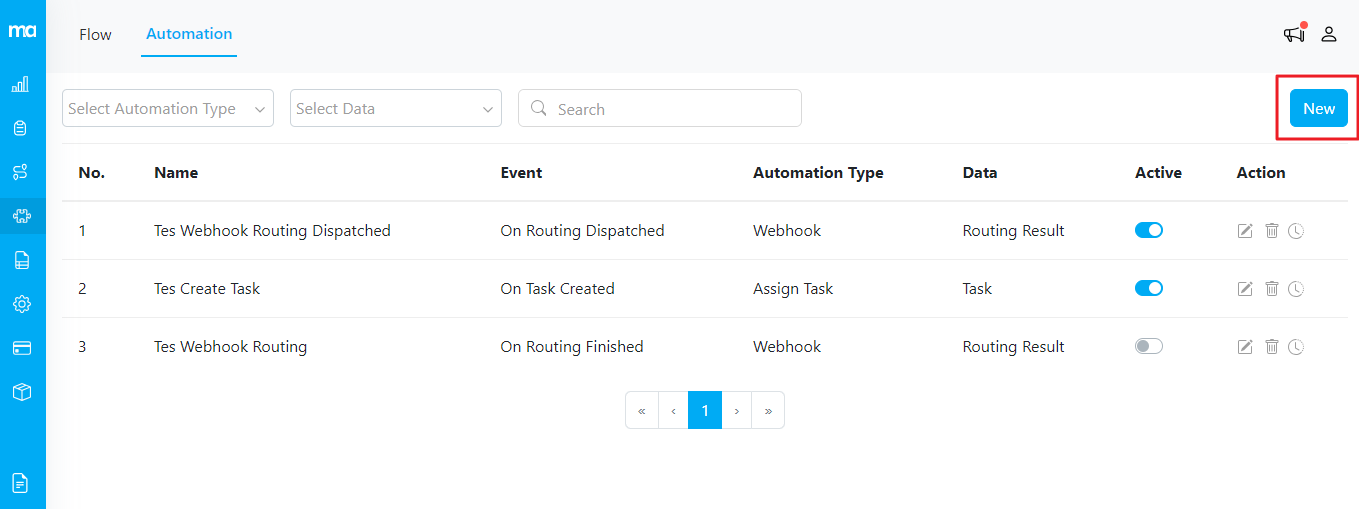
New Button on Automation Page
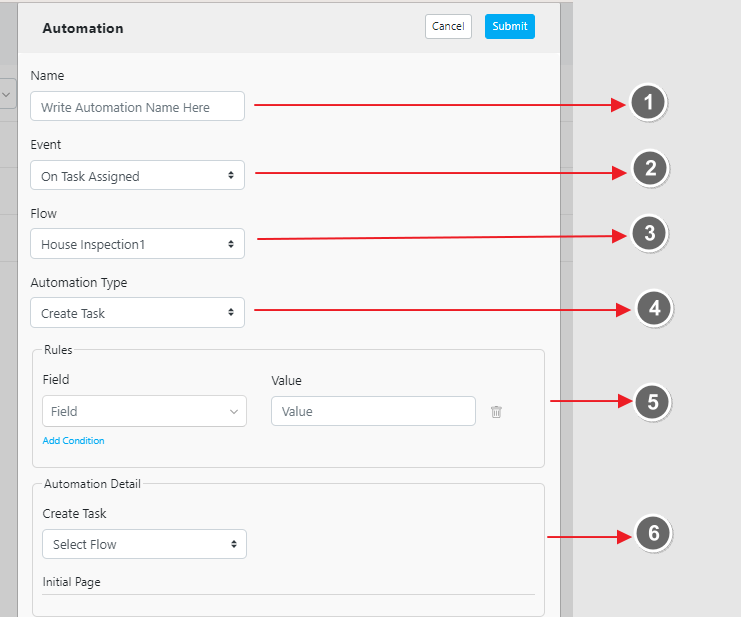
Automation Form Fields
- Name: Provide a descriptive name for your automation. This will help you easily identify its purpose.
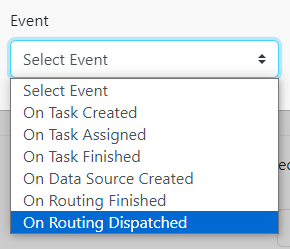
- Event: The event acts as the trigger for the automation. This specifies when the automation should be activated. Events can include task creation, task updates, routing finished, etc.
- Flow: Specify the task flow, such as Pickup or Delivery. This defines the type of tasks the automation will apply to.
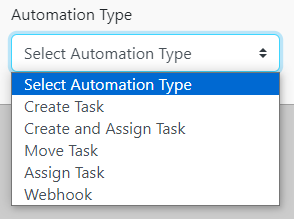
- Automation Type: Determine the action that should occur when the event is triggered. The available automation types will vary based on the selected event. Examples include creating a task, updating a task, assigning a task, sending webhook etc.
-
Rules: Rules act as filters that define the conditions under which the automation should run. For example, if you want the automation to trigger when there is a Pickup task where the “Customer Name” is “William,” you would set this rule accordingly.
- Example: Choose the field “Customer Name” and set the value to “William.” This means the automation will run only for Pickup tasks where the customer name is William.
- Note: Rules can be left empty if no specific filtering is needed.
-
Automation Details: Define the specifics of what the automation will do based on the selected Automation Type.
- Example: If you choose the Automation Type “Create Task,” you will need to fill in all relevant information about what the new task should look like, including task address, coordinate, assignees, etc.