Accessing the Billing Email Setting
- Navigate to the Billing/Invoice page in your MileApp account
- Click the Billing Setting button located in the top-right corner of the page (as highlighted in the image below)
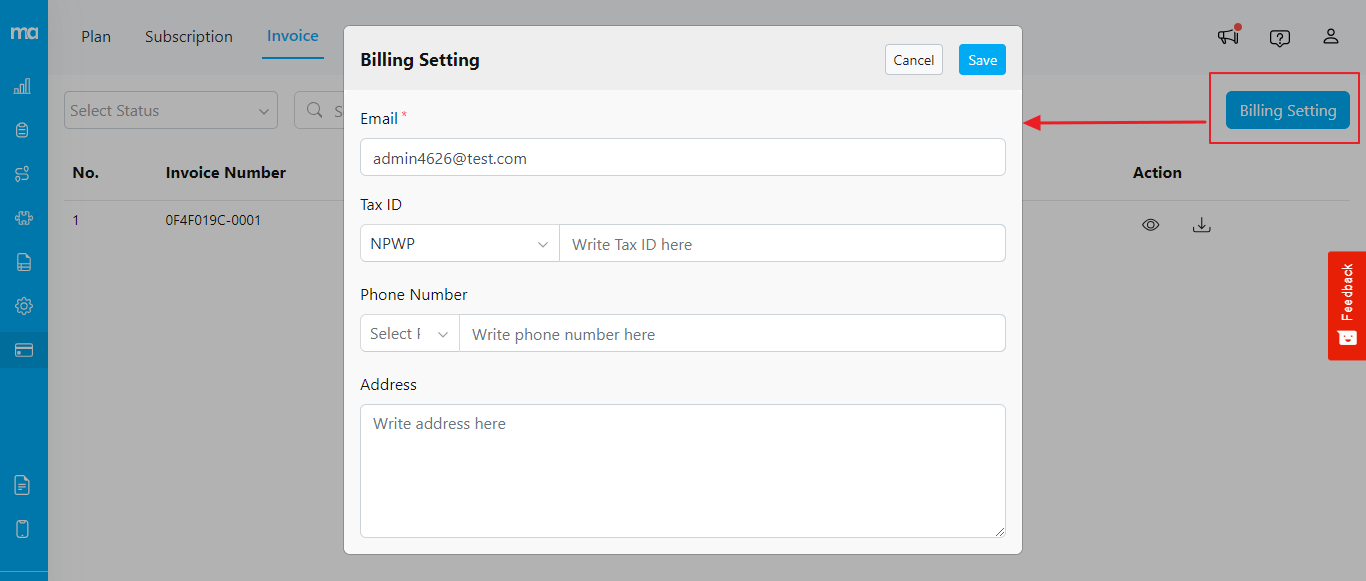
Billing Setting dialog
Configuring Billing Information
Once you click the Billing Setting button, a popup dialog will appear where you can configure the following fields:- Email (Required):
- Enter the primary email address where invoices should be sent
- Owner’s email will be shown by default
- Tax ID:
- Select the type of Tax ID applicable to your organization (e.g., NPWP for Indonesian organizations)
- Enter the Tax ID number in the corresponding field. For NPWP, ensure it is a 16-digit number
- Phone Number:
- Choose the country code from the dropdown menu
- Enter the phone number associated with your organization
- Address:
- Enter the complete billing address of your organization