Task
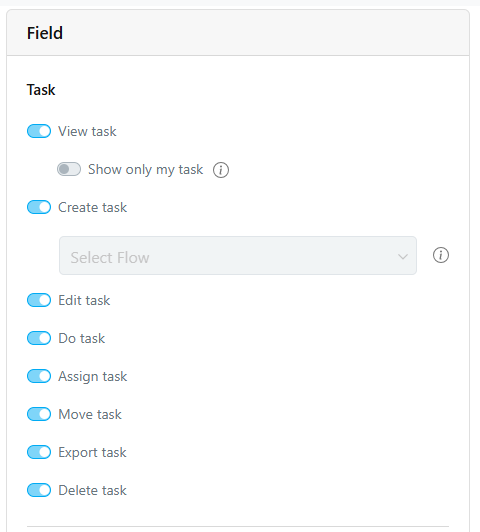
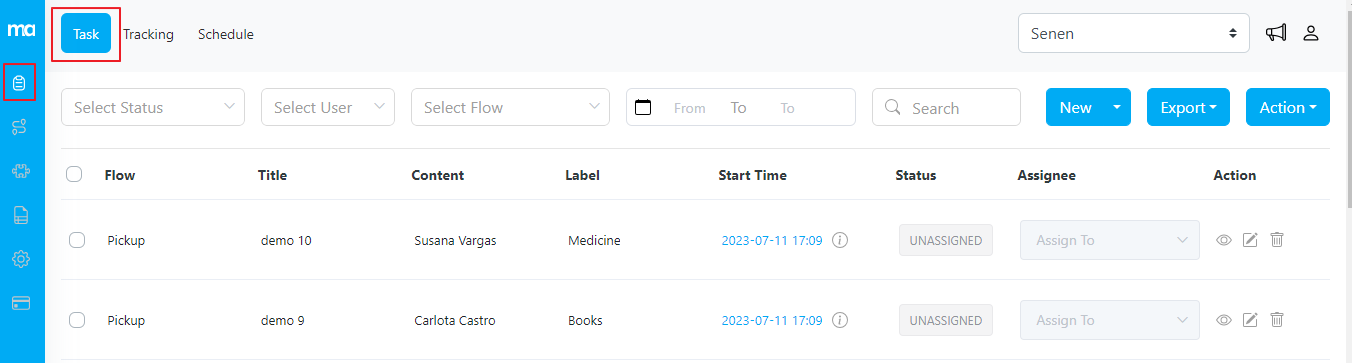
- View Task: Users can view tasks within the system. Additionally, there may be an option to filter and display only tasks assigned to them specifically (labeled as “Show only my task”). This allows users to focus on tasks relevant to their responsibilities.
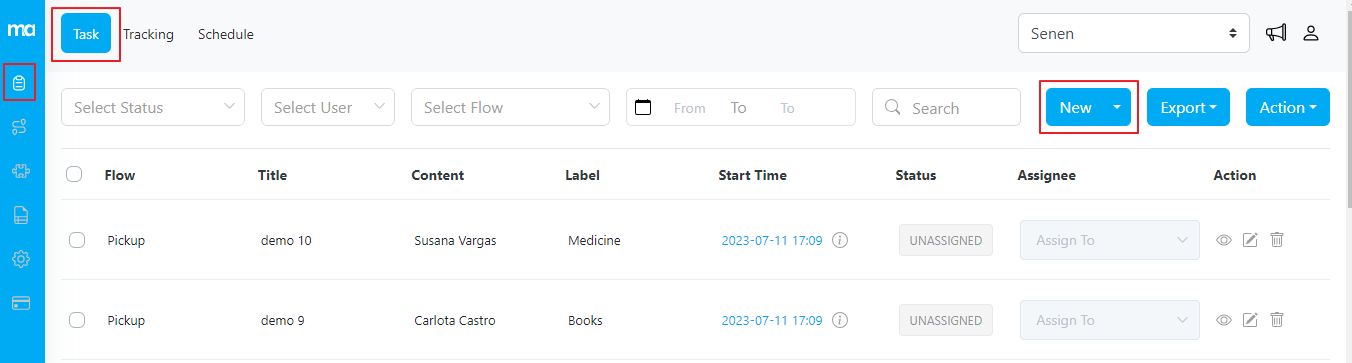
- Create Task: Users can create new tasks in the system. Depending on the specific role’s permissions, you can define which flow tasks can be created for that role. Flow tasks represent different types or categories of tasks within the system. For example, a role may have permission to create sales-related tasks, maintenance tasks, or support tasks. By defining the allowed flow tasks for a role, you can ensure that users in that role can create tasks appropriate to their area of responsibility.
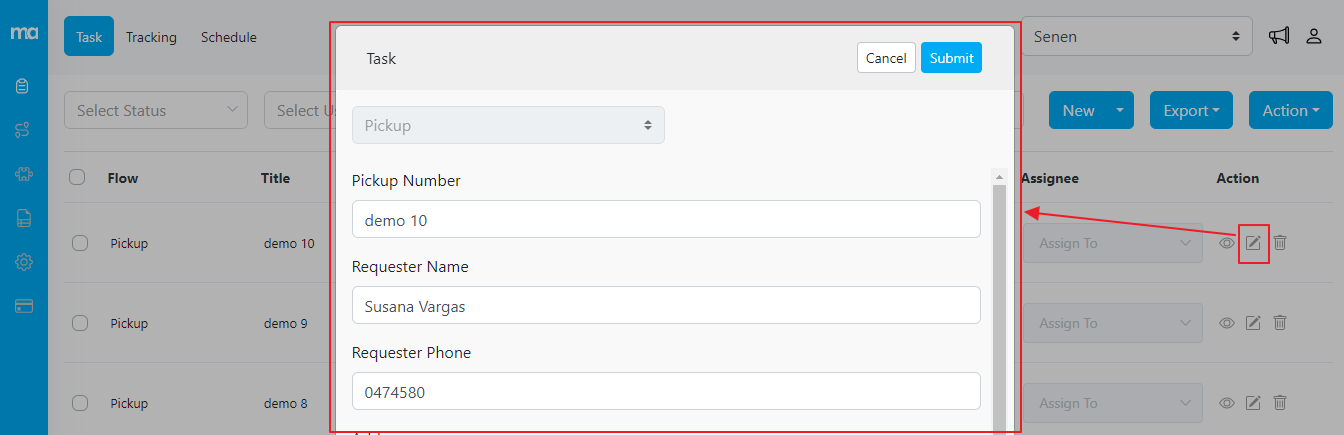
- Edit Task: Users can modify existing task details. This includes updating task information, changing end dates, editing descriptions, and making any necessary changes to the task’s attributes.
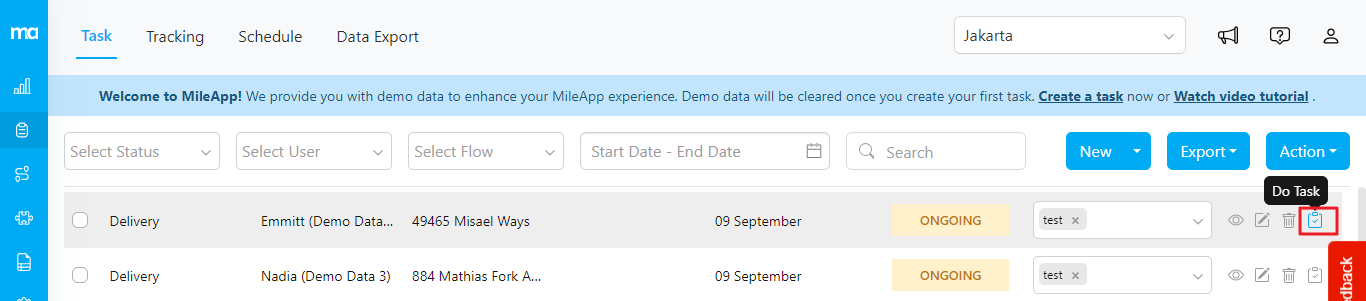
- Do Task: This permission allows users to complete tasks from both the mobile app and the web. Completing a task will update its status from Ongoing to Done.
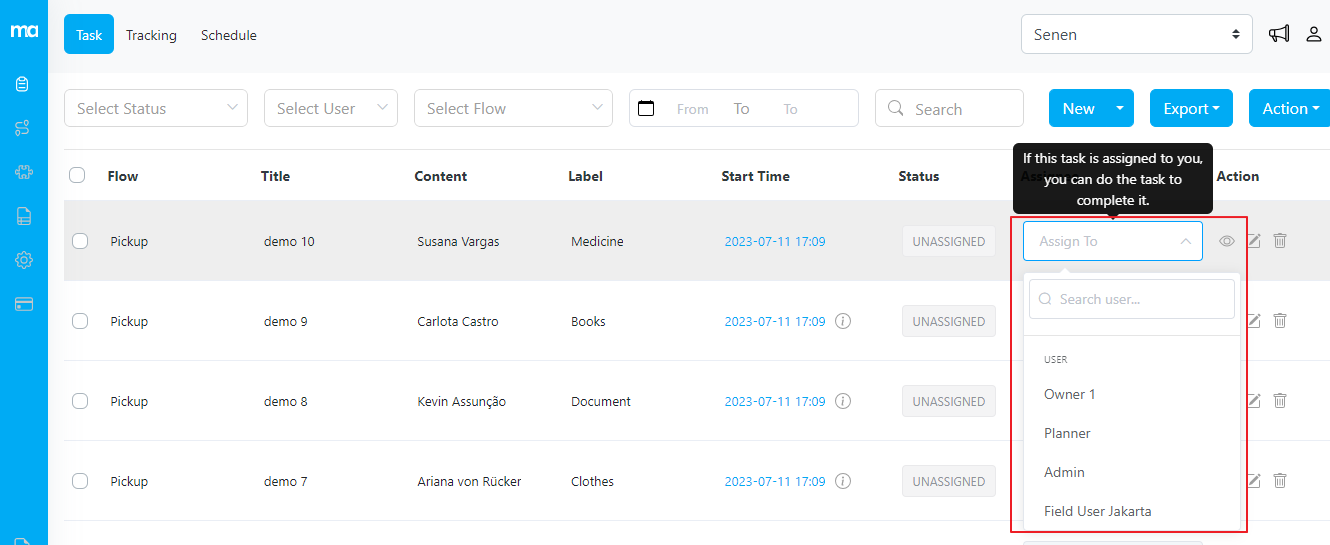
- Assign Task: Users can assign tasks to other users within the system. This involves selecting the appropriate user(s) from a list of available options and allocating the task to them. This feature facilitates task delegation and ensures clear ownership.
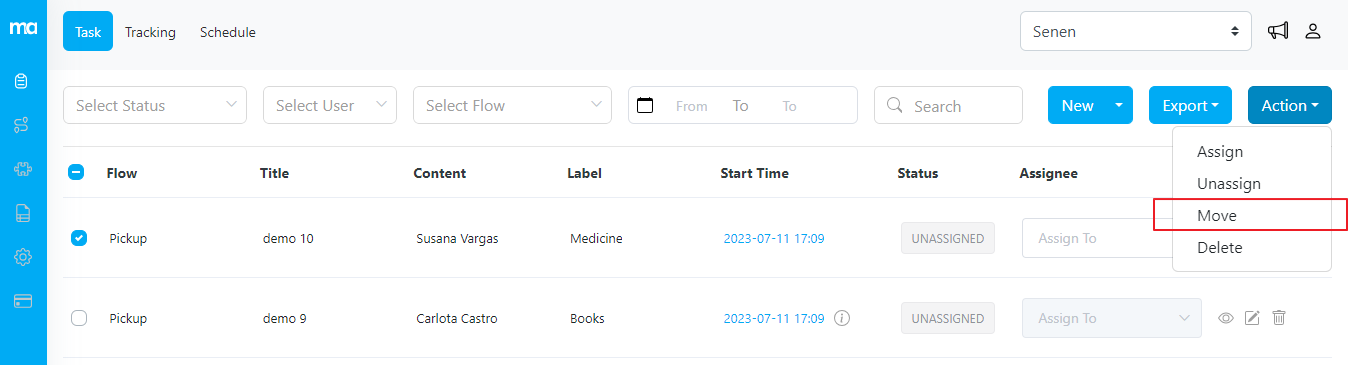
- Move Task: Users can rearrange tasks within different categories, folders, or sections. This helps with organizing tasks and keeping track of their progress or priority. Users with the ability to move tasks can also move them across different hubs within the system. However, users can only move tasks to hubs that they have access to. This restriction ensures that tasks are appropriately managed and assigned to the relevant hubs within the user’s permissions.
- Export Task: Users can export task data into Excel format, for reporting, analysis, or sharing purposes. This feature enables users to generate task-related reports or documentation as needed.

- Delete Task: Users can delete tasks from the system. This action permanently removes the task and all associated information. Exercise caution when deleting tasks, as this action cannot be undone. To delete a task, click on the trash icon task you want to remove or choose Delete from Action button. Select the delete option and confirm the deletion when prompted.

Tracking
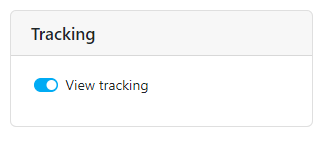
- View Tracking: Users with the Tracking permission can access the sub-menu Tracking to monitor the progress of field users. This feature allows users to gather important information regarding ongoing tasks, completed tasks, total distance covered, and total travel time. When accessing the Tracking menu, users will typically see a dashboard or summary view that provides an overview of the field users’ progress. This summary may include metrics such as the total number of ongoing tasks and the number of completed tasks.
Schedule
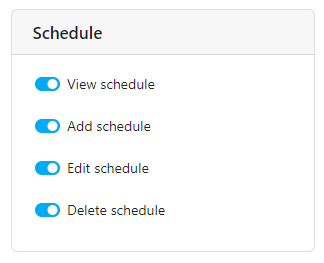
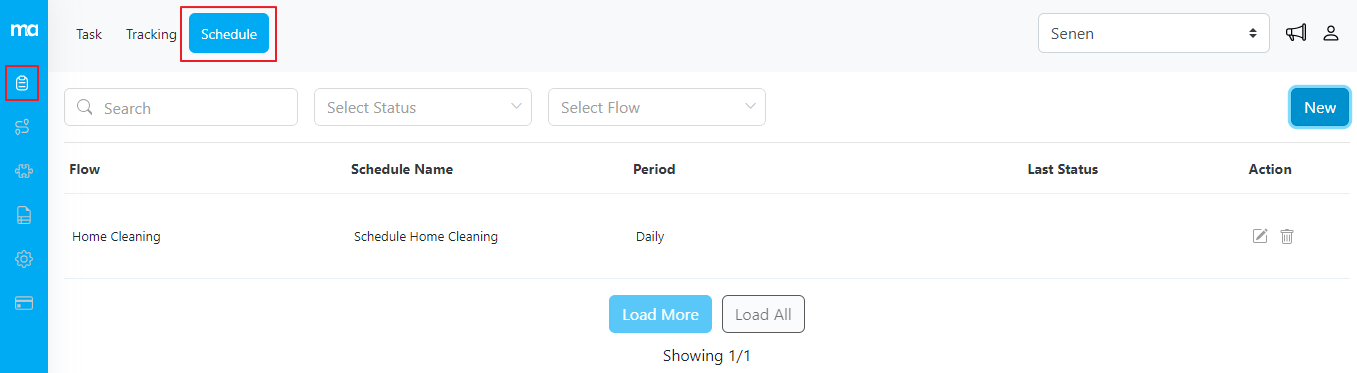
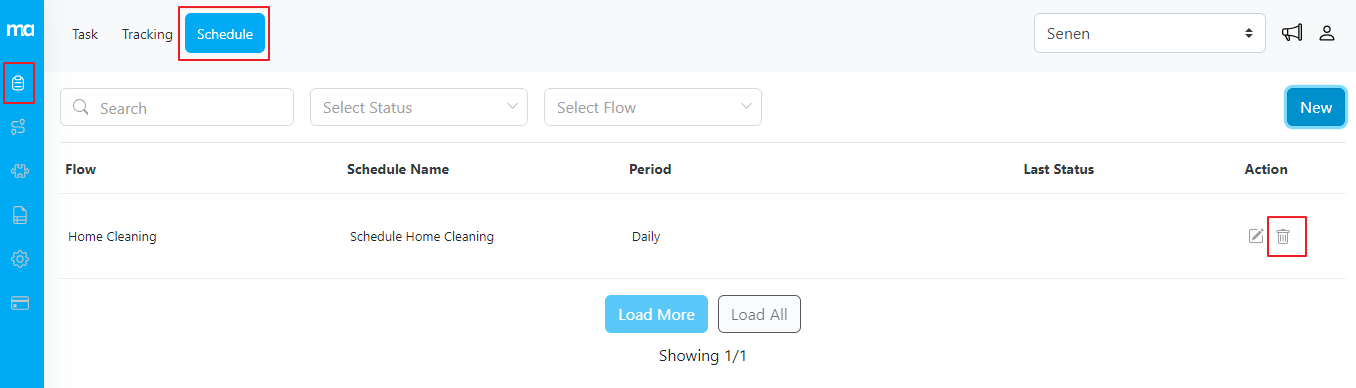
- View Schedule: Users with the Schedule permission can access the Schedule menu to view a list of schedules. The schedule view presents a comprehensive list of scheduled tasks, providing users with essential information such as schedule name, flow, period, last status, and various filtering options.
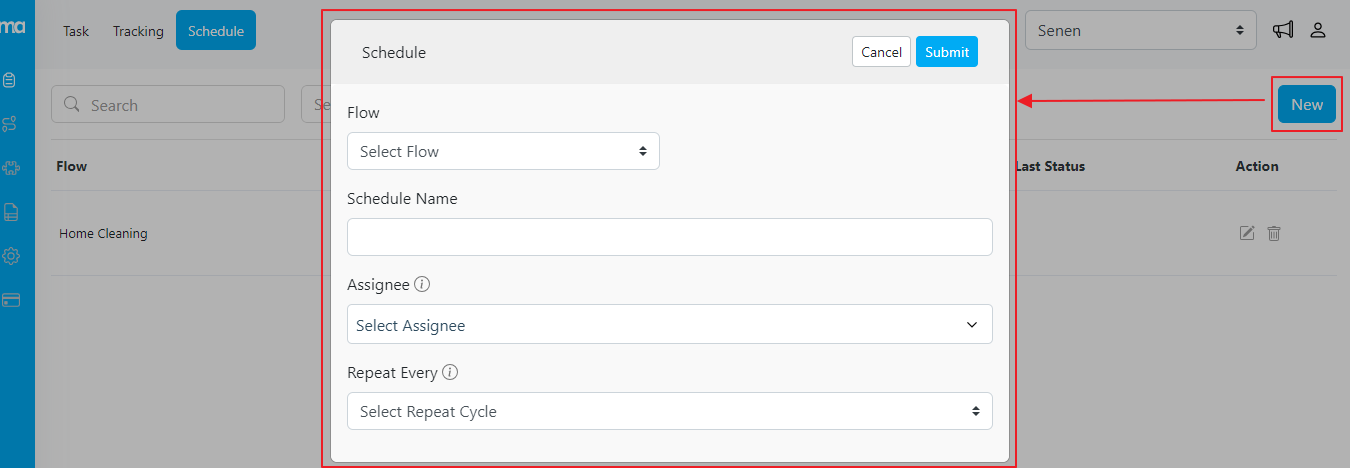
- Create Schedule: Users with the Schedule permission can create schedules that automatically generate tasks based on predefined criteria. This powerful feature enables users to define task data and set specific conditions for when the schedule triggers the creation of new tasks. To add a schedule, users can access the scheduling menu and provide the necessary details for the automated task creation. This includes filling in the required task data such as task name, description, due dates, assignees, and any other relevant information.
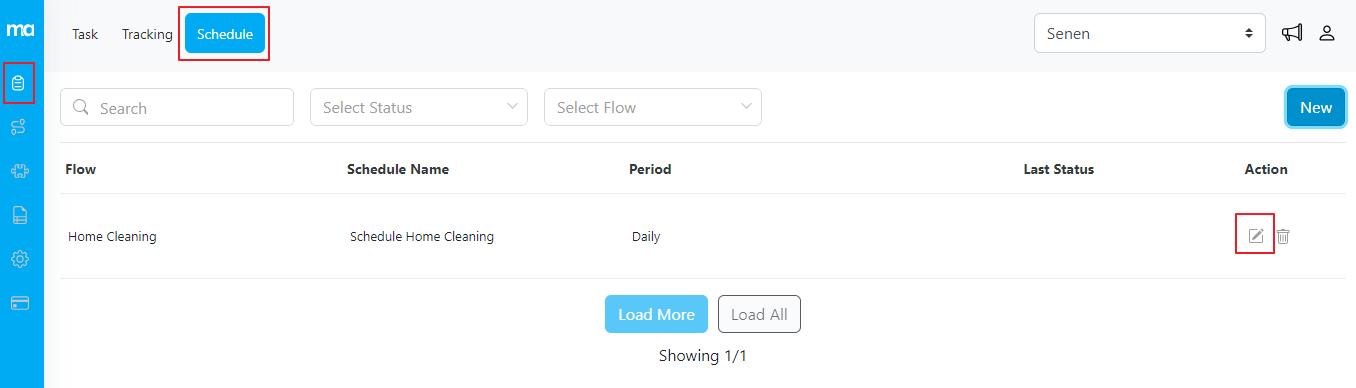
- Edit Schedule: Users with the Schedule permission can modify existing schedules within the system, allowing them to update schedule details and adjust the automated task creation parameters based on the updated information.
- Delete Schedule: Users with the Schedule permission can delete schedules from the system. This action permanently removes the schedule and all associated information. When deleting a schedule, users should exercise caution, as this action cannot be undone. To delete a schedule, users can locate the specific schedule item they wish to remove and click the trash icon. Selecting the delete option and confirming the deletion will permanently remove the schedule.
Advanced
Reorder my task
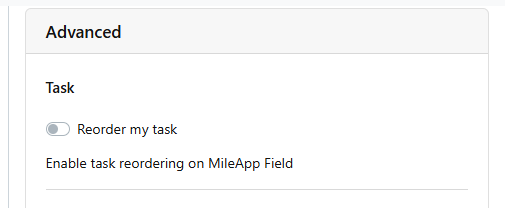
- Reorder my task: This permission allows field users to reorder ongoing tasks in MileApp Field.
Data Export
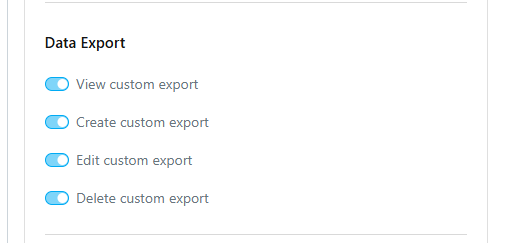
- View Custom Export: This permission allows users to view a list of created custom exports when clicking “New” button in the Data Export submenu. For more details, read more about the Data Export feature here.
- Create Custom Export: Users with this permission can create custom exports, so they won’t have to select fields manually every time they export task data. If they do not have this permission, a message will appear indicating access is restricted.

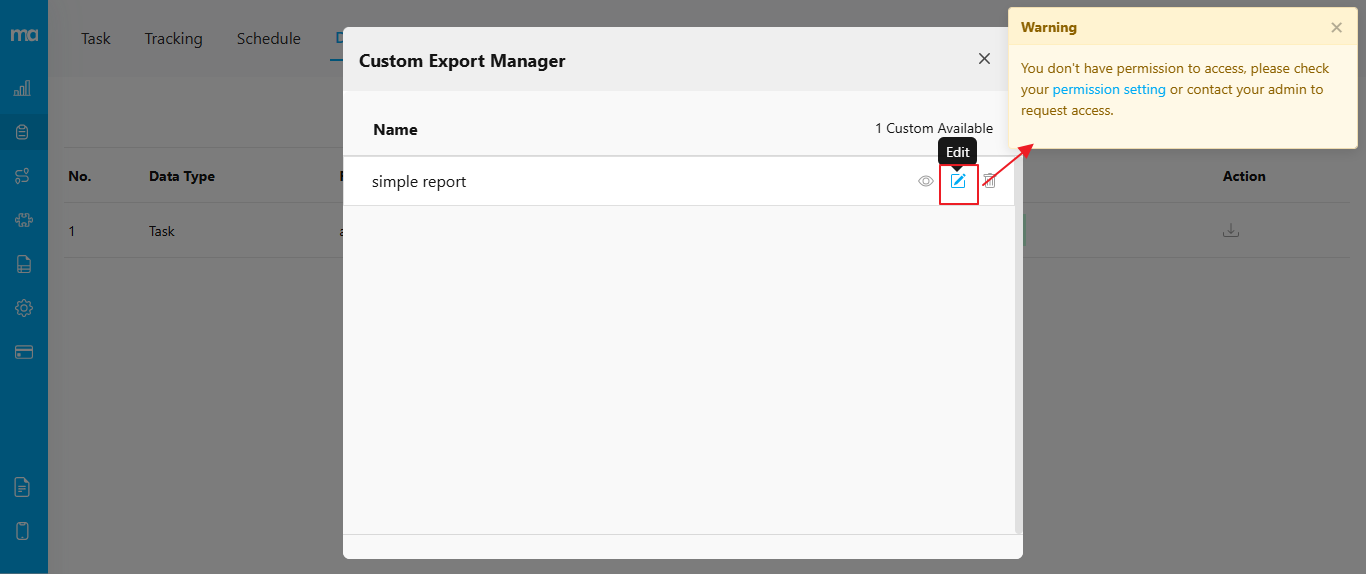
- Edit Custom Export: This permission allows users to update saved custom exports. If they do not have this permission, a message will appear indicating access is restricted.
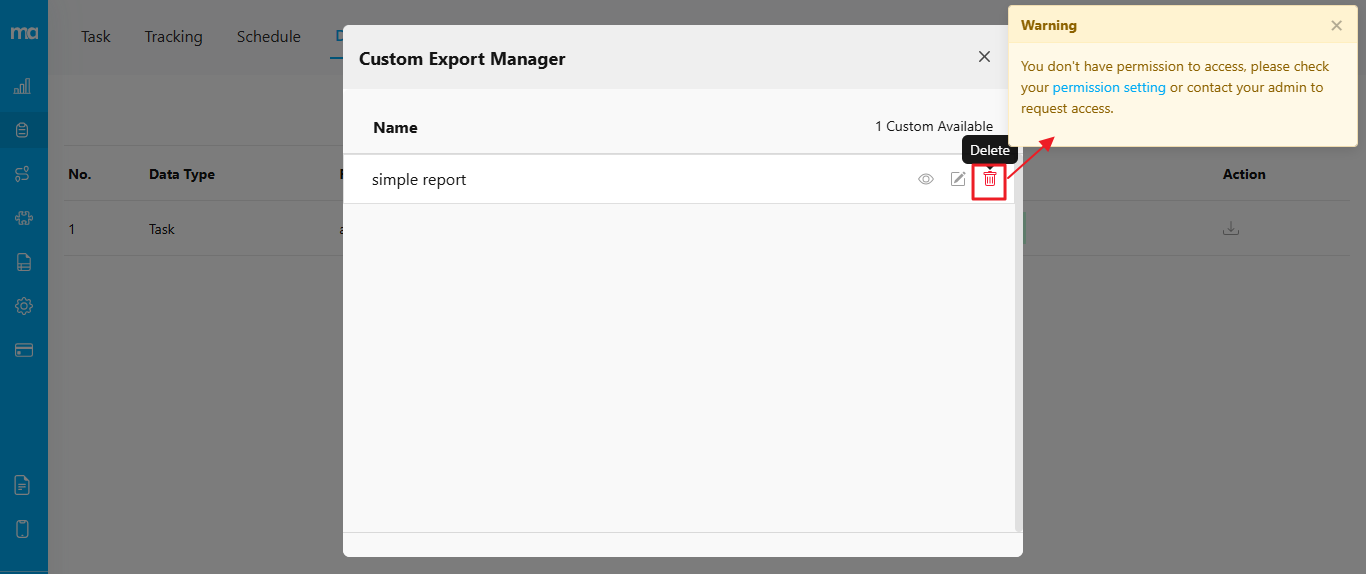
- Delete Custom Export: Users with this permission can delete custom exports. If they do not have this permission, a message will appear indicating access is restricted.
Start Trip - End Trip
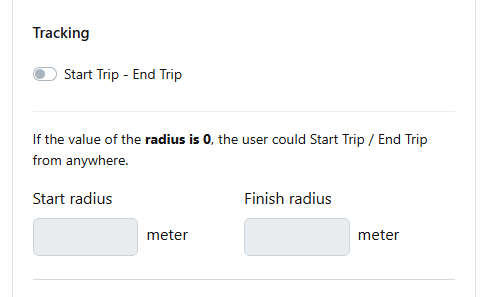
- Start Trip - End Trip: Enabling this feature will add an additional button in MileApp Field. Before starting a task, a field user will need to click Start Trip to begin and End Trip to finish on the mobile app.
- Start radius: If the value of the radius is 0, the user could start the trip from anywhere.
- Finish radius: If the value of the radius is 0, the user could end the trip from anywhere.