Required permission:
- View User
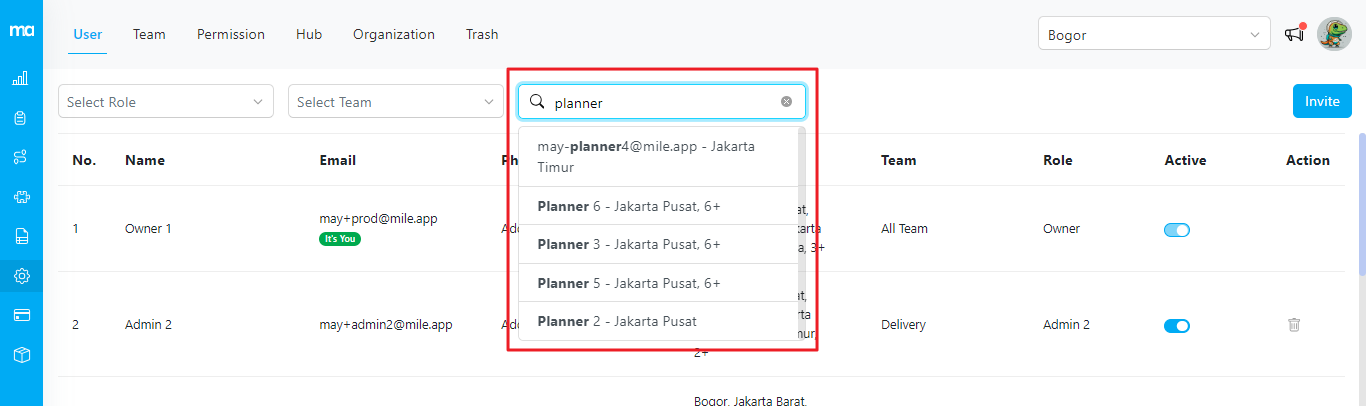
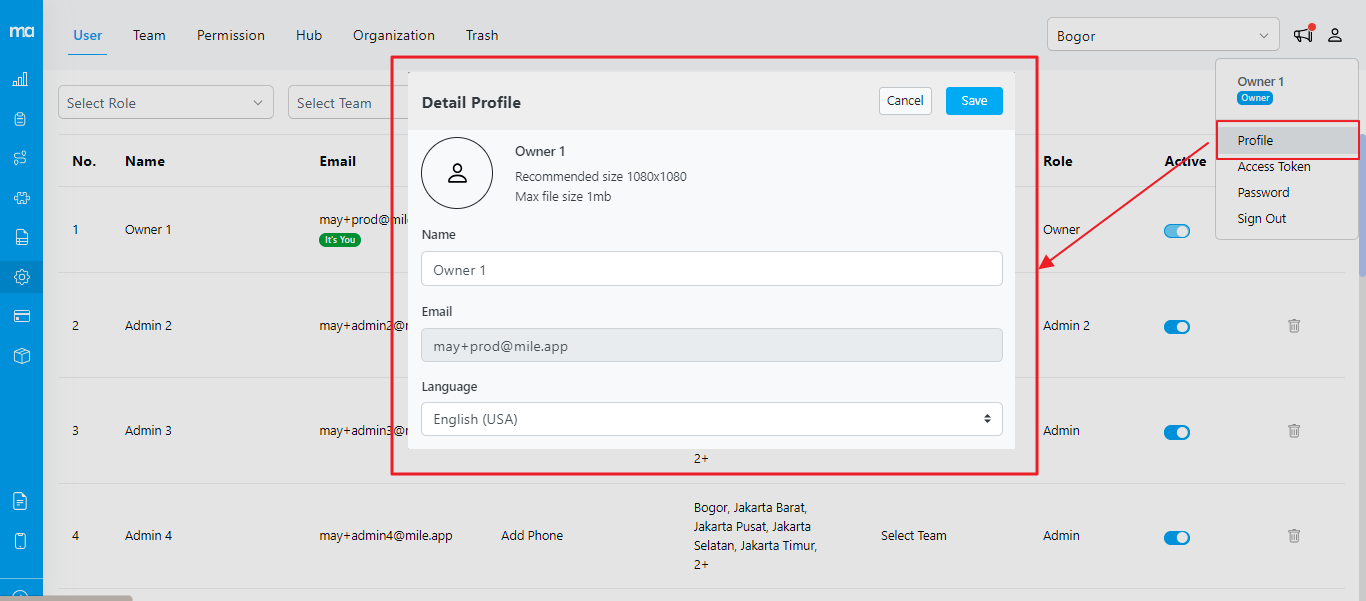
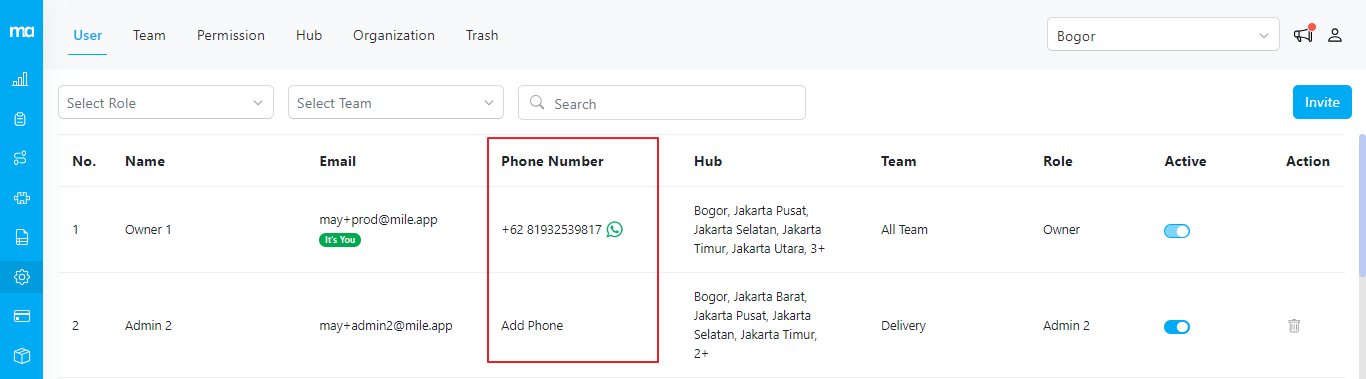
User Listing and Filtering
The Setting-User menu gives you a comprehensive list of all registered users in the system. This list displays essential information such as the user’s name, email address, and assigned role. To enhance user management, the menu offers filtering options that allow you to search for users by name or email address. Additionally, you can filter users based on their assigned roles, making locating and managing specific user profiles easier.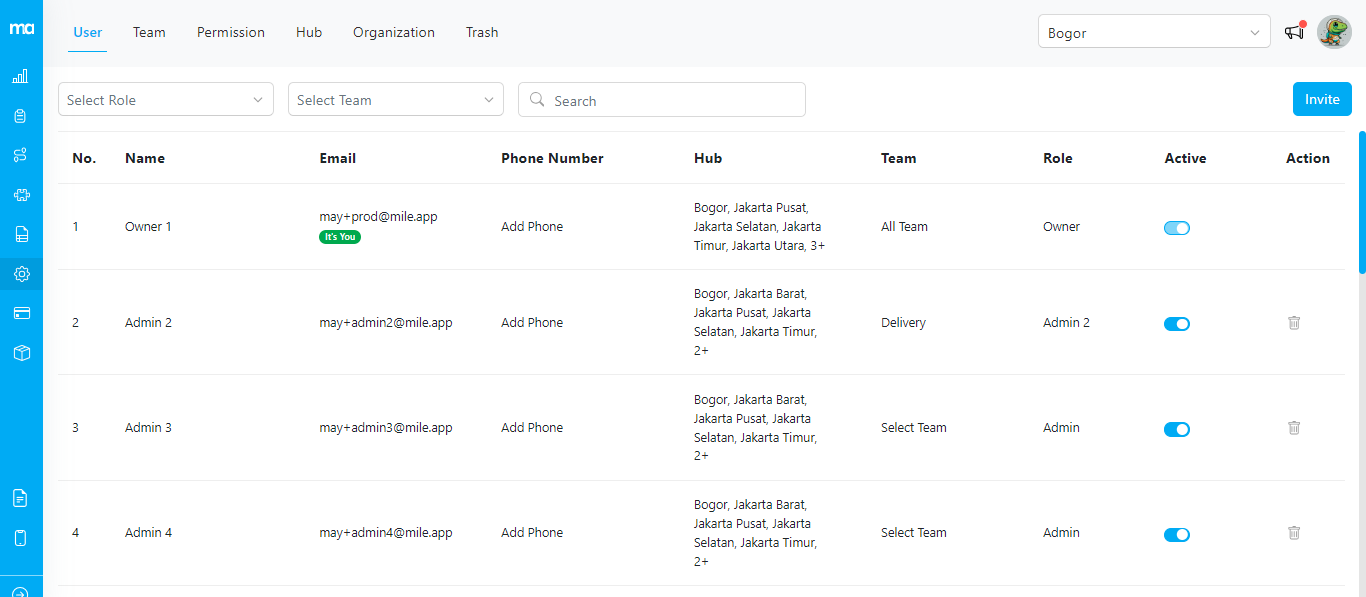
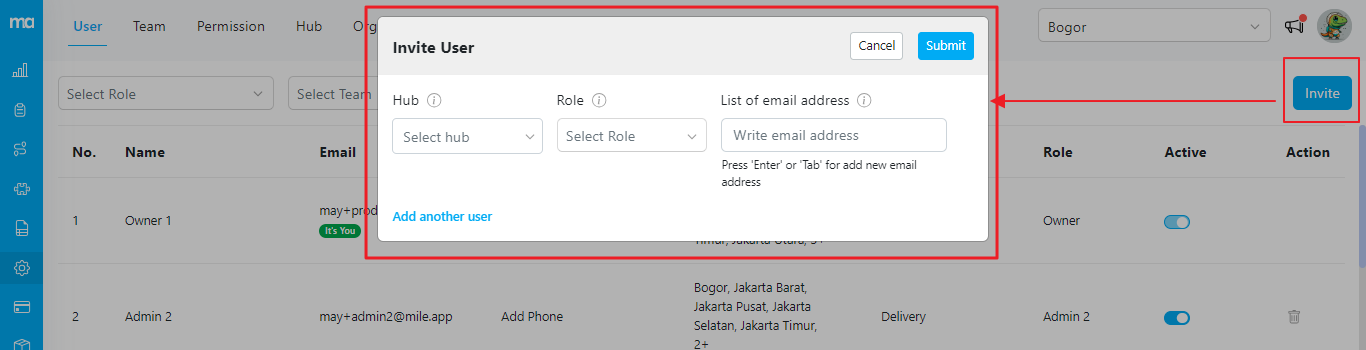
Inviting New Users
With the Setting-User menu, you can invite new users to join your system. By utilizing the “Invite New Users” feature, you can send email invitations to individuals who have not yet registered. Provide their email addresses, and the system will invite them to create an account. This streamlined process ensures a smooth onboarding experience for new users.Required permission:
- View User
- Invite User
- View Role
Re-sending Invitations
When users have not received or misplaced their invitation emails, the Setting-User menu allows you to re-send invitations. This feature ensures that users who missed their initial invitation can quickly receive it again. By resending invitations, you can ensure all intended users can access the system and its features.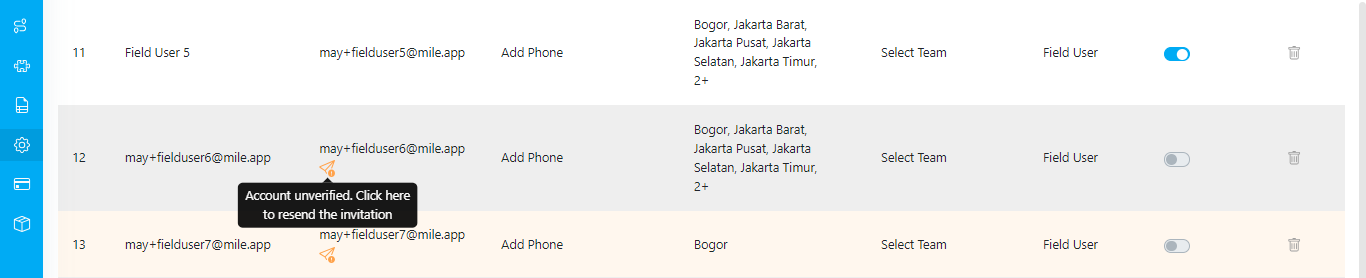
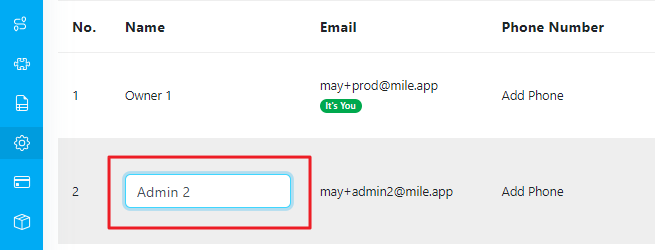
Editing User Information
The Setting-User menu lets you edit user information, specifically the user’s name. If a user’s name changes or updates, you can easily modify it within the system. This ensures that the displayed name accurately reflects the user’s information and facilitates effective communication and identification.Required permission:
- View User
- Edit User
- View Role
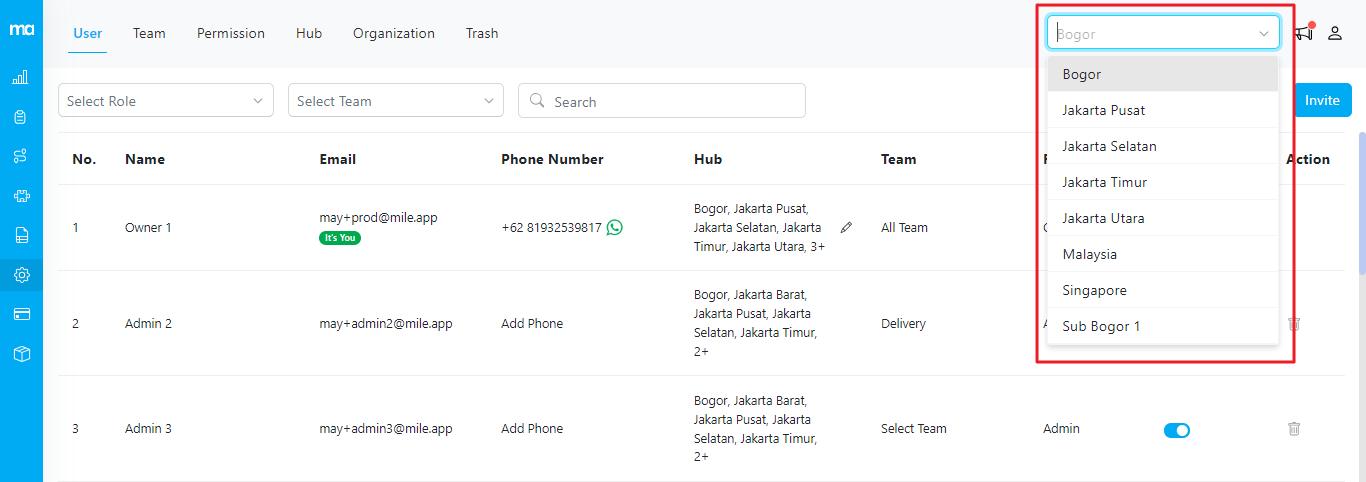
Managing Hub Access
A critical aspect of user management is controlling and regulating access to different hubs within the system. A hub is a centralized location for organizing and accessing specific information, data, or resources. The Managing Hub Access feature in the Setting-User menu allows you to determine which hubs a user has permission to access. The hub access granted to a user directly impacts the filter hub functionality located in the right corner of every page. This filter lets users narrow the displayed information based on a specific hub. However, if users cannot access a particular hub, they cannot filter by that hub.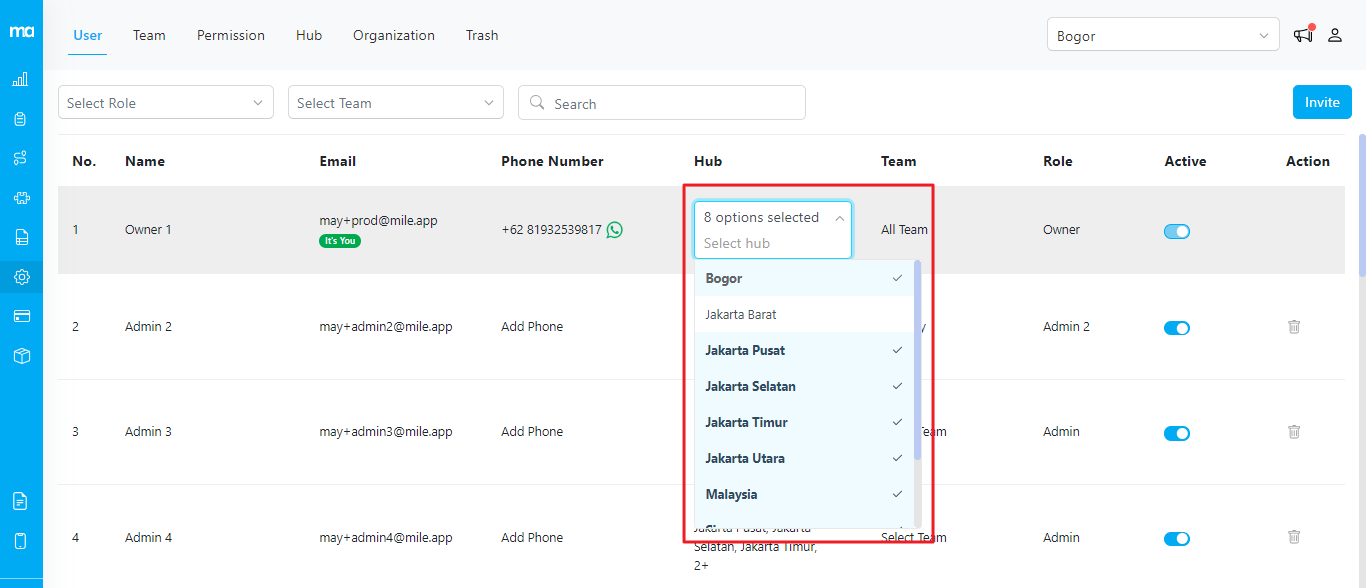
Managing Teams
The Team feature is designed to help you efficiently organize your organization by creating and managing teams. Teams are pivotal in streamlining task assignments, improving collaboration, and enhancing organizational efficiency.
Editing User Roles
Within the Setting-User menu, you can edit the roles assigned to each user. A role defines a user’s set of permissions and privileges within the system. By modifying a user’s role, you can adjust their level of access, responsibilities, and available functionalities within the system. This feature ensures users have appropriate privileges based on their roles and responsibilities.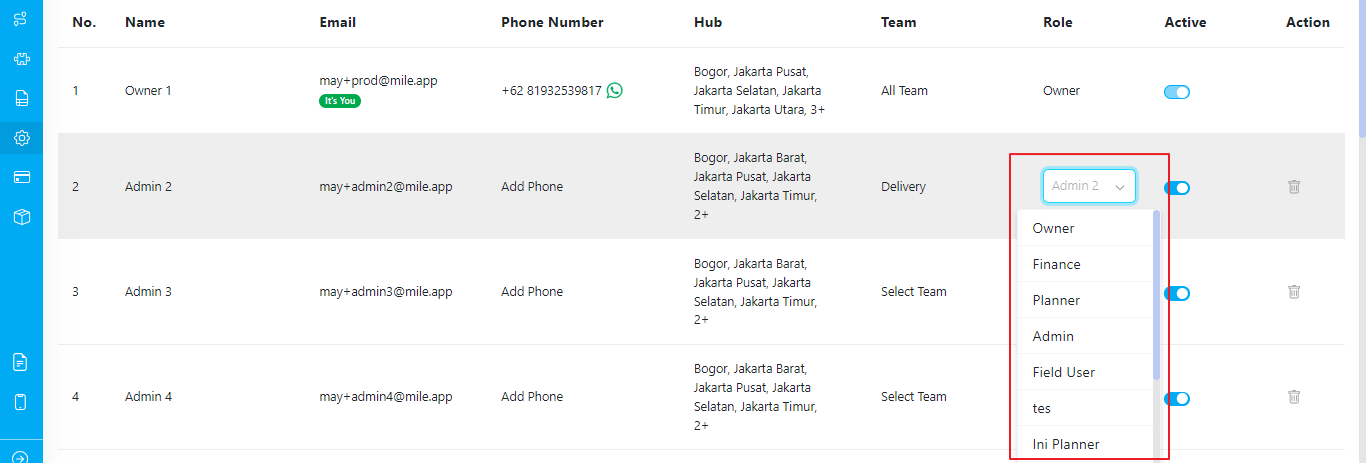
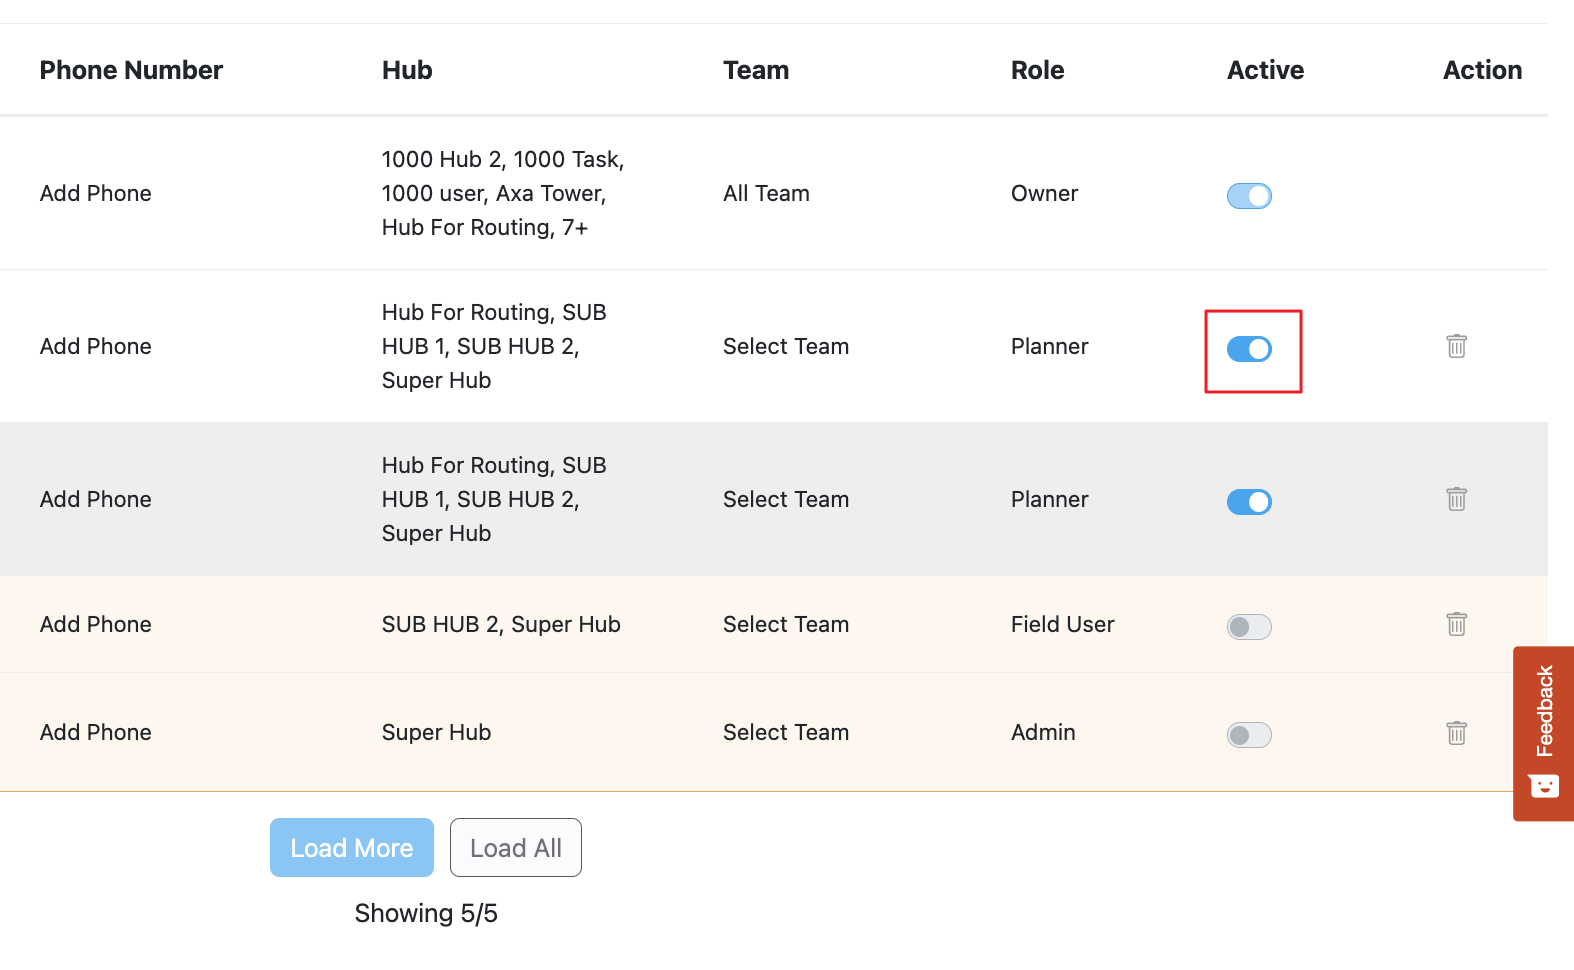
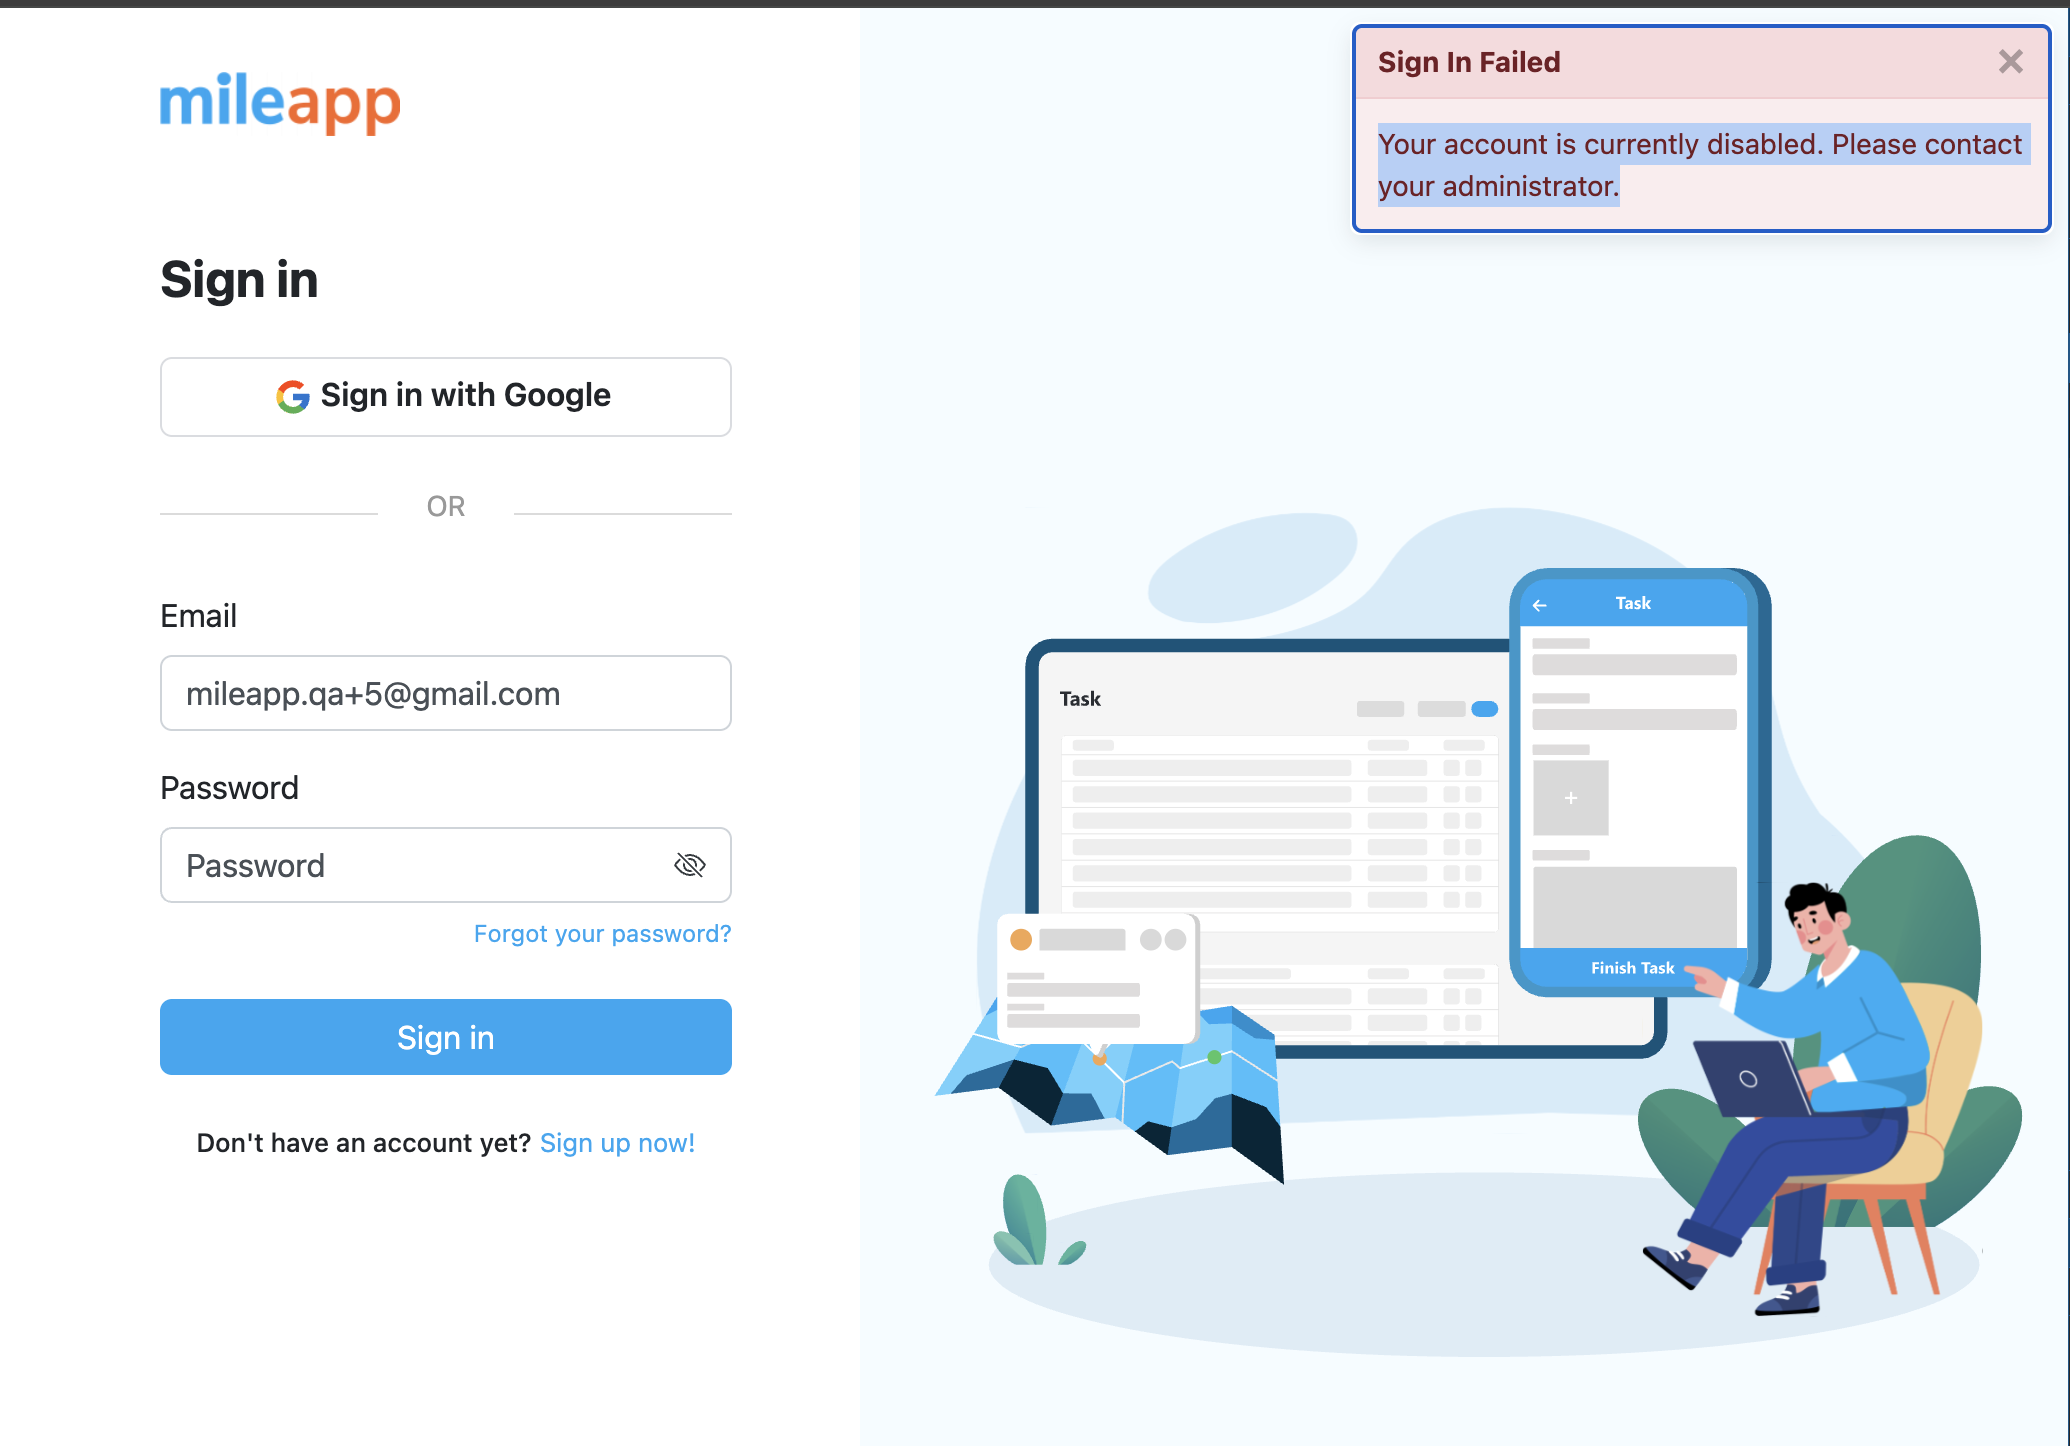
Activating / Deactivating Users
Administrators can manage user status by activating or deactivating accounts. Deactivated users will be restricted from logging in through web and mobile applications.Required permission:
- View User
- Edit User
- View Role
- Toggle ON (Active): The user will have full system access, including web and mobile logins.
- Toggle OFF (Inactive): The user will be deactivated and unable to log in to either web or mobile applications.
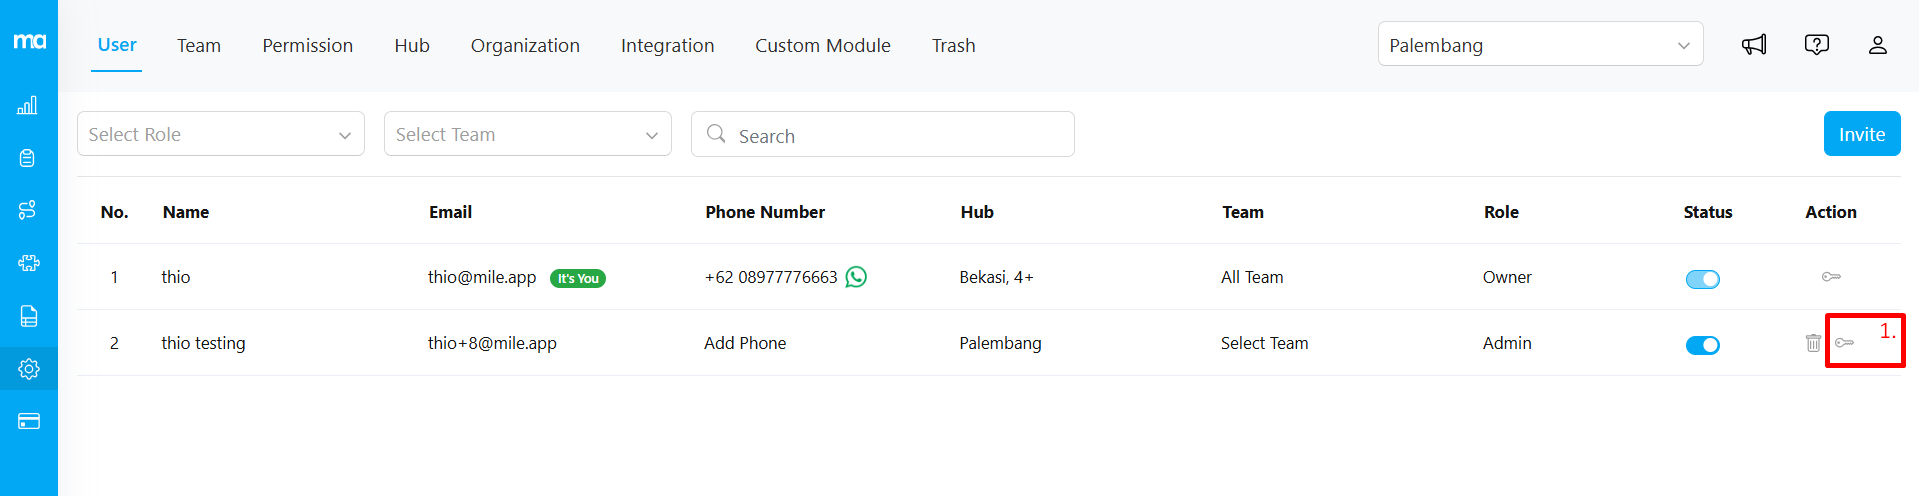
Reset Password
The Reset Password feature allows admins to change passwords for users. This feature is controlled by role-based permissions to ensure security.Required permission:
- View User
- Reset Password
- In the user list, click the key icon next to the user whose password you want to reset.
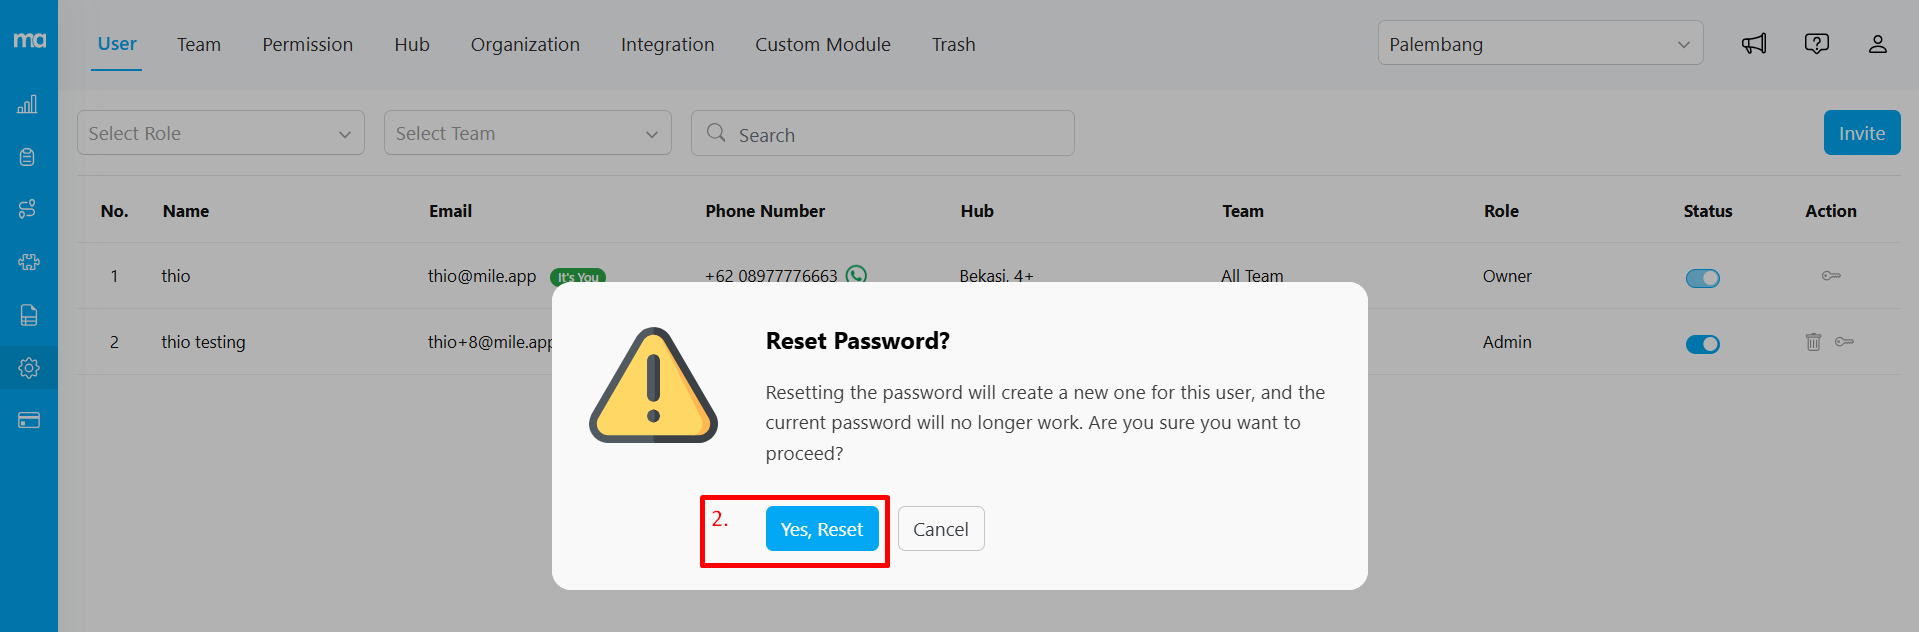
- A confirmation pop-up will appear. Click Yes, Reset to generate a new secure password for that user.
- A Reset Password dialog will appear, showing the newly generated password.
- The suggested password will meet security standards (lowercase, uppercase, number, symbol). You can edit the password as needed.
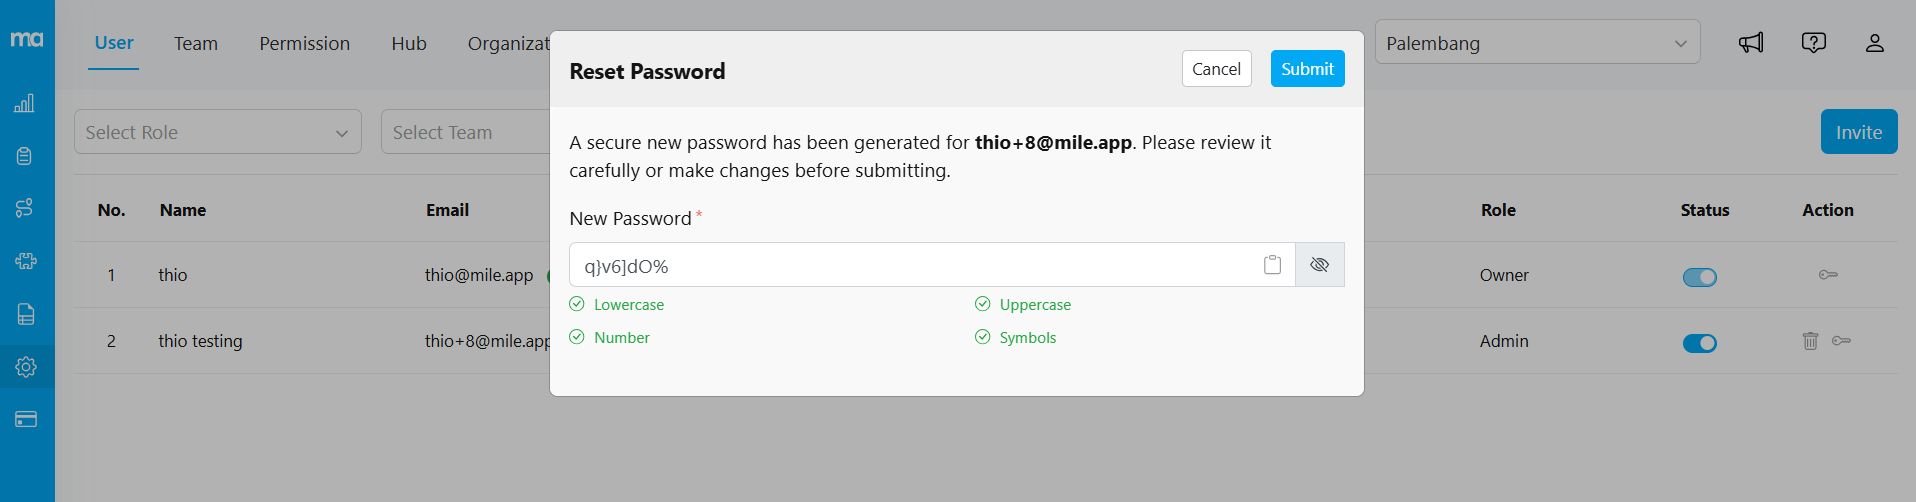
- After reviewing or editing the password, click Submit to confirm the reset.
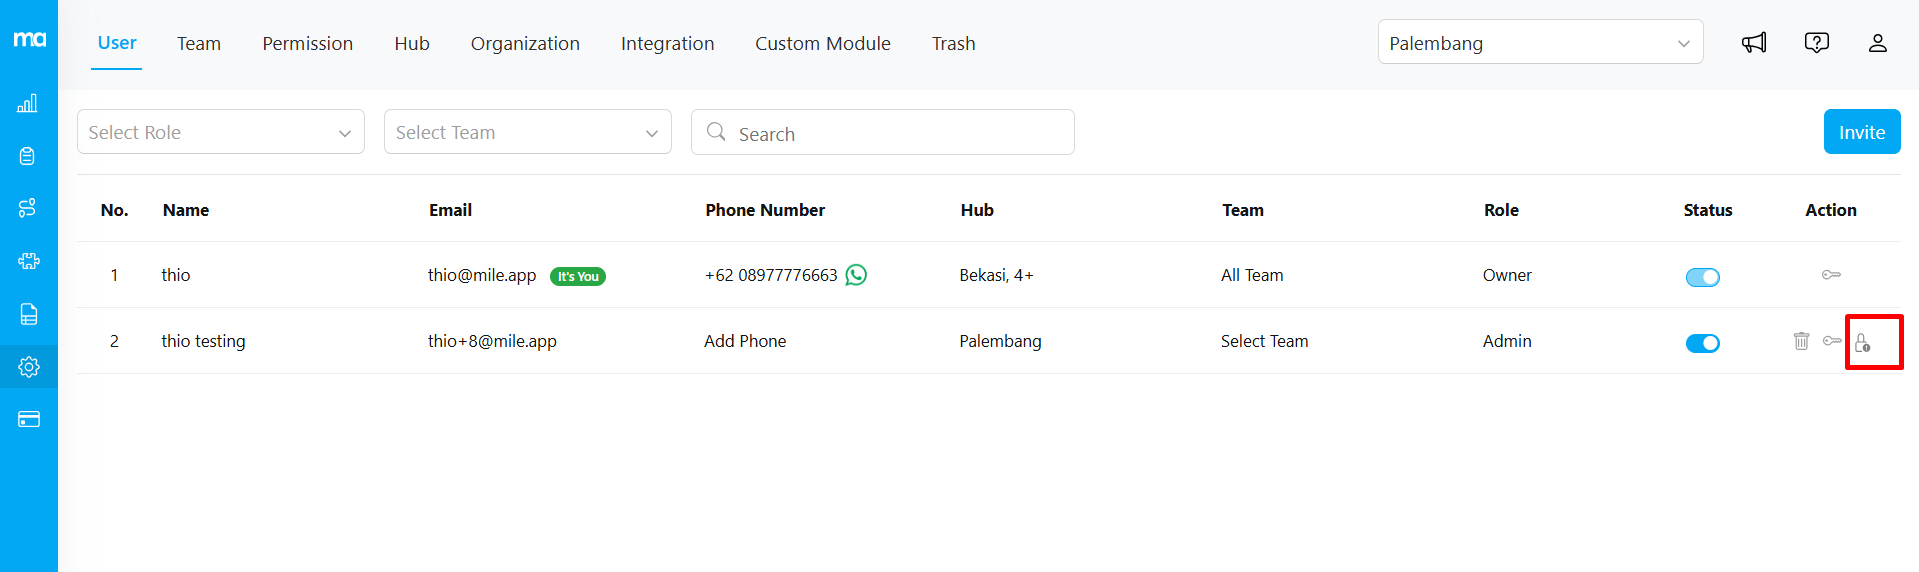
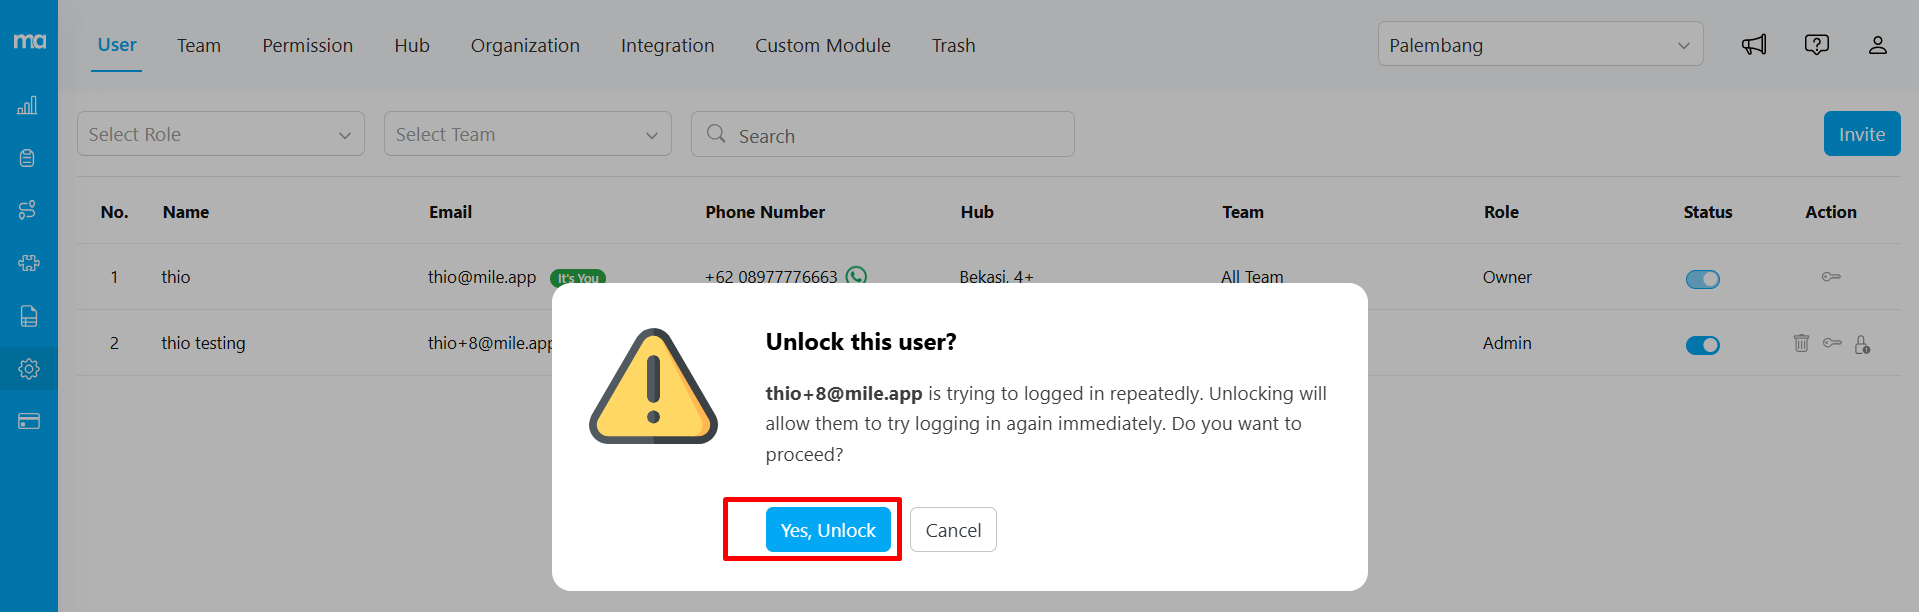
Unlock Users
This feature allows admins to unlock users who have been locked due to repeated failed login attempts. It provides an easy way for users to regain login access without waiting for the 30-minute lockout period.Required permission:
- View User
- Unlock User
- In the user list, a locked user will have the padlock icon. Click on this icon to unlock.
- A confirmation pop-up will appear. Click Yes, Unlock
Deleting Users
In cases where user accounts need to be removed from the system, the Setting-User menu provides a “Delete User” option. This feature allows administrators to delete user accounts and all associated data and permissions permanently. Use this functionality cautiously, as it irreversibly removes user information from the system.Required permission:
- View User
- Delete User
