Required permission:
- View schedule
- Create schedule
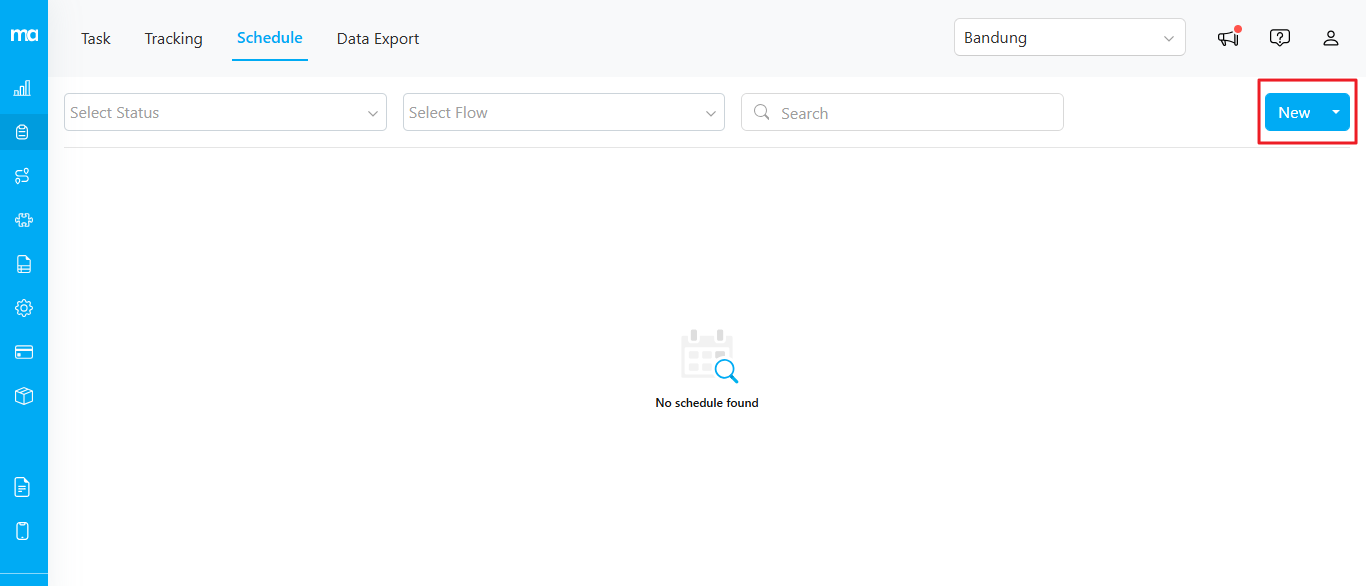
Single Schedule
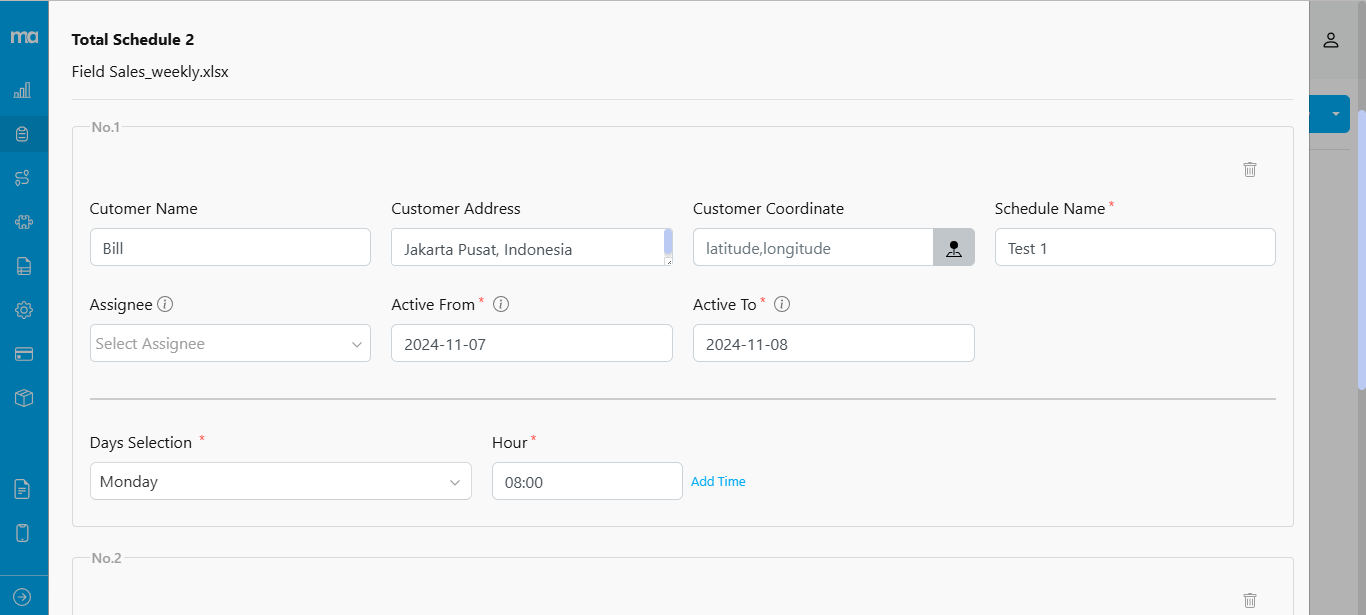
When creating a new schedule, you must fill in the following information. Required fields are marked with an asterisk (*).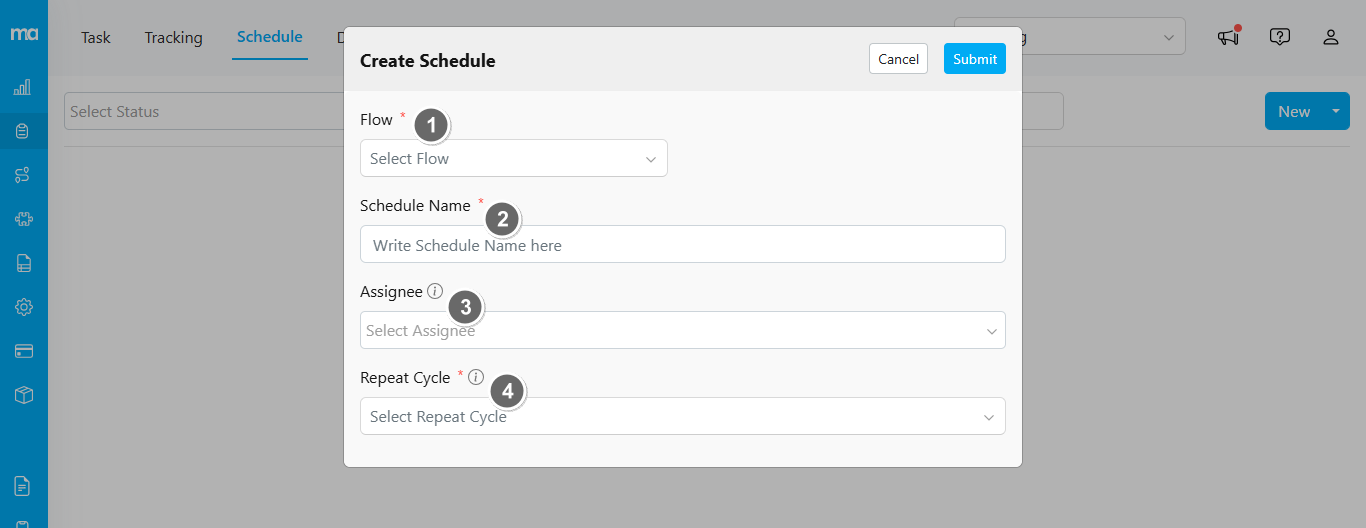
- Task Flow: Select the task flow to use for this schedule (e.g., Pickup, Delivery). Once selected, additional form fields will appear based on the initial page of your flow settings.

- Schedule Name: Enter a specific name to help differentiate this schedule from others you may create.
- Assignee: Choose the assignee for the task schedule. The available assignees are based on the hub selected in the upper-right corner.
- Repeat Cycle: Set the time and cycle for when the schedule will be active. For more details on each cycle option, refer to this page.
Bulk Schedule
If you need to create multiple schedules at once, select “Bulk”.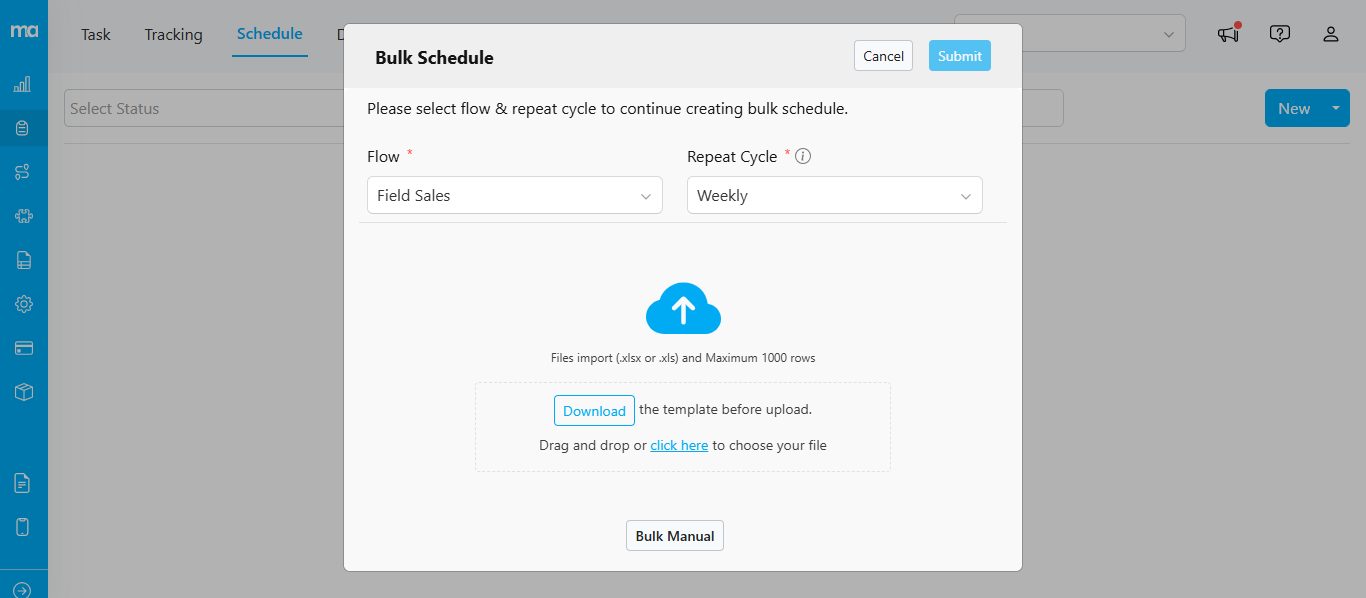
- Select Task Flow.
- Choose Repeat Cycle.
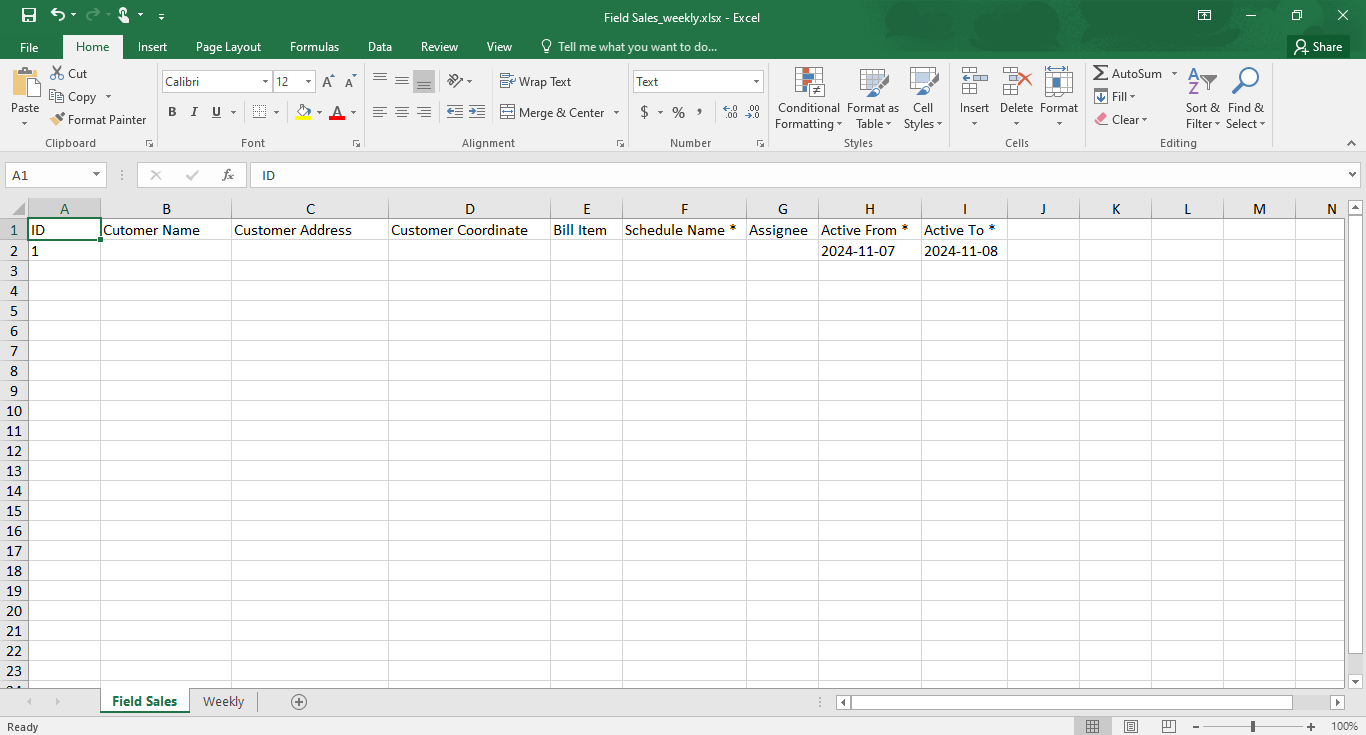
- Download the Template before uploading. The Excel template includes two sheets:
- Sheet 1 for schedule data, including fields such as “Name,” “Address,” and “Coordinate.”
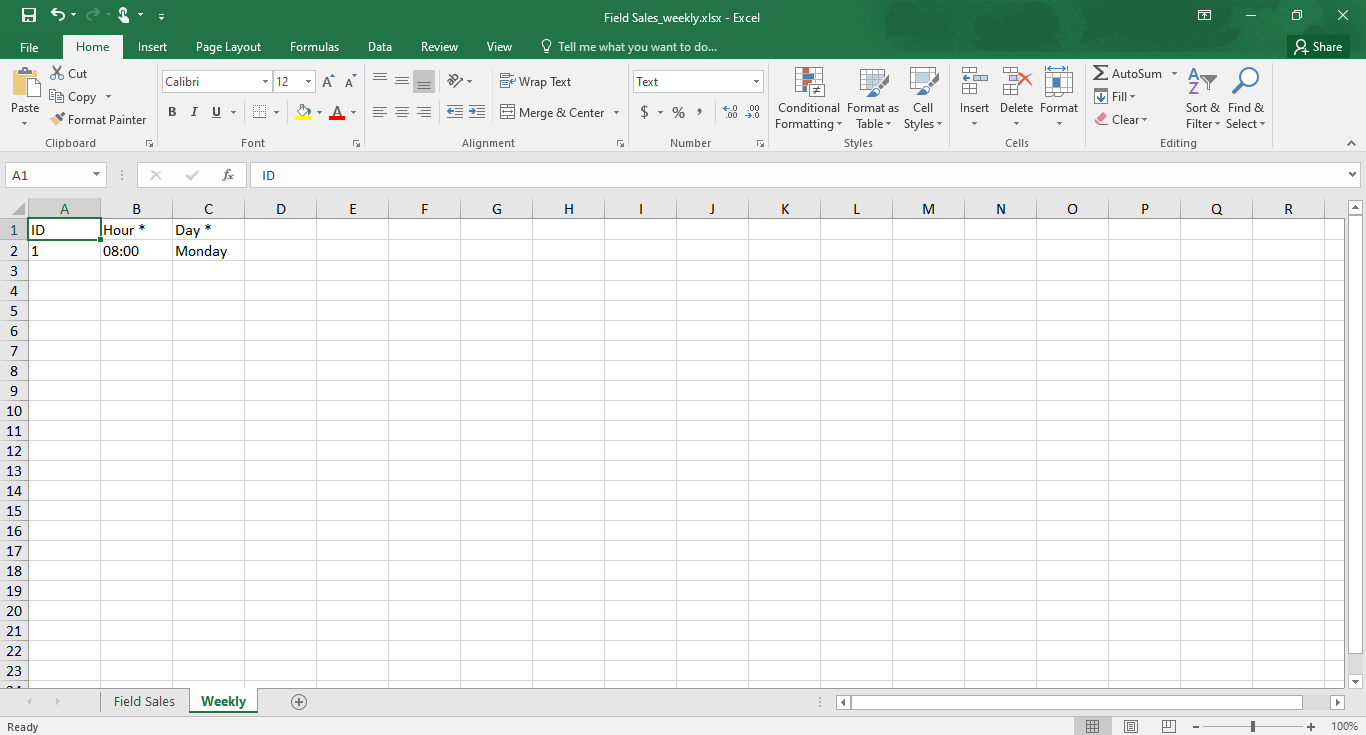
- Sheet 2 for setting up the time. Required fields are marked with an asterisk (*).