Overview
The On Task Finished automation event triggers when a task is completed or finished with the selected Flow. This event captures the moment when field work is done, allowing you to automate post-completion workflows, generate reports, create follow-up tasks, or integrate with external systems at the point of task completion.When Does This Event Trigger?
The “On Task Finished” event is triggered when:- A field worker marks a task as complete/finished in the mobile app
- A user marks a task as finished in the web portal
- A task is completed via API
- The task’s Flow matches the Flow selected in the automation configuration
The automation will only trigger if the task’s Flow matches the Flow specified in the automation settings. This allows you to create Flow-specific automation rules for different completion workflows.
Prerequisites
Before setting up an automation with this event, ensure:- You have access to the Automation feature in MileApp
- You have appropriate permissions to create and manage automations
- You have at least one Flow configured in your organization
- You understand the completion workflow for your tasks
Required permission:
- View Automation
- Create Automation
Use Cases
1. Sequential Task Creation
Scenario: Automatically create the next task in a workflow when the current task is completed. Configuration:- Event: On Task Finished
- Flow: Pickup
- Automation Type: Create and Assign Task
- Action: Create “Delivery” task with data from completed pickup
2. Completion Notifications
Scenario: Notify customers when their delivery or service is completed. Configuration:- Event: On Task Finished
- Flow: Delivery
- Automation Type: Webhook
- Action: Send SMS/email notification to customer with completion details
3. Proof of Delivery Archival
Scenario: Send completion data, photos, and signatures to document management system. Configuration:- Event: On Task Finished
- Flow: Delivery
- Automation Type: Webhook
- Action: Upload proof of delivery to external storage or ERP system
Setting Up On Task Finished Automation
Step 1: Navigate to Automation Settings
- Log in to MileApp web portal
- Click on Flow in the main navigation
- Click on the Automation tab
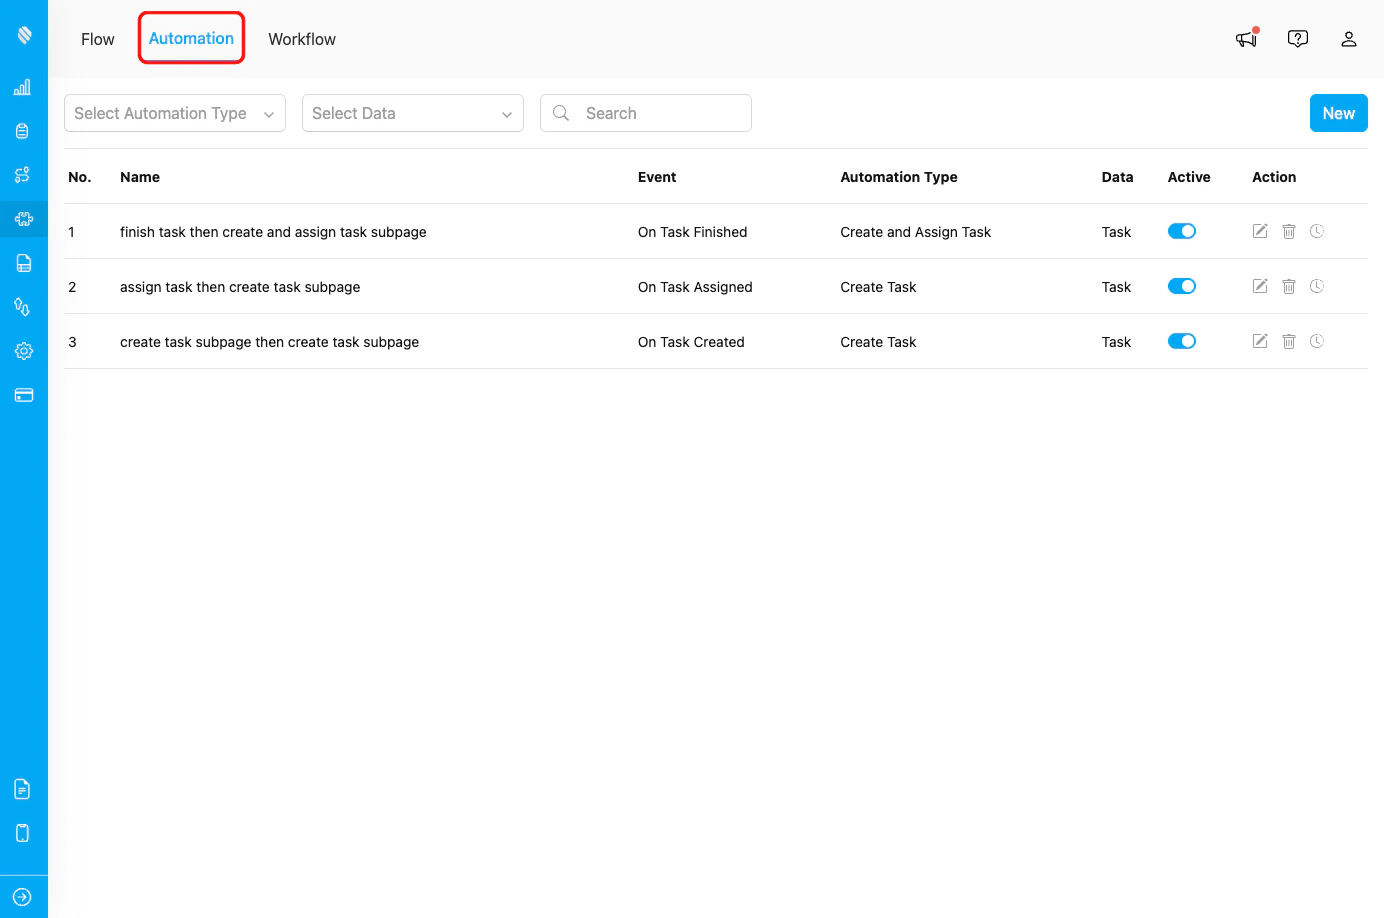
Automation tab in Flow menu
Step 2: Create New Automation
- Click the New button in the Automation page
- The “Create Automation” dialog will appear
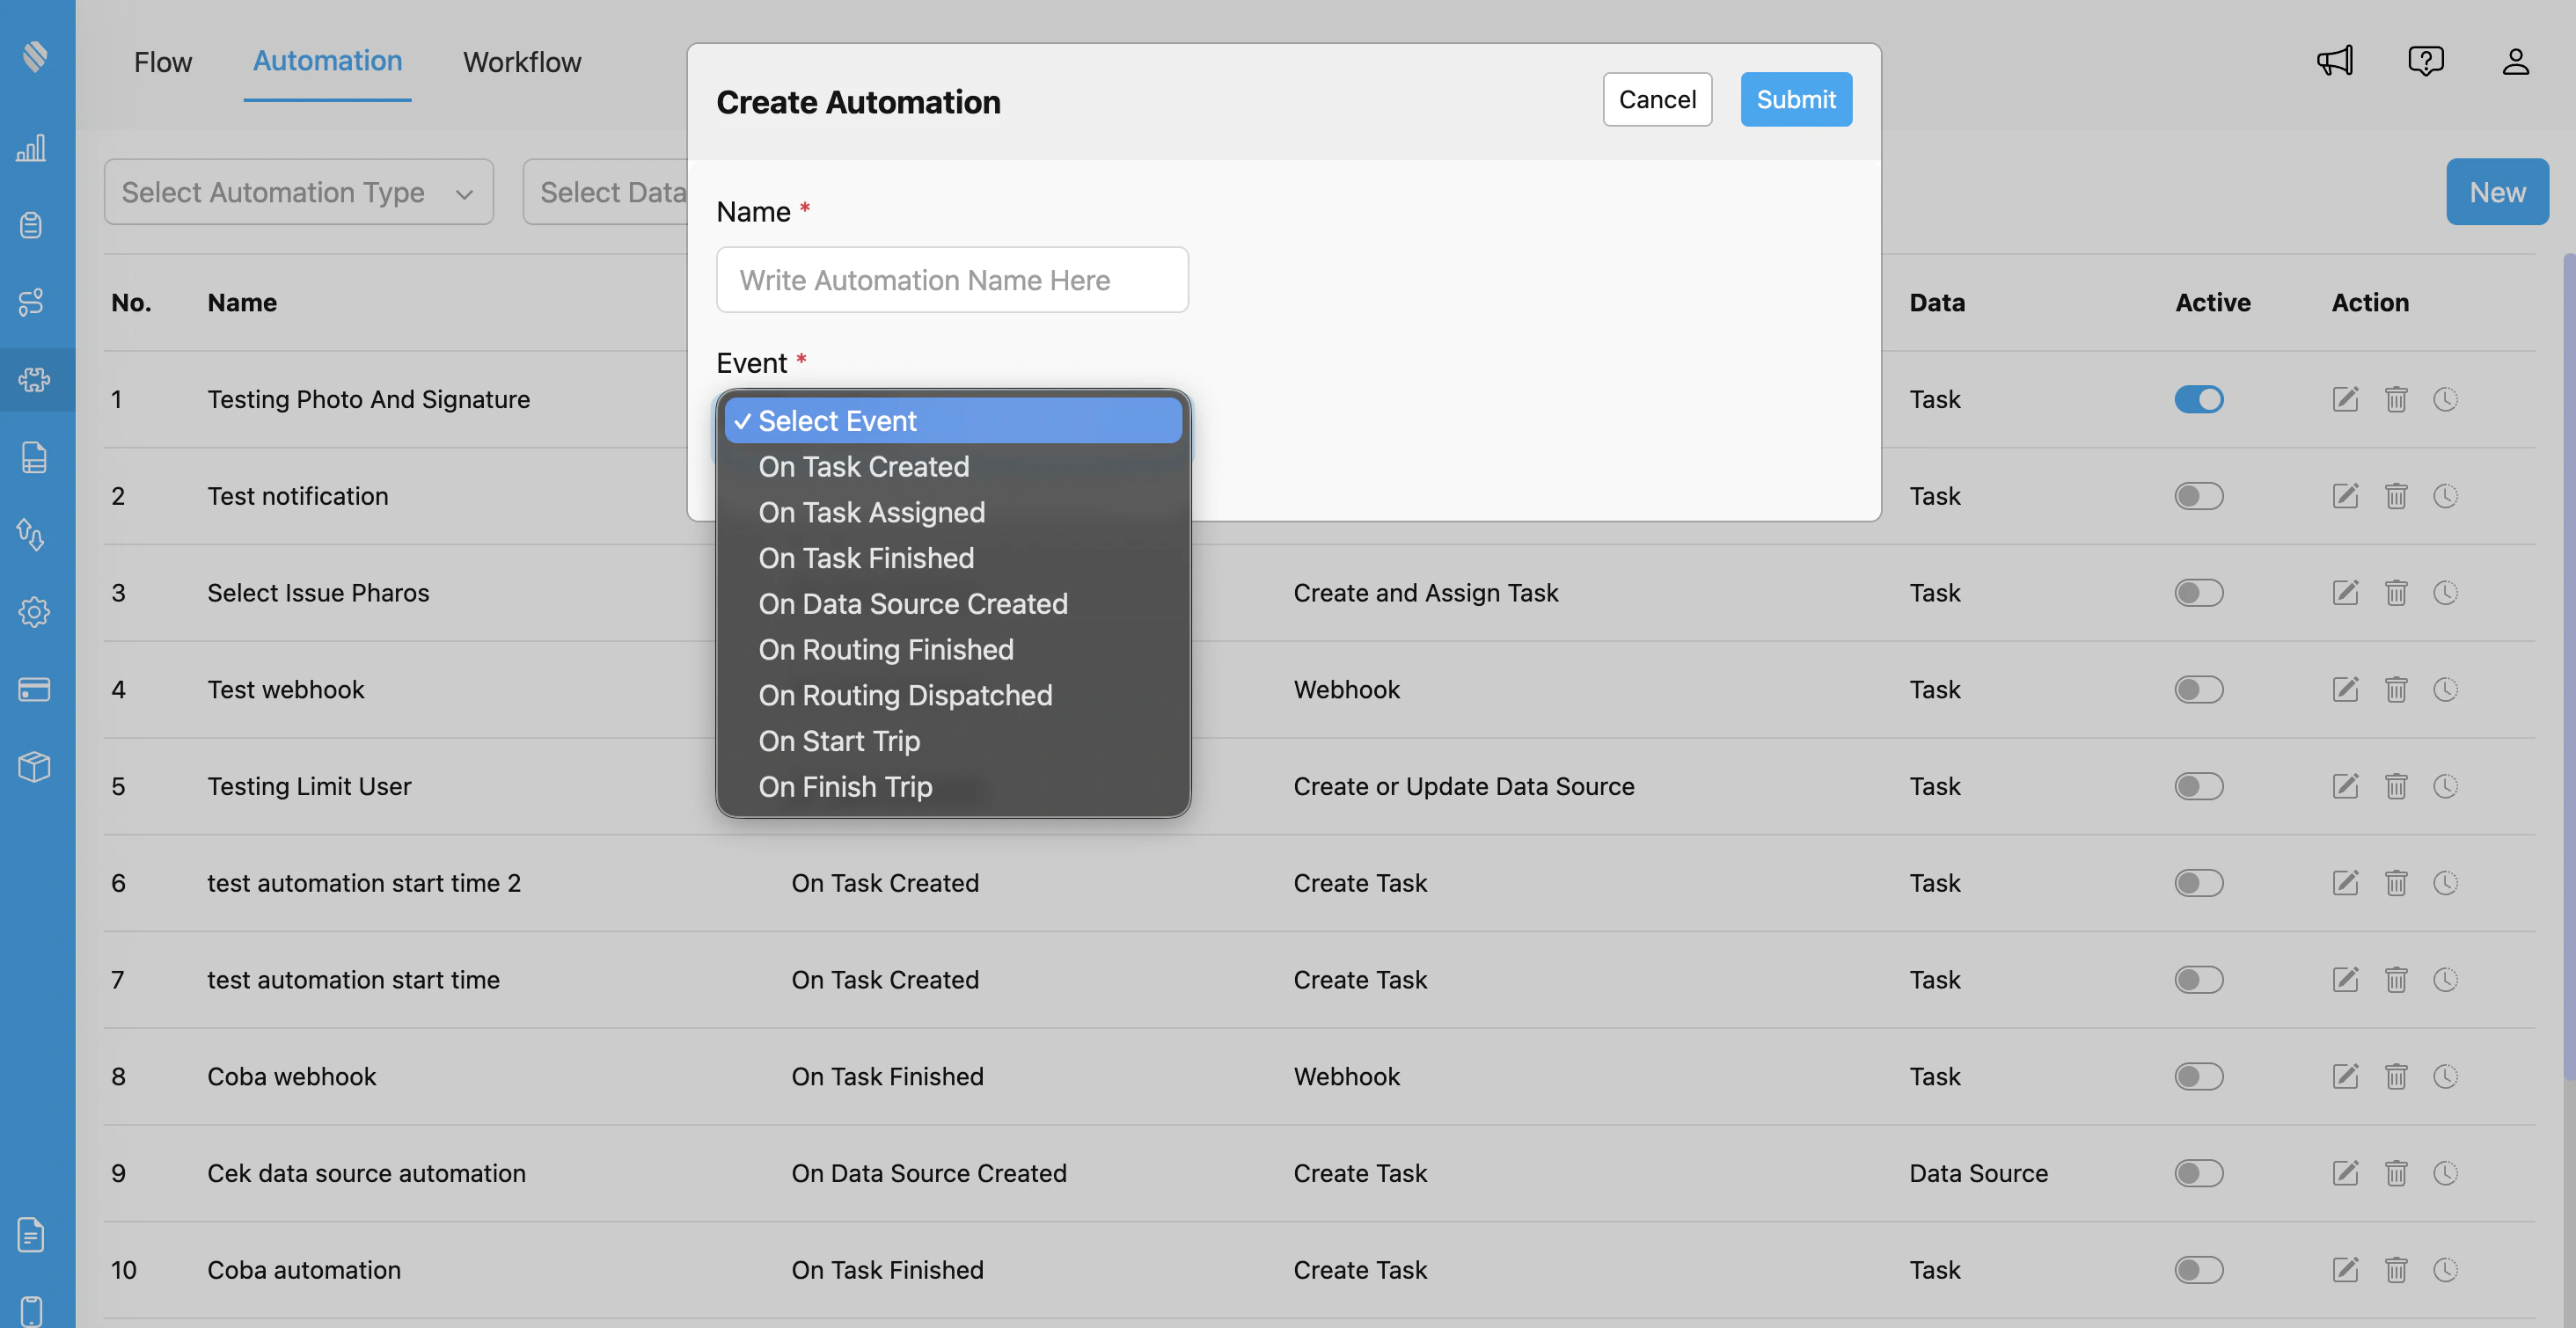
Create Automation dialog with event selection showing all available automation events
Step 3: Configure Automation Details
Fill in the following information:- Automation Name: Provide a descriptive name (e.g., “Create Delivery Task on Pickup Completion”)
- Event: Select “On Task Finished” from the dropdown
- Flow: Select the Flow you want to monitor (e.g., “Pickup”, “Delivery”, “Service”)
-
Automation Type: Choose the action type:
- Create Task - Automatically create a new task
- Create and Assign Task - Create and assign a task to a user
- Create or Update Data Source - Modify data in Data Source
- Webhook - Send data to external URL
- Notification - Send notifications to users
- Configure type-specific settings based on your chosen Automation Type
Step 4: Configure Automation Type Settings
Depending on the Automation Type you selected, configure the following:For Create Task / Create and Assign Task:
- Select the Flow for the new task to be created
- Map fields from the completed task to the new task
- Set default values for required fields
- (For Create and Assign Task) Select the assignee or assignment rules
For Create or Update Data Source:
- Select the target Data Type to update
- Map task completion data to Data Source fields
For Webhook:
- URL: Enter the endpoint URL where task completion data should be sent
- Header (Optional): Add custom HTTP headers (e.g., Authorization, Content-Type)
- Value (Optional): Provide corresponding header values
For Notification:
- Select Channel (WhatsApp notification)
- Select Phone Number Field from task data
- Configure Notification Message with completion details
Step 5: Configure Rules (Optional)
Add conditional rules to control when the automation should execute:- Filter by specific field workers or teams
- Apply conditions based on hub or location
- Set completion status conditions (success, failure, partial)
- Filter by time of day or completion duration
Step 6: Save and Activate
- Click Submit to create the automation
- Ensure the automation is set to Active (toggle enabled)
- Test the automation by completing a task with the selected Flow
Webhook Payload Structure
When using the Webhook automation type with “On Task Finished”, MileApp sends a POST request with the following data structure:The exact payload structure may vary based on your Flow configuration and the fields defined in your Flow components. The
duration field is in seconds (time from assignment to completion).Monitoring and Troubleshooting
Viewing Automation Logs
To verify your “On Task Finished” automation is working correctly:- Go to Flow > Automation
- Find your automation in the list
- Click the clock history icon to view execution logs
- Review successful executions and any errors
Common Issues
Issue: Automation not triggering when tasks are completed Possible Causes:- Automation is not set to Active
- Task’s Flow does not match automation’s Flow configuration
- Rules/filters exclude the completed tasks
- Task status is not “done”
- Verify automation is enabled (toggle is ON)
- Check that task Flow matches automation Flow setting
- Review rules to ensure they don’t overly restrict triggering
- Ensure task is marked as completed with status “done” to trigger automation
- Flow has optional fields not filled during task execution
- Photos or signatures not uploaded properly
- Network issues during task completion
- Mobile app not fully synced before completing
- Review Flow configuration to identify required vs optional fields
- Ensure mobile app has stable internet connection
- Implement data validation in webhook endpoint
- Add retry logic for incomplete data
Related Documentation
- Automation Introduction
- Automation Type
- On Task Created
- On Task Assigned
- Create Task Automation
- Webhook Automation
- Task Management