Overview
The On Data Source Created automation event triggers when a new entry is created in a Data Source. This event enables you to automate workflows based on incoming data, automatically create tasks from data entries, synchronize with external systems, or trigger business processes whenever new data is added to your Data Sources.When Does This Event Trigger?
The “On Data Source Created” event is triggered when:-
A new entry is created in a Data Source through any of these methods:
- Manual Entry - Creating data entries via web portal
- Excel Upload - Bulk data import from spreadsheet
- API - Data creation via MileApp API endpoints
- External Data Source - Automatic data sync from integrated external systems
- The data entry is successfully saved to the system
- The Data Source type matches the one selected in the automation configuration
Data Sources are custom data structures you define in MileApp. This automation allows you to trigger actions whenever new data is added to these structures.
Prerequisites
Before setting up an automation with this event, ensure:- You have access to the Automation feature in MileApp
- You have appropriate permissions to create and manage automations
- You have at least one Data Source configured in your organization
- You understand the structure and purpose of your Data Source
Required permission:
- View Automation
- Create Automation
- View Data Source
Use Cases
1. Automatic Task Generation from Orders
Scenario: Create delivery tasks automatically when new orders are added to Order Data Source. Configuration:- Event: On Data Source Created
- Data Source: Customer Orders
- Automation Type: Create and Assign Task
- Action: Create task with Flow “Delivery” using order data (customer name, address, phone, items)
2. Lead Distribution System
Scenario: Assign new leads to sales representatives when leads are added to CRM Data Source. Configuration:- Event: On Data Source Created
- Data Source: Sales Leads
- Automation Type: Create and Assign Task
- Action: Create and assign “Customer Visit” task to appropriate sales rep
3. External System Synchronization
Scenario: Sync new data entries to external ERP, WMS, or CRM systems. Configuration:- Event: On Data Source Created
- Data Source: Product Inventory
- Automation Type: Webhook
- Action: Send new inventory data to warehouse management system
Setting Up On Data Source Created Automation
Step 1: Navigate to Automation Settings
- Log in to MileApp web portal
- Click on Flow in the main navigation
- Click on the Automation tab
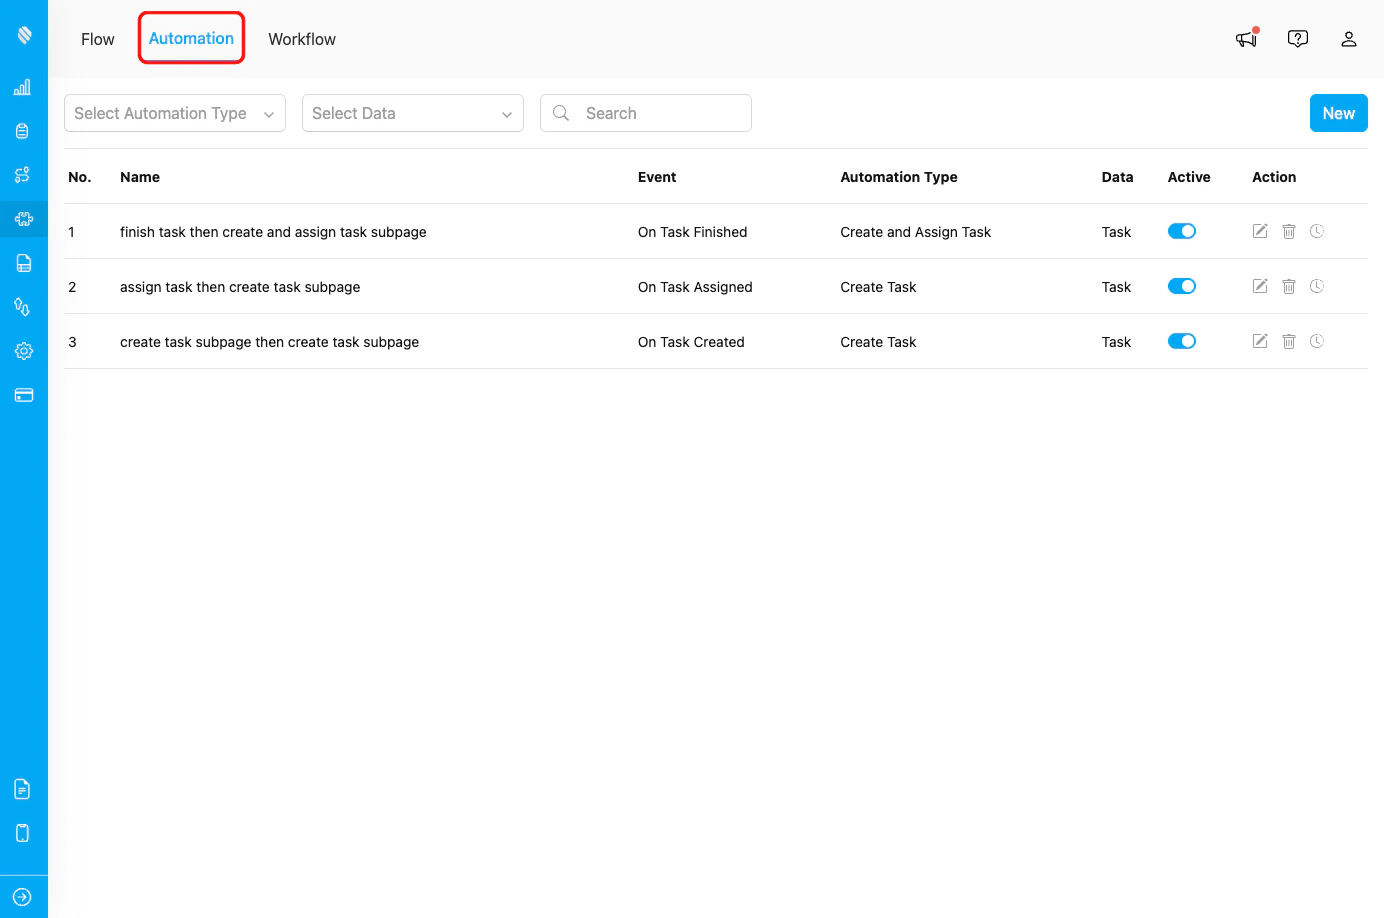
Automation tab in Flow menu
Step 2: Create New Automation
- Click the New button in the Automation page
- The “Create Automation” dialog will appear
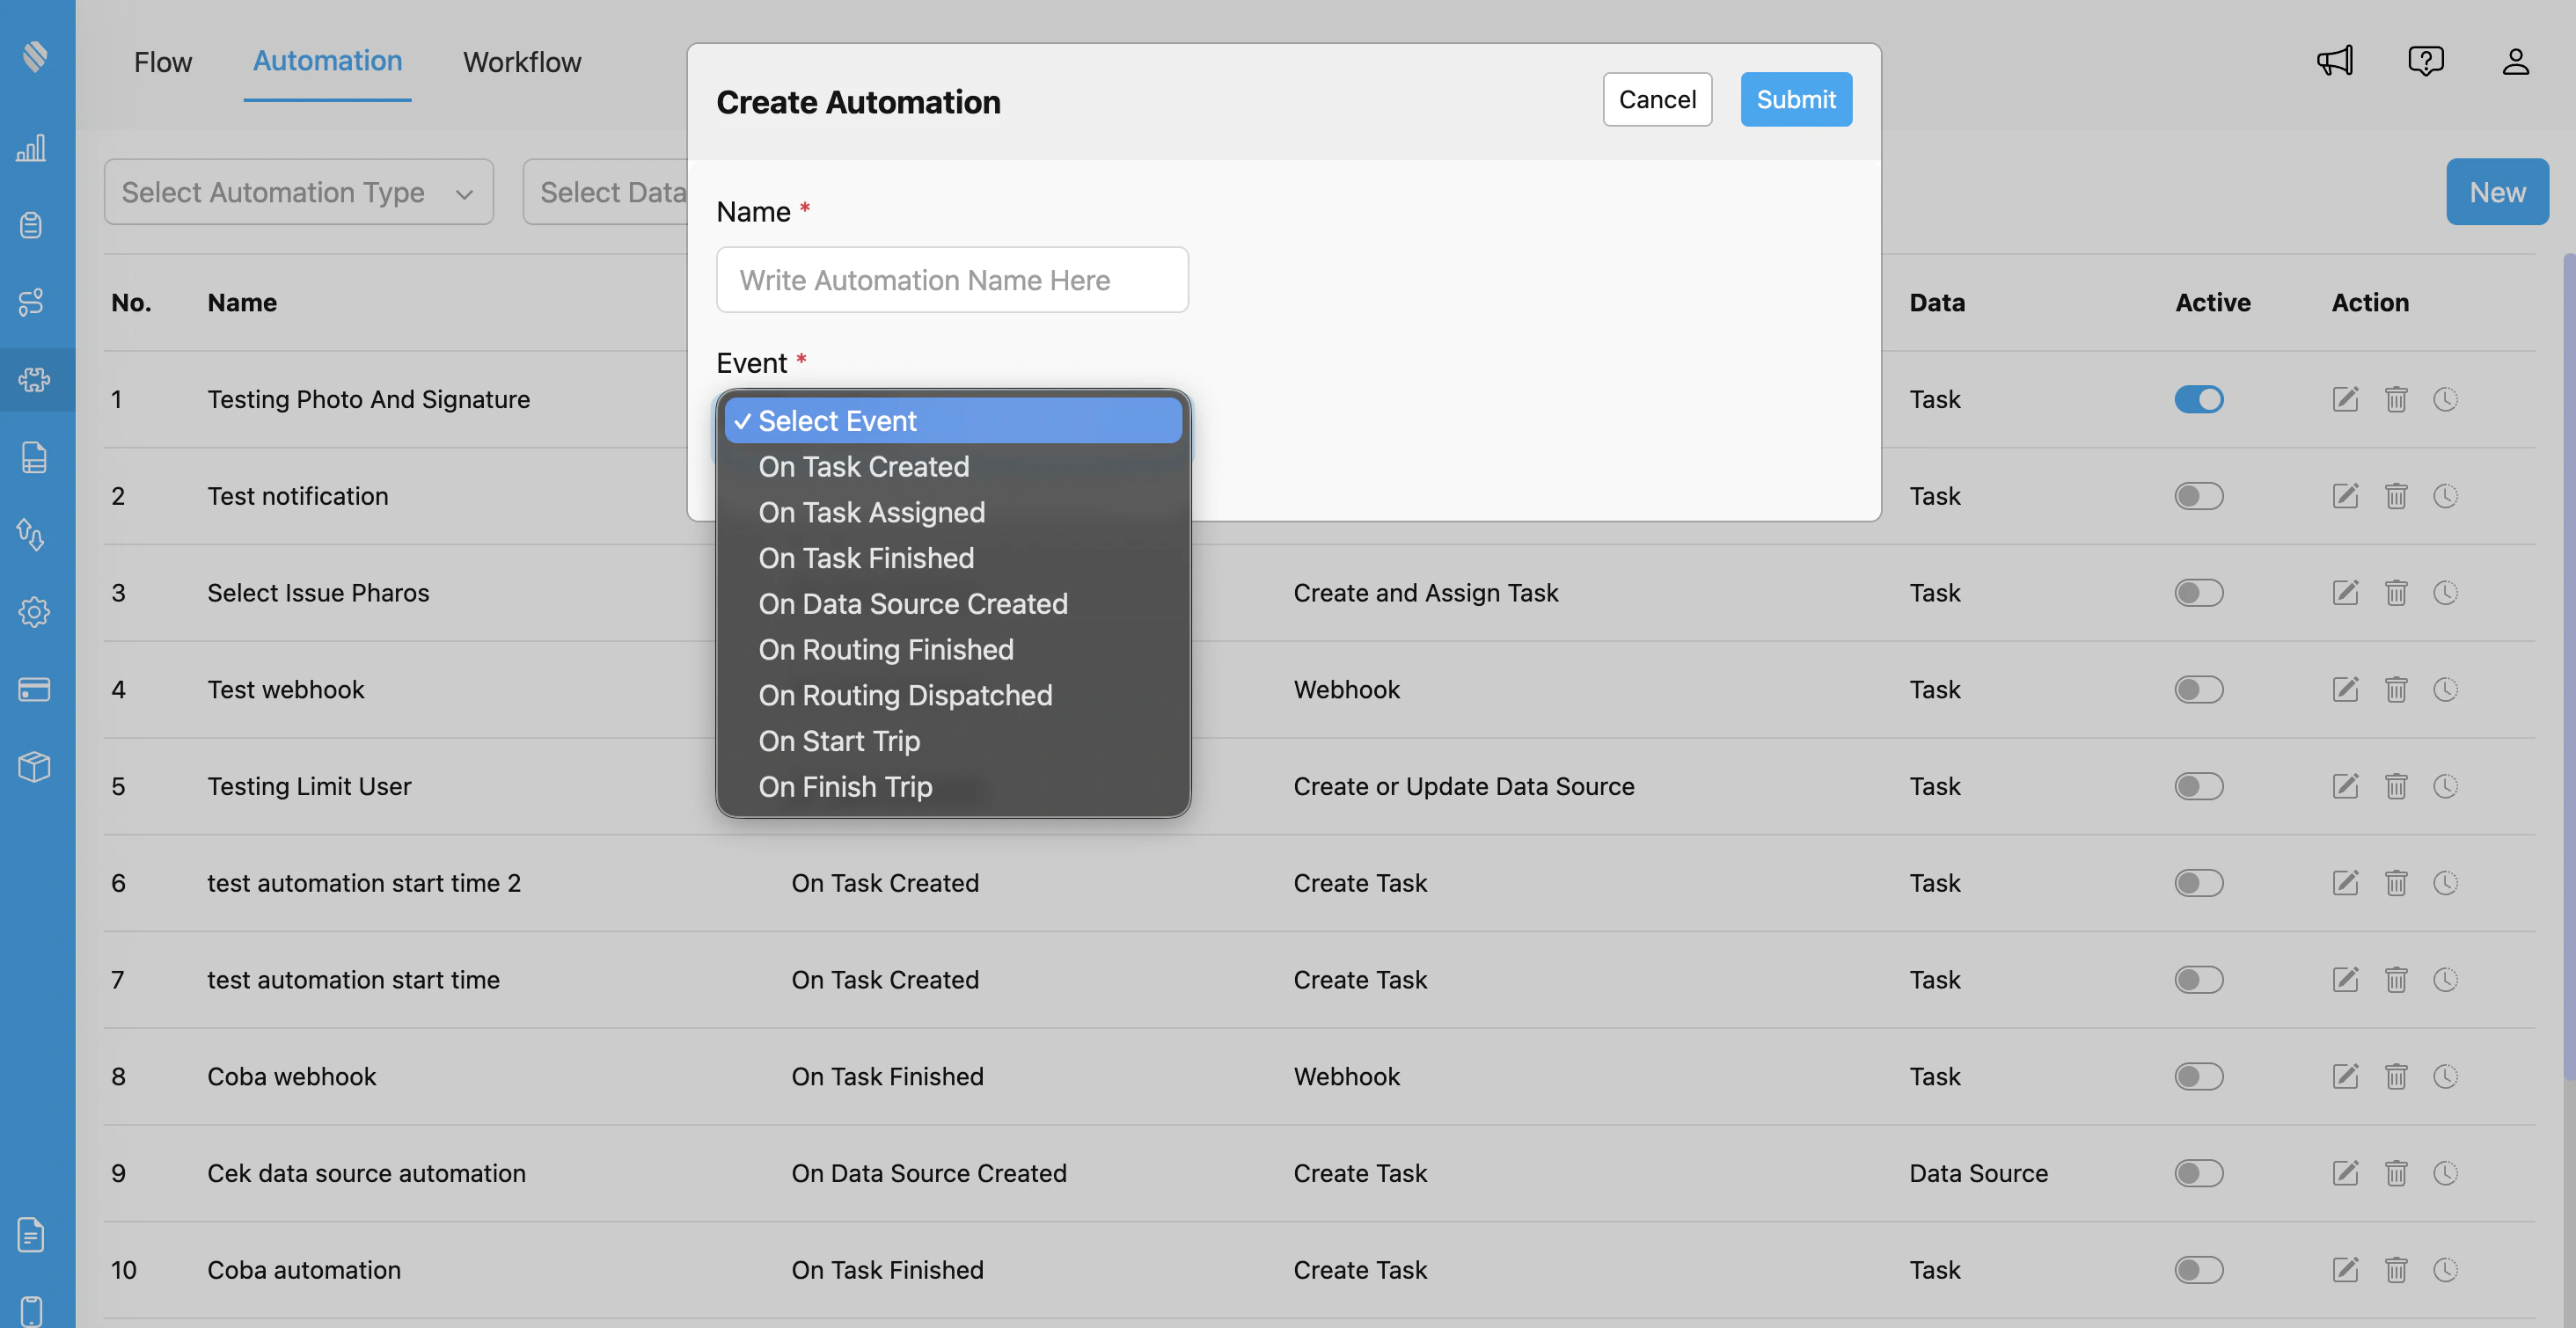
Create Automation dialog with event selection showing all available automation events
Step 3: Configure Automation Details
Fill in the following information:- Automation Name: Provide a descriptive name (e.g., “Create Delivery Task from Order Data”)
- Event: Select “On Data Source Created” from the dropdown
- Data Type: Select the Data Type you want to monitor
-
Automation Type: Choose the action type:
- Create Task - Automatically create a new task
- Webhook - Send data to external URL
- Configure type-specific settings based on your chosen Automation Type
Step 4: Configure Automation Type Settings
Depending on the Automation Type you selected, configure the following:For Create Task:
- Select the Flow for the new task to be created
- Map Data Source Fields to Task Fields:
- Customer Name → Task Name
- Customer Phone → Task Phone
- Customer Address → Task Address
- Order Number → Task Invoice
- And other relevant field mappings
- Set default values for required fields not in Data Source
- Configure field mapping and data transformation rules
For Webhook:
- URL: Enter the endpoint URL where data creation events should be sent
- Header (Optional): Add custom HTTP headers (e.g., Authorization, Content-Type)
- Value (Optional): Provide corresponding header values
Step 5: Configure Rules (Optional)
Add conditional rules to control when the automation should execute:- Filter by specific data field values
- Apply conditions based on hub or location
Step 6: Save and Activate
- Click Submit to create the automation
- Ensure the automation is set to Active (toggle enabled)
- Test the automation by creating a new entry in the selected Data Source
Webhook Integration Details
This section applies only if you’re using the Webhook automation type.Payload Structure
When “On Data Source Created” triggers a webhook, MileApp sends a POST request with the following data structure:The
entry.fields structure varies based on your Data Source configuration and the fields you’ve defined in your Data Type.Monitoring and Troubleshooting
Viewing Automation Logs
To verify your “On Data Source Created” automation is working correctly:- Go to Flow > Automation
- Find your automation in the list
- Click the clock history icon to view execution logs
- Review successful executions and any errors
Common Issues
Issue: Automation not triggering when data entries are created Possible Causes:- Automation is not set to Active
- Data Source doesn’t match automation configuration
- Rules/filters exclude the created entries
- Data entry creation failed validation
- Verify automation is enabled (toggle is ON)
- Check Data Source selection in automation settings
- Review rules to ensure they don’t overly restrict triggering
- Verify data entry was successfully created
- Field mapping incorrectly configured
- Data Source fields have null or empty values
- Data type mismatch between Data Source and task fields
- Required task fields not mapped to Data Source
- Review field mapping configuration
- Add default values for optional fields
- Implement data validation in Data Source
- Test with sample data entries
- Multiple automations configured for same Data Source
- Data entry update events triggering creation automation
- Webhook endpoint not responding properly
- Review all active automations
- Ensure using “On Data Source Created” not “On Data Source Updated”
- Implement idempotency using entry ID in webhook
Related Documentation
- Automation Introduction
- Automation Type
- Create or Update Data Source
- Create Task Automation
- Webhook Automation
- Data Source Management